yoderjac
Well-Known Member
I think I'm making some slow progress. One issue was a bad crimp on the power cable for the ethernet switch. The second issue was a bone-head thing on my part.
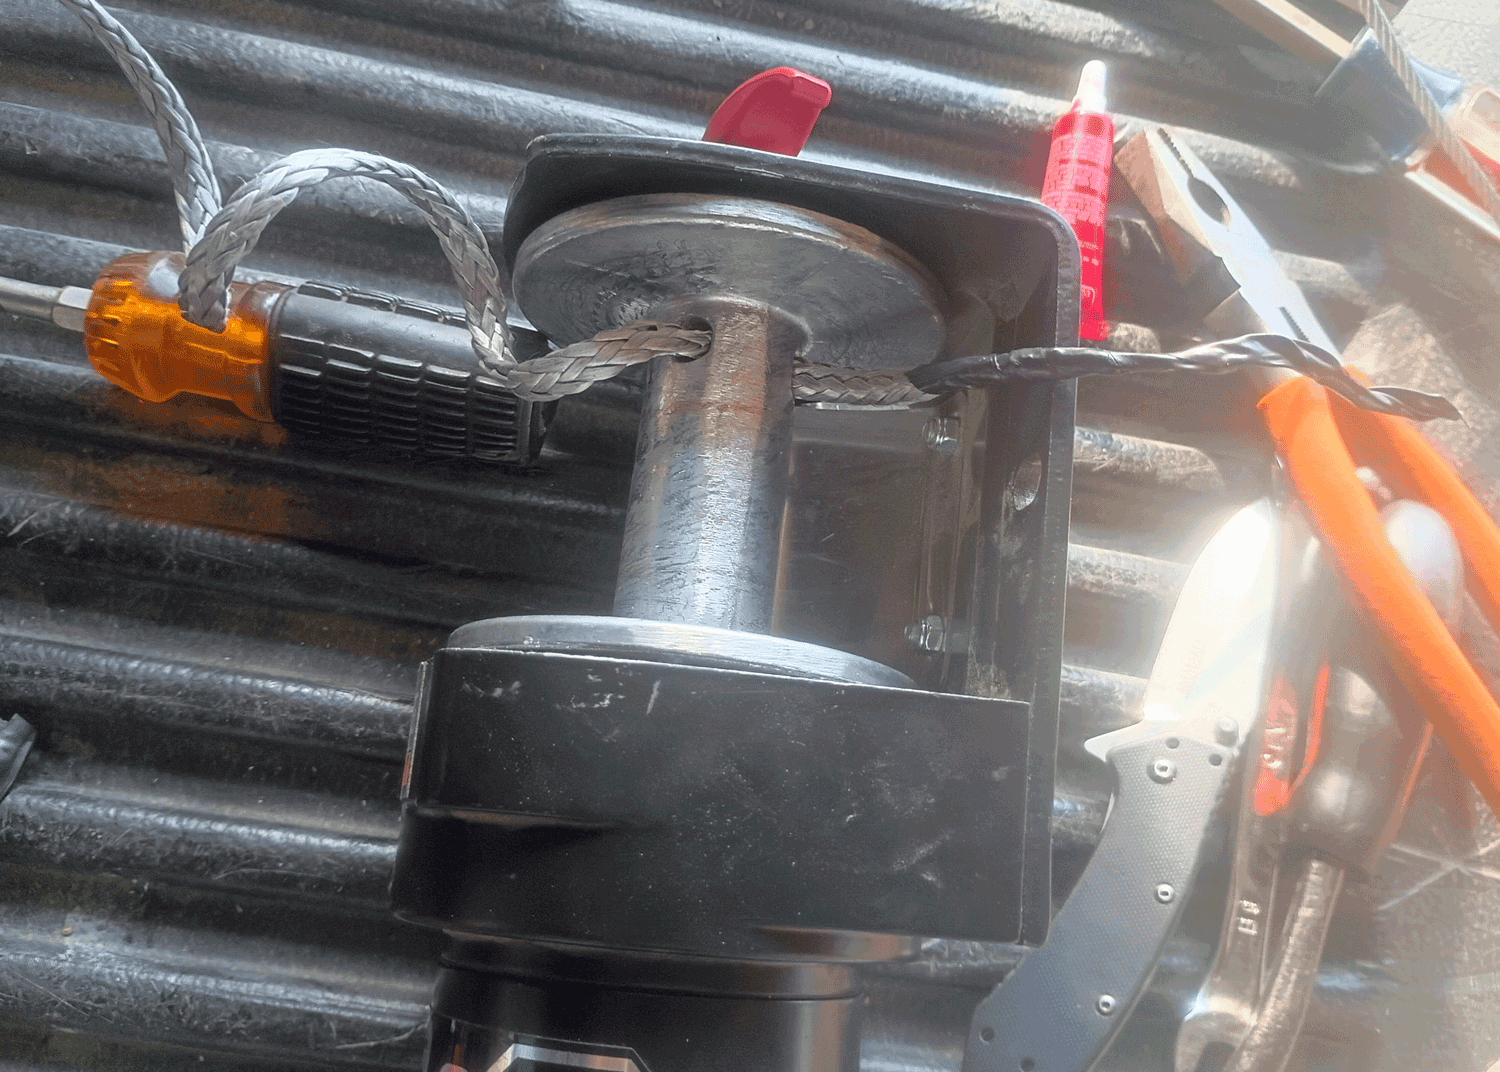
I decided to buzz the power cable to the ethernet switch since I was not getting a power light and I was able to verify power coming out of my new battery box. Sure enough, the wire had popped out of one of the crimps under the shrink tube. I clipped off the cable and put on a new power connector. The ethernet switch powered right up!
Now that the switch was working, I decided to try to clean power up sequence humminbird gave me again. I powered on the Megalive 2 and was supposed to wait a minute. I waited several and the ethernet port light never came on for the Megalive 2. As I was scratching my head and looking at the port on the box for the Megalive 2, Something dawned on me. What a bone head move I had pulled!
Before I got the new battery and battery box, I was using the old 12ah battery box. That box was built before I got the Megalive 2. It only has two ports, one for the Xplore and one for the charger. The 3 amp charger uses the same kind of SAE power connectors I've been using between the charger and the terminal ends (like alligator clips, rings, etc.). Because the charger is a power source like a battery, the SAE connector is wired hot-protected. So, rather than making an adapter, I simply wired that 12 amp battery box charger port as hot-exposed so I could plug the charger in directly.
Well, when I got the MegaLive 2, before the 50 ah battery and box came in, I was using that 12 ah battery box to test it on the water. I wired the Megalive 2 properly with hot-exposed (since it is not a power source). So I made a 1' adapter cable so I could plug it into the charger port of the 12 ah battery box. When I got the new 50 ah battery and box, I forgot to remove the adapter, so the Megalive 2 power was wired backwards.
I removed the adapter and plugged the Megalive 2 directly into the power port on the new battery box. After about a minute, the green light on the ethernet port came on indicating a connection!
The bad news is that even after fixing my bone-head mistake and reparing the ethernet swtich power cable, when I powered up the Xplore, it did not recognize the Megalive 2. The port like for the Xplore on the ethernet switch came on. After a minute or so, I got the same error message indicating the Megalive 2 was lost.
Something new I learned from humminbird during the email exchange. None of the mega units, DI, SI, or Megalive will produce an image if they are not in water. So, when I'm dry testing on the trailer, I can't rely on those screens to indicate whether it is working or not. The only thing I can find indicating connection is the tiny icons in the top corner of the display. There is a red question mark on the megalive 2 but not the SI or DI icons.
So, I'm wondering if testing dry is valid. I'm speculating about how these devices might be communicating. There three possibilities I can think of, a publish and subscribe model, point to point model, or a broadcast model. With options 1 or 2, the Xplore would likely see the Megalive 2 when a connection was made between the units, but with a broadcast model, the Xplore would not see the megalive 2 until it started broadcasting data, and if it won't broadcast sonar data out of water, that could be why it is not recognized.
I have a question into Humminbird to see if I could use a 5 gal bucket of water for testing.


 I want something I can park right beside my pier like you are doing. I’m gonna keep searching !