I called Kaufman Trailers and got quotes on two trailers, a
16000 GVWR Deluxe Flatbed Trailer – 22 ft., and a 12 ft. x 76 in
Deluxe Single Axle Utility Trailers – 2990 GVWR. The only options I got on the equipment trailer was the Load G rated 14 ply all steel radials and a spare. I also had them add two D-rings, one in the rear center between the ramps and one in the center on the front. With both stake beds and rub rail, I'll have plenty of side connection locations. On the utility trailer, the only option I added was a spare and rim. II also had them add one D-ring in the front. They only charged a couple bucks for the D-rings. I figured it was better to have them installed before the trailer was factory painted rather than me sanding off paint to weld them on and then painting them again.
I was going to put a deposit on them to start the build this afternoon, but the salesman I was working with was out for the rest of the day.
I spent the rest of the day doing small stuff for the boat. The first thing I did was build a recharging station:
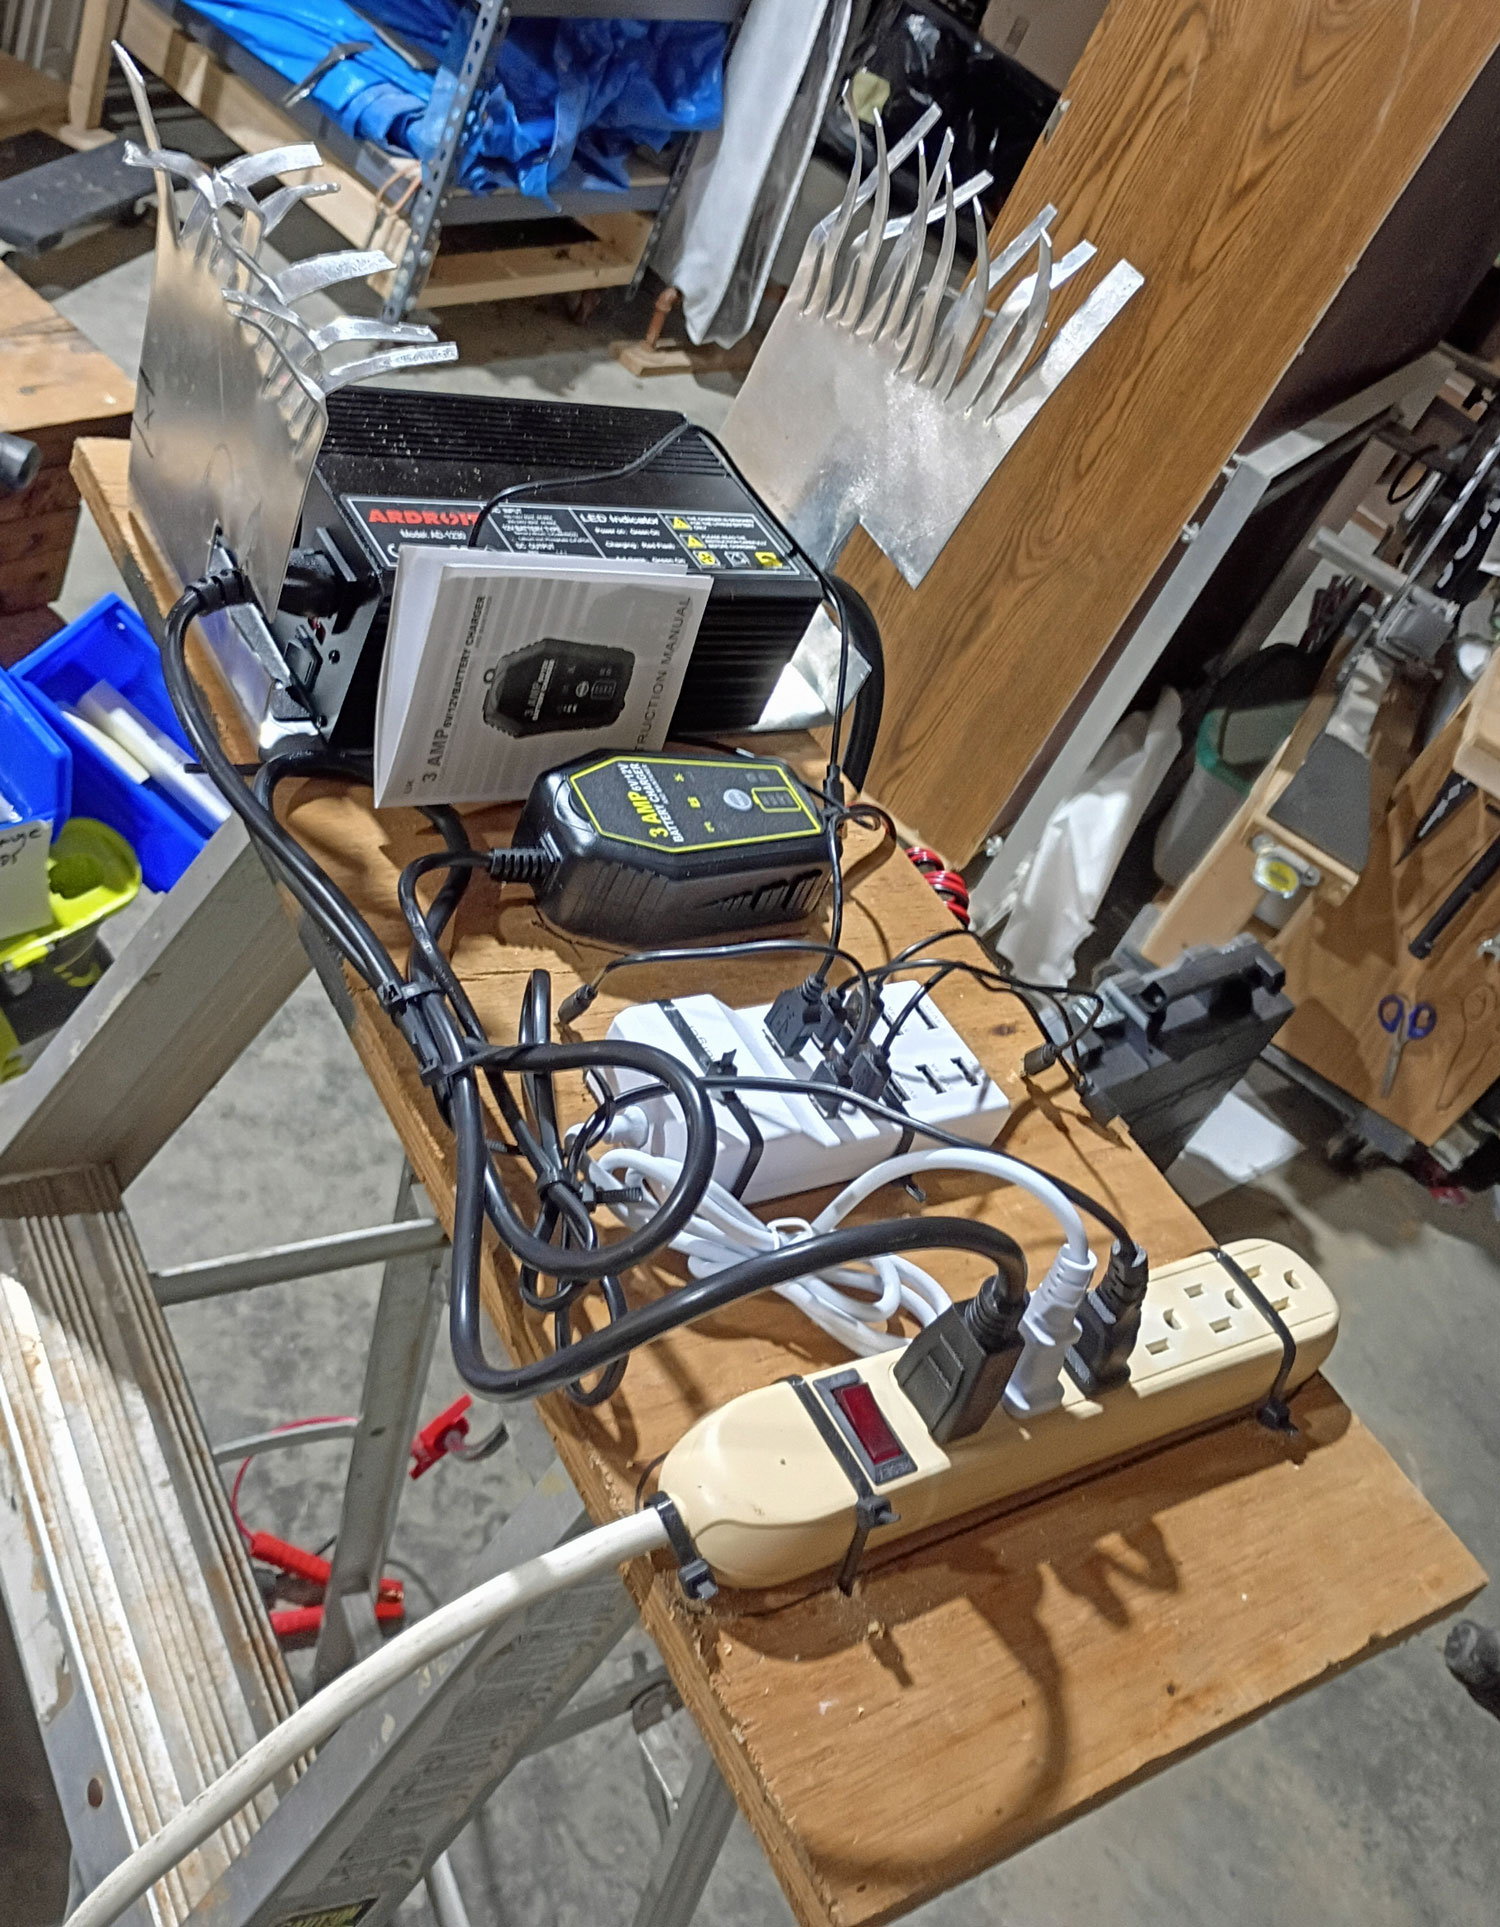
The 30 amp LiFePo4 charger is on the left side of the board. Some youtube videos I watched said it gets pretty hot. I had some sheet metal laying around, so I figured to be safe, I'd build a heatsink. To the right of that is a 3 amp LiFePo4 charger. That one is for the fish-finder battery. I could have used the same battery as the trolling motor, but you can get some interference in the electronics, so I figured I'd use a separate battery. to the right of that is a general USB charger. I'm using tiny strap on rechargeable lights for running and anchor lights. I also have a small rechargeable LED light for tying on lures in low light or dark situations. There is space for more if needed on this charger. Finally, on the right, is the power-strip. The deluxe model of the utility trailer has square tubing top rails. Once I get the trailer, I'll screw a couple 2x4s into the bottom of the board. This should allow it to sit on the side of the trailer when it is parked.
Next, I worked on the anchor lights:
I used a T-nut and placed it in the rail. I took a 1/2" CPVC cap and drilled a 1/4" hole in the center, and then one through both sides. I used a sander to slightly reduce the diameter of a piece of 1/2" CPVC so it easily fits into the cap. I then put it in the cap and drill the side holes through it. This allows me to hold the pipe in the cap with a 1/4" pin.
I then inserted a 3/4" - 20 screw through the inside of the cap and then through a 1/4" washer and then a 1/4" fender washer. I put the screw through the rail slot and screwed it into the T-nut. I can use that screw to secure the cap to the rail or remove it. I then inserted the CPVC pipe back into the cap. I don't have a 1/4" pin handy so I used a 1/4" bolt temporarily. The white anchor lights are strapped to the CPVC pipe.
Of course I don't want the pipe sticking up there during daylight. I tried to put it in the dry box under the seat, but it was too long. I decided to store it on the edge of the front deck:
I took a pair of screw hooks. They were slightly too small for the CPVC, so I put them in a vise and bent them slightly to fit the CPVC pipe. I plan to store the post here when not in use. It is out of the way and pretty secure.
I have the navigation lights but still need to install them on the deck.


