Gravel Road
Well-Known Member
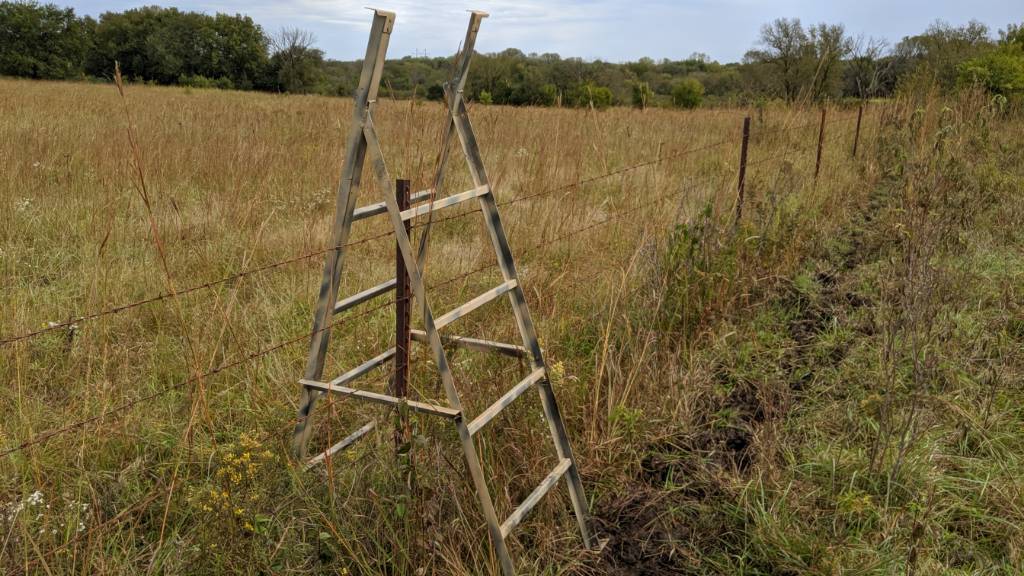
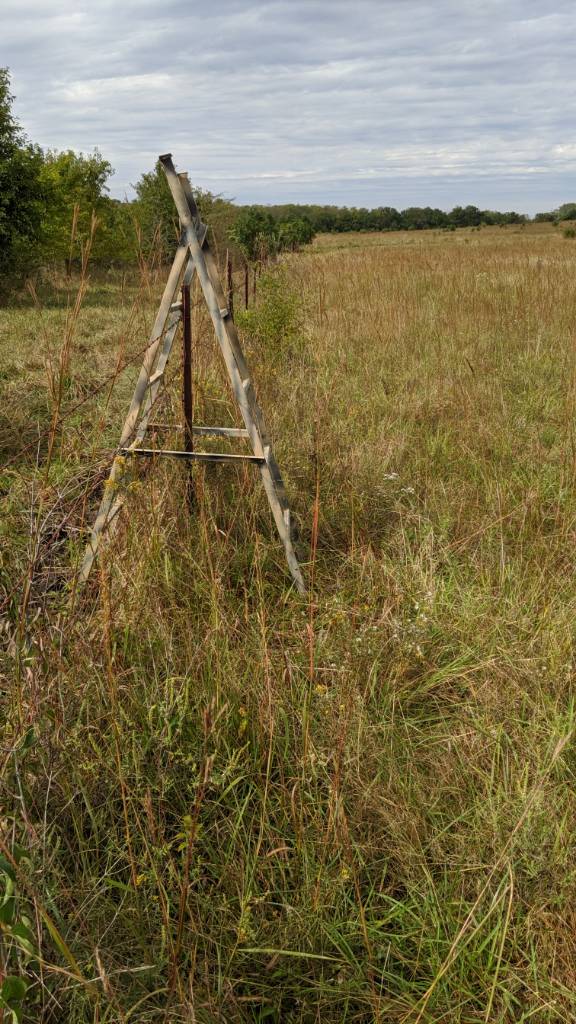
I've been wanting to build a set of stairs to cross my barbed wire fence and finally got off my butt and did it. Free bed frames got the wheels turning and they turned out to be perfect for the job. Just as a note, some of the newer cheap bed frames are pretty light duty so might not work for this.
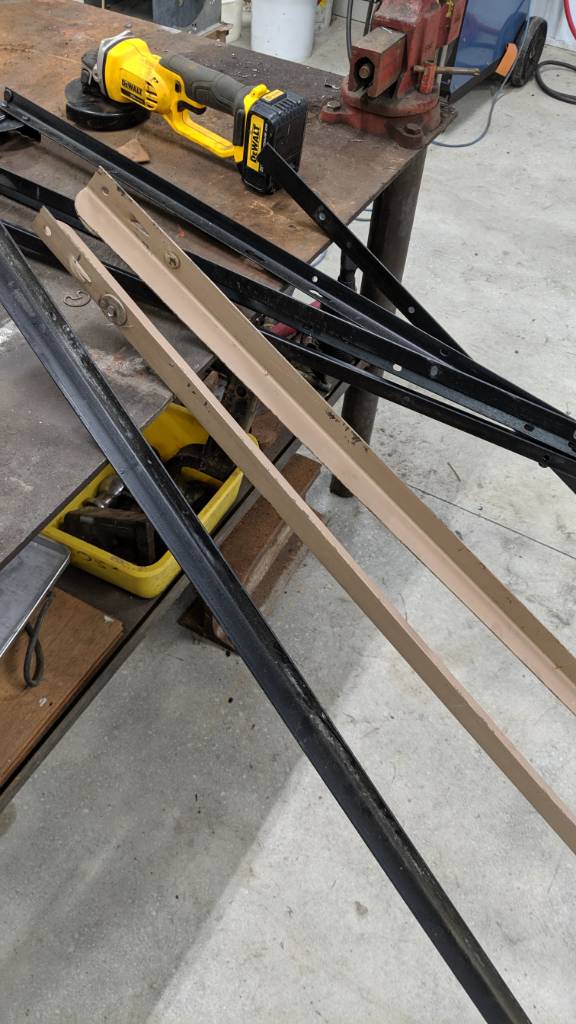
Hit the rivet heads with a grinder with a cutoff wheel to get the main rails free from the legs. Or, you can drill them out. It’s pretty hard material, so the grinder seems to work better.
You can leave the slotted sections on the ends, as they make a flat section to keep things from sinking into the dirt. The slotted end even makes a nice hand hold on the top side. The length of mine was 76”.
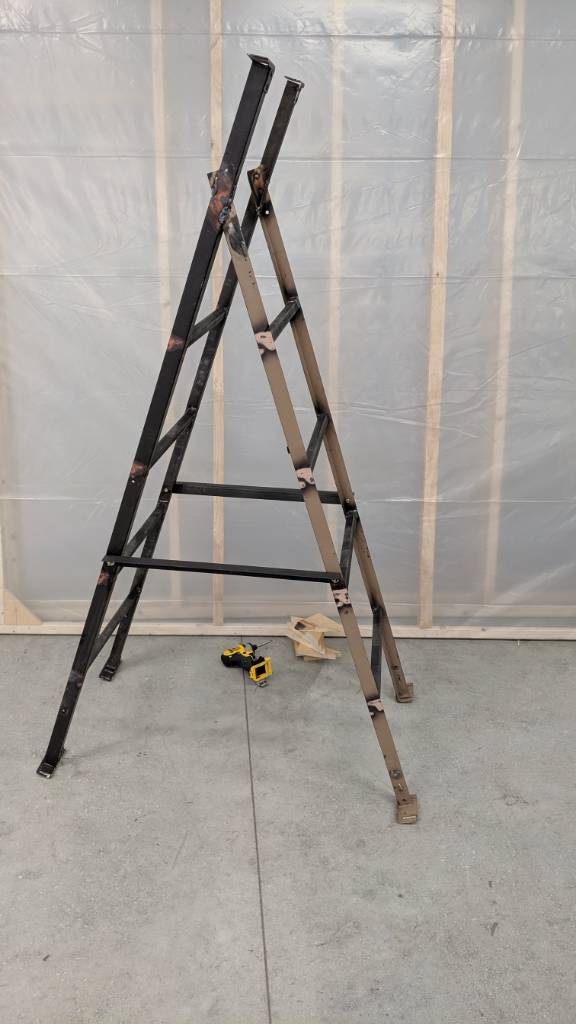
Set the length needed to make the angle to go over the fence and have enough of a “V” to be sturdy. I used a 66.5” length to bring the angle to 35 degrees. Then just clamp and weld.
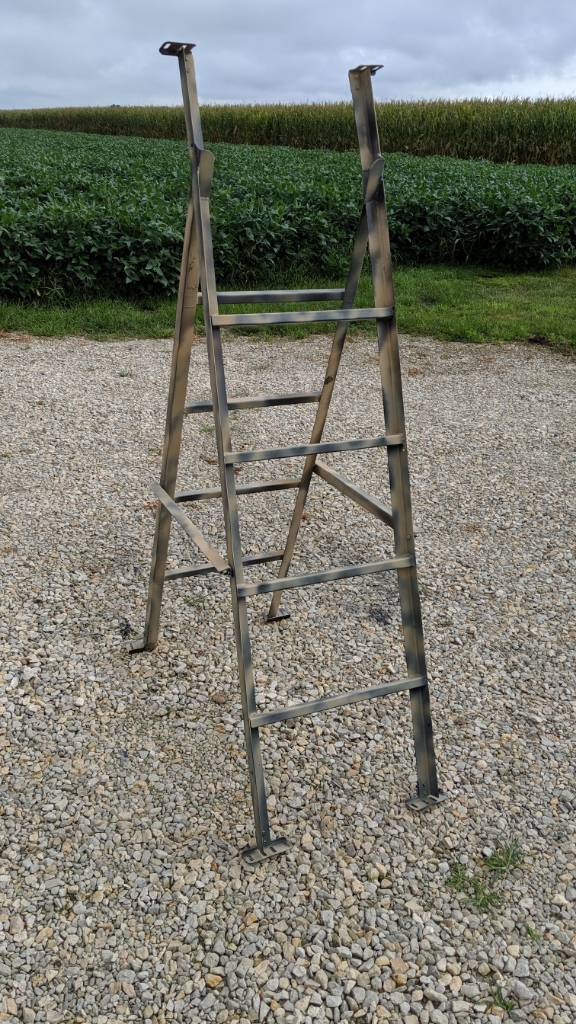
The smaller extra bed frame section I had didn’t seem sturdy enough for the steps, so I used 1 inch square tubing and welded them around 13” apart.
Use another short frame section to create the two cross braces. These are drilled and bolted to the rails so you can run them between the fence wires once positioned.
Some cheap camo paint and you are ready for action!
I’m really happy with the way this turned out. Taking some cheap materials and turning it into something useful was fun and a good way to spend a rainy day in the shop. Having the rails extend over the steps worked out great because you have something to hang onto while stepping over the top. Honestly, I don’t think I’d change anything about it except for maybe some green in the paint job. I thought about making it out of wood, but those seem really bulky and I’d have to worry about it while burning pasture.
Oh, and no more laying down in the wet grass and snow trying to slide under (or between) the barbed wire. No more torn hunting clothes or loud fence noises while trying to sneak into the stand in the dark!


