Cross Fit Gyms My ...

dogghr

Well-Known Member
Now I hit the gym several times a wk but land management is a better and more fun for excercise.
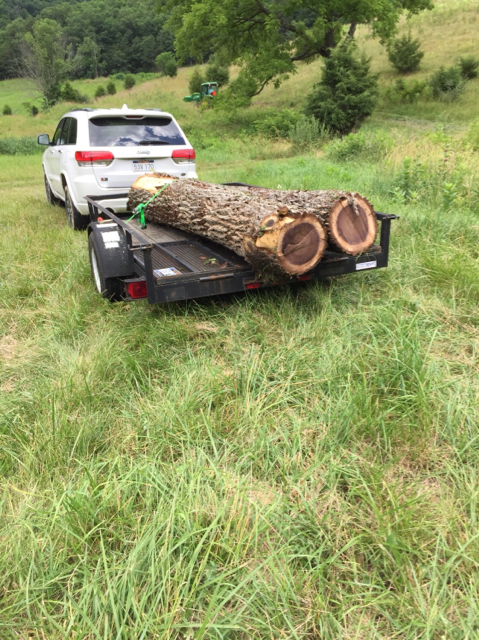
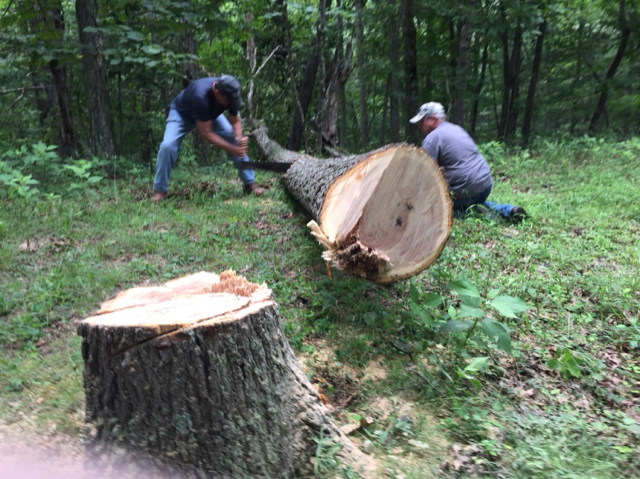
Project I have going and 2 good friends volunteered to help. In the near future I’m building a new house and I wanted a fireplace mantel and some shelves made from timber from my farm. We cut down a Black Walnut and Red Oak. Just to mix things up we used a 75yo crosscut saw to make the log cuts and to make some slices for some live edge table centers for my daughters Farm house.
Really appreciated the friends helping as we had fun and joked of everything from work to women.
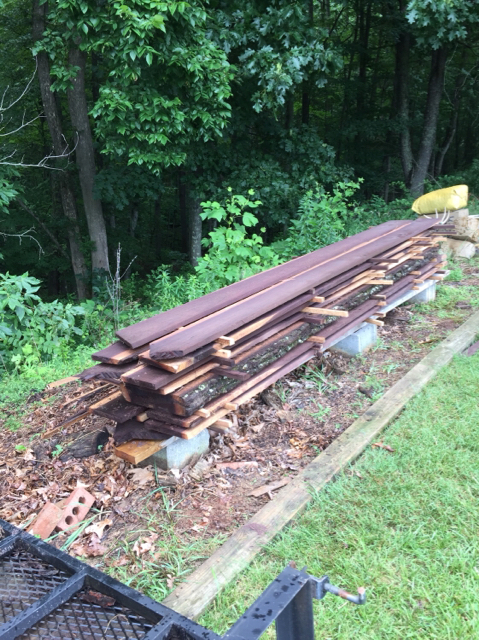
Will take these and 2 other logs to mill jst up road to cuts and then I’ll stack them for curing.
44d38acf8883a85bf01f4779649765ef.jpg

e1a8cc9815eb759246677894eda81704.jpg


Sent from my iPhone using Tapatalk
 
I can imagine the crosscut saw was quite the workout! I may have to try this sometime new. Heck, there is so many crossfit gyms popping up around here, you might have a goldmine! Just charge people monthly to come out and cut logs for you. This will be the next big fitness fad.


Sent from my iPhone using Tapatalk
 
^^^^ That is so true they are all over here. And it was a learning curve for a 4th guy as we were trying to teach him how to fell a full size tree. You can see his first cut was way off and angled in the remaining stump. Its a learning curve. I'll prob go back and cut that off so no one comes along one day and thinks to them selves what idiot cut this tree. LOL.
I've got a video of the crosscut in action but I'm too dumb to know how to post such.
 
Last edited:
Habitat work is no joke especially tree work. Im almost 43. I lift 4 times a week, can still put up 400 on a good day and cycle regularly. A few weeks ago I was working for about 6 hrs after working 10 hrs nightshift and hit a brick wall. I left and puked twice on the 1 hr drive home. I actually considered calling an ambulance. Ive put a 4 hr limit on myself since.
 
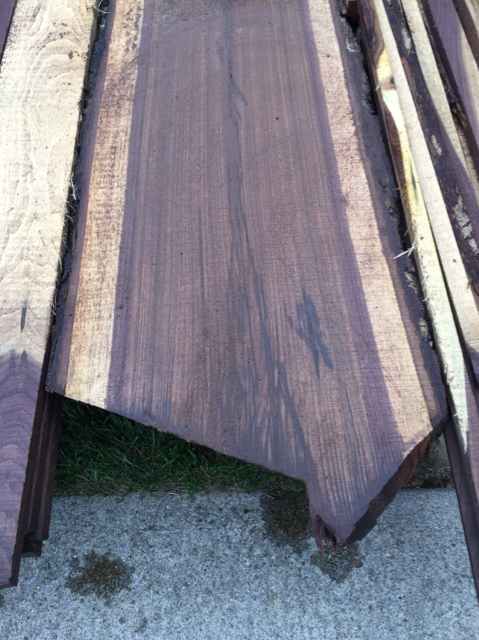
Was able to get my Walnut logs milled by guy near me that runs a mill. Used his smaller band saw. Sure did an awesome job and like most of us around here spent and hour working and an hour talking land and kids.
Ended w about 145 bd ft. Cut mantle one a little less than 4 in. And left it about 20 in wide and 11 long which will be cut to size when ready.
I have a kiln and planer available for the finish.
Still have 2 ten ft red oak logs to take to him. And may like them better but the black walnut looking pretty sweet. Regardless will use all n new house for shelving and accent.
The barn pics are 1/4 of the cut wood he has n there of any type you can imagine.
Had to pay him 3 X what he asked as these Mennonites jst won’t charge you much. And I still feel like I cheated him. Make it up when he mills the reds. Still can’t fig video... maybe one day. Pretty cool.
e02443bd785945ddee59f12d6d5d2e4a.jpg


750b8f99f2cde600ecbdef2895274d06.jpg


7b29b1bf1cb661427f37f1884bdc72ba.jpg


36e4ba1633dc9a6e6f01ec84b9a63405.jpg


d6a8400a599c3bb4800b3d979e443530.jpg


4e54ec4c8ad04ecb12fada1d3f5fa84b.jpg


Sent from my iPhone using Tapatalk
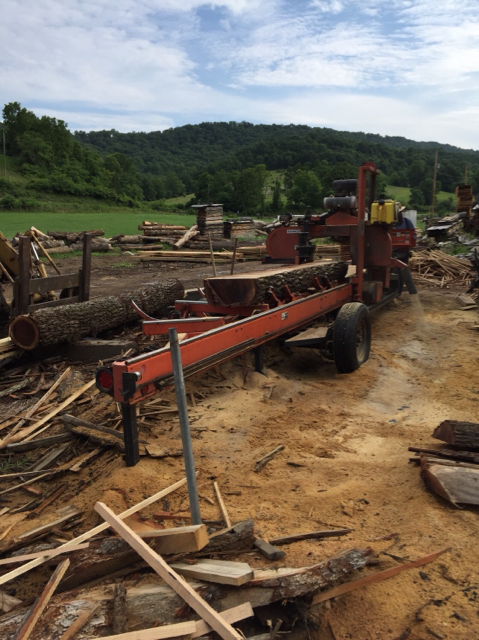
 
See you can teach an old Doug new tricks. Another vid. Amazing to watch this fellow flip logs on mill and cut to best wood.


Sent from my iPhone using Tapatalk
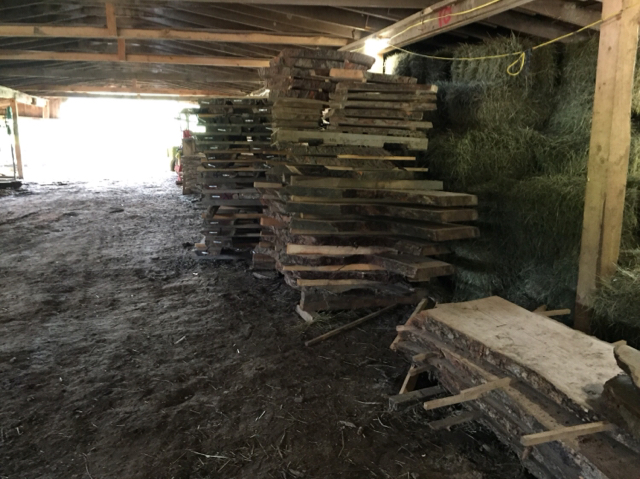
 
Beautiful wood. I believe that I paid .34 cents a board foot to mill up 800 bft of ash in to rough board.

G
 
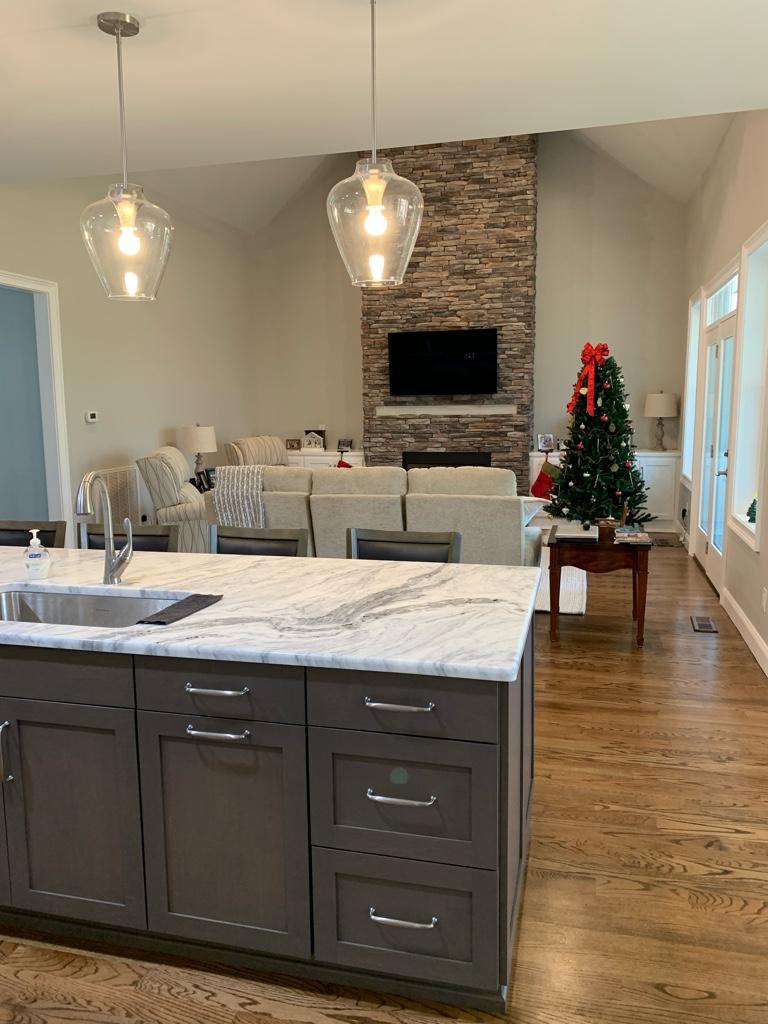
Bringing this thread back up as I finally built the new house this year and moved in a few weeks ago. As planned I’m ready to finish the Walnut I showed earlier I cut at the farm for the fireplace mantel.

Slab was removed from kiln today , planed , and will begin sanding and finishing next few weeks since my hunting season is tagged out probably.
Updates to follow next few wks.

f0d7ace44cb8d39032cfd6c683e67579.jpg


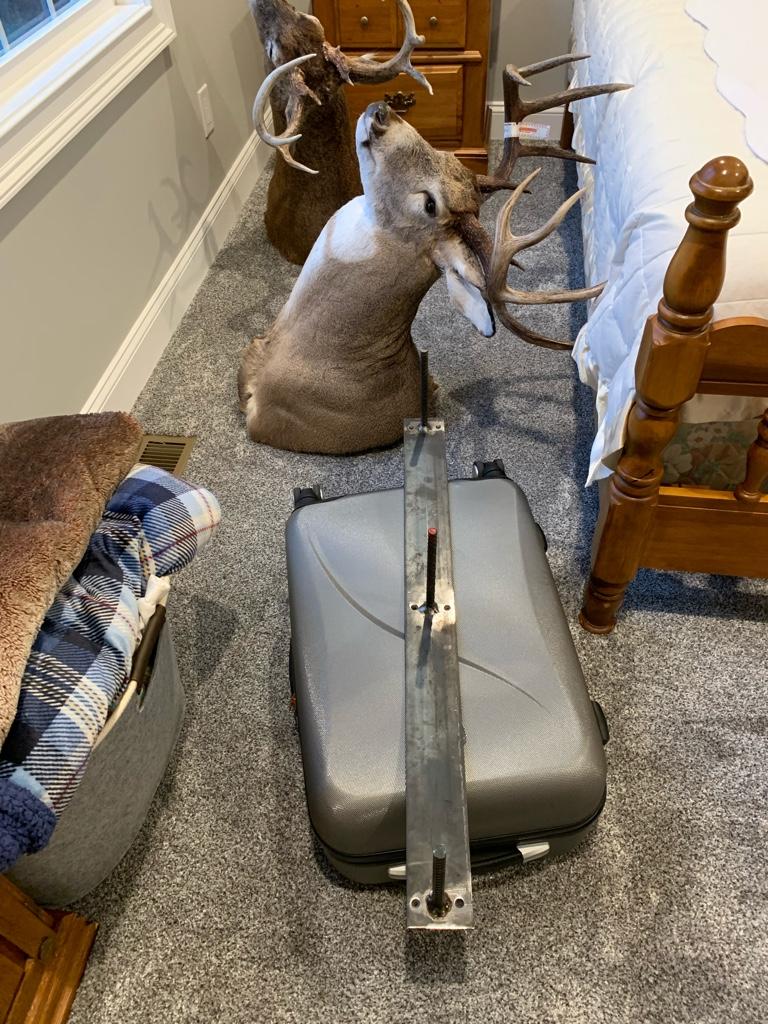
The mantle will go as a free float on space below the tv. Metal Mount has been cut and 3 rebars welded on to it in place. This will be screwed to studs and then the mantle slid on to the males.

3db24689cc6368708f78a2ddea6c11ea.jpg


A few finish types being tested on a sanded cut section. Still playing around with different options.
fa16f3c123b728d9c7be4258dc7ae3c2.jpg


Sent from my iPhone using Tapatalk
 
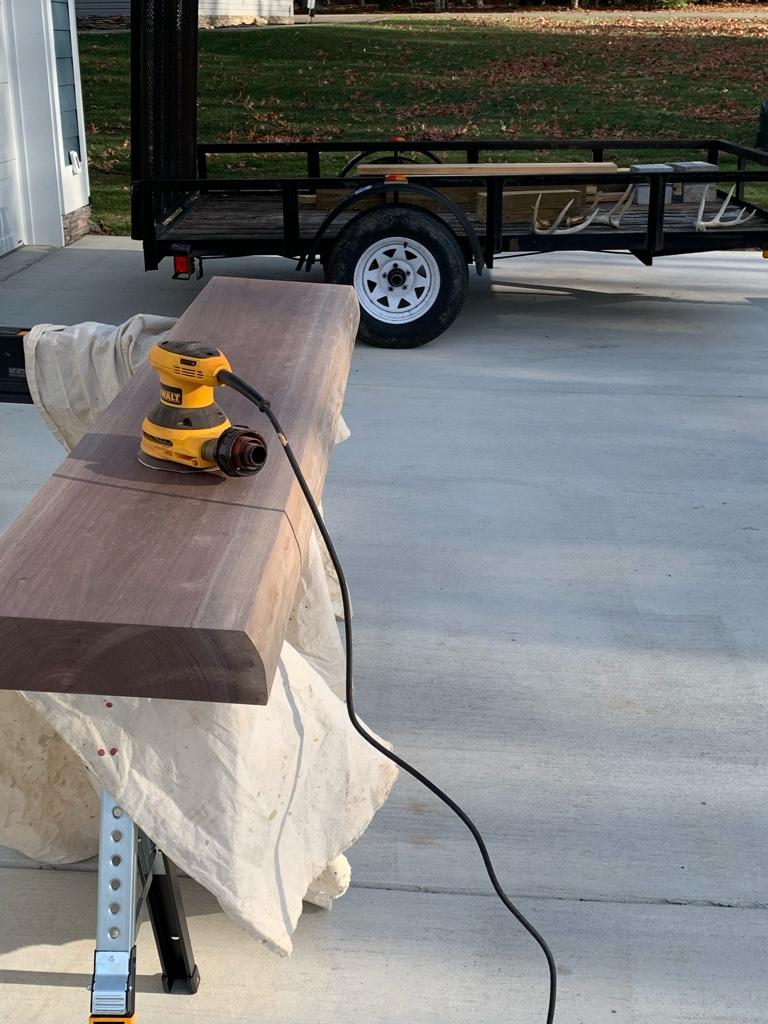
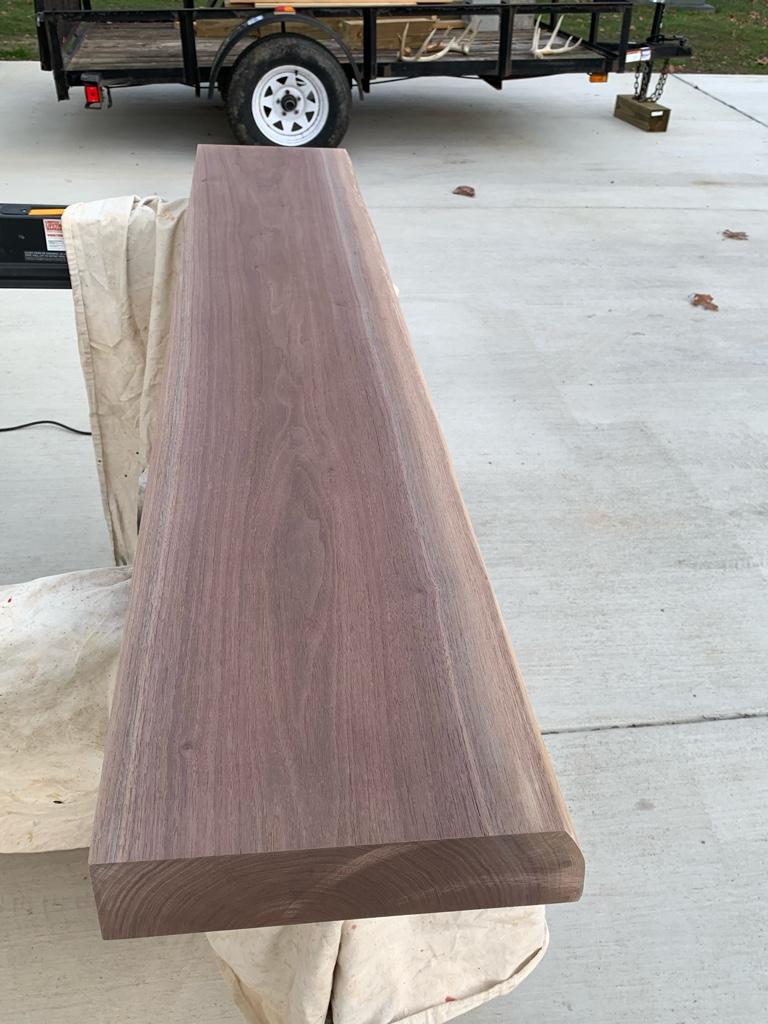
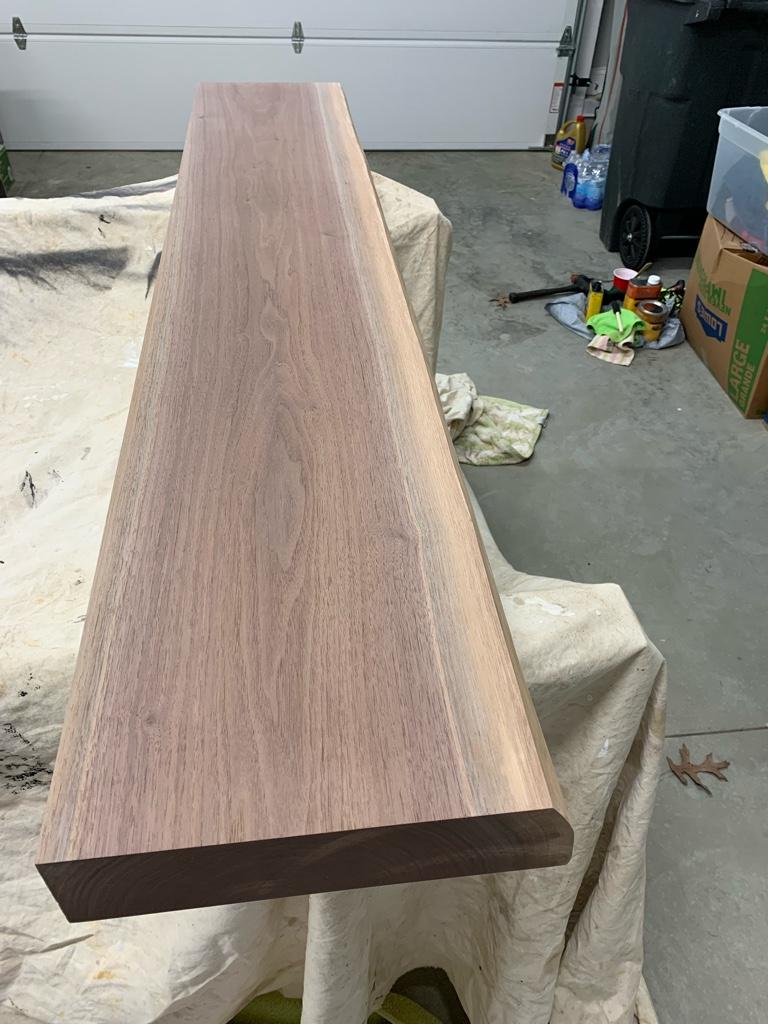
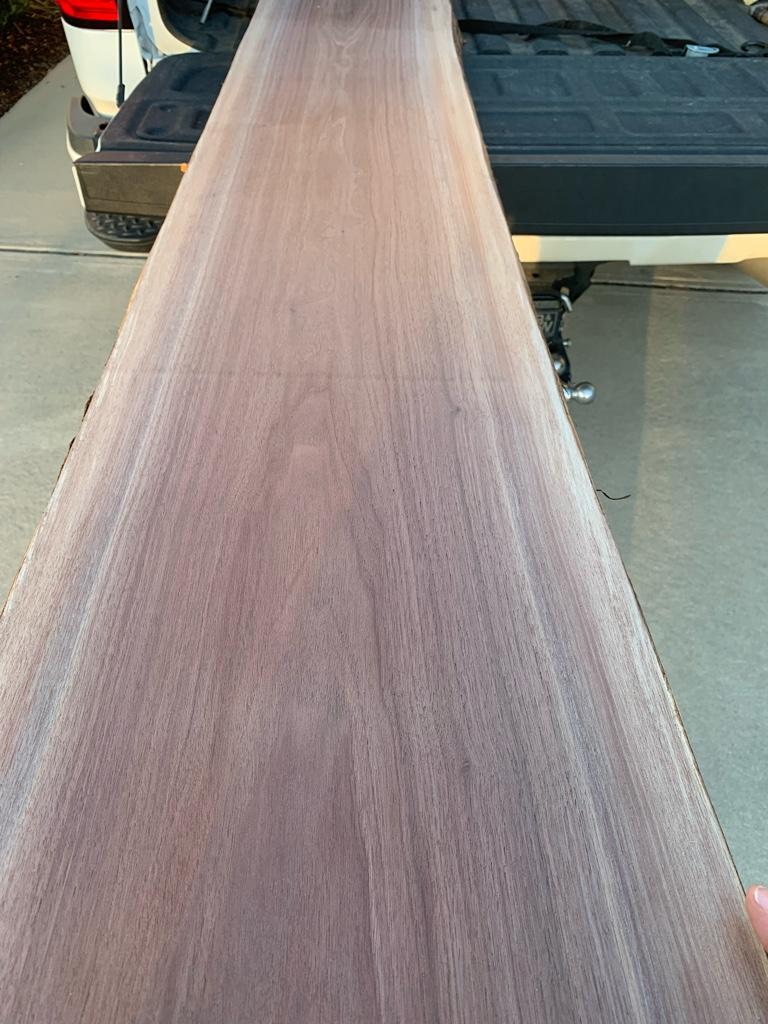
Cut to length and width the Walnut. Weather great today so moved out on drive and worked on sanding in prep for staining.

099b7af769cec6f950536396996d4104.jpg


Sanded top and bottom w 125 grit then 180 to finish. Did ends on up to 220 grit. Always do ends a step above what you do the sides for proper staining.

161c77e9adbe87a4043dd39e2ba974f0.jpg


b1979079c9417d37bc13338f2289eb34.jpg


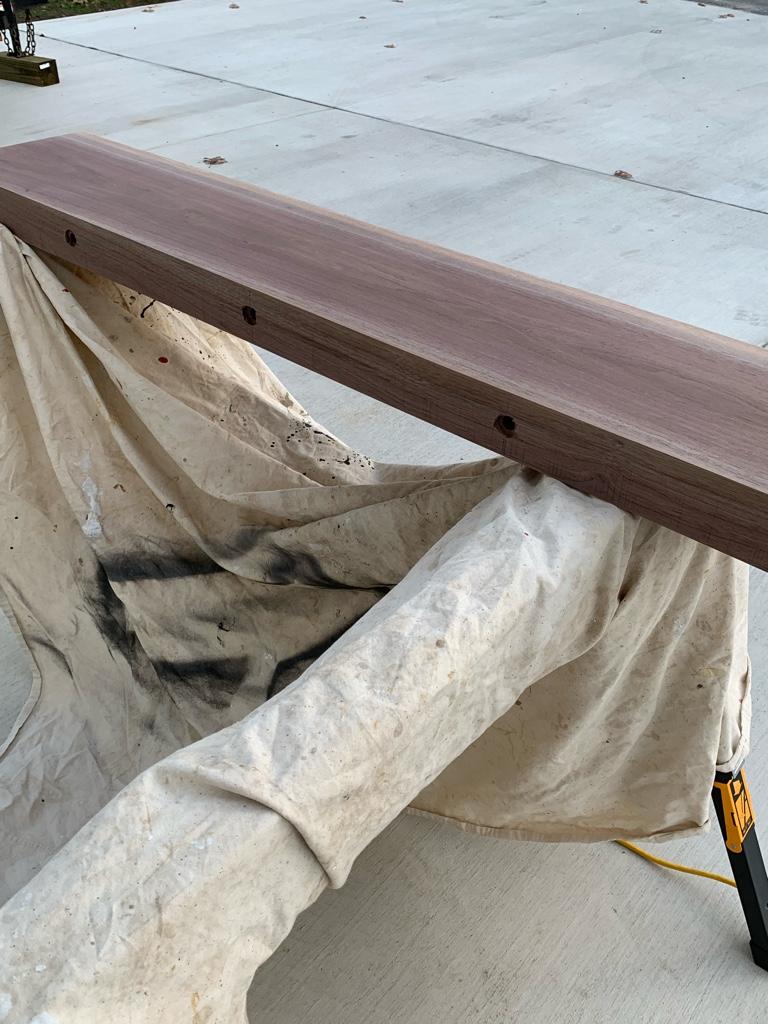
Receiver holes were drilled to receive the male studs for a floating mount. Been tricky getting this done as so much my stuff still in boxes from move. It’s never where you think it is. Drives me crazy.

5208b180c9781a55f58a53e38ab82632.jpg


Sent from my iPhone using Tapatalk
 
Here’s the mount we welded that will be screwed to studs in wall then mantle slid on to the males for the install. Sitting stashed w junk in the bedroom of course.
If it doesn’t turn out properly I’ll just cut another of the 100 acres of trees I have at the farm.

8fabf224aa9b4372872330d916272a50.jpg


Sent from my iPhone using Tapatalk
 
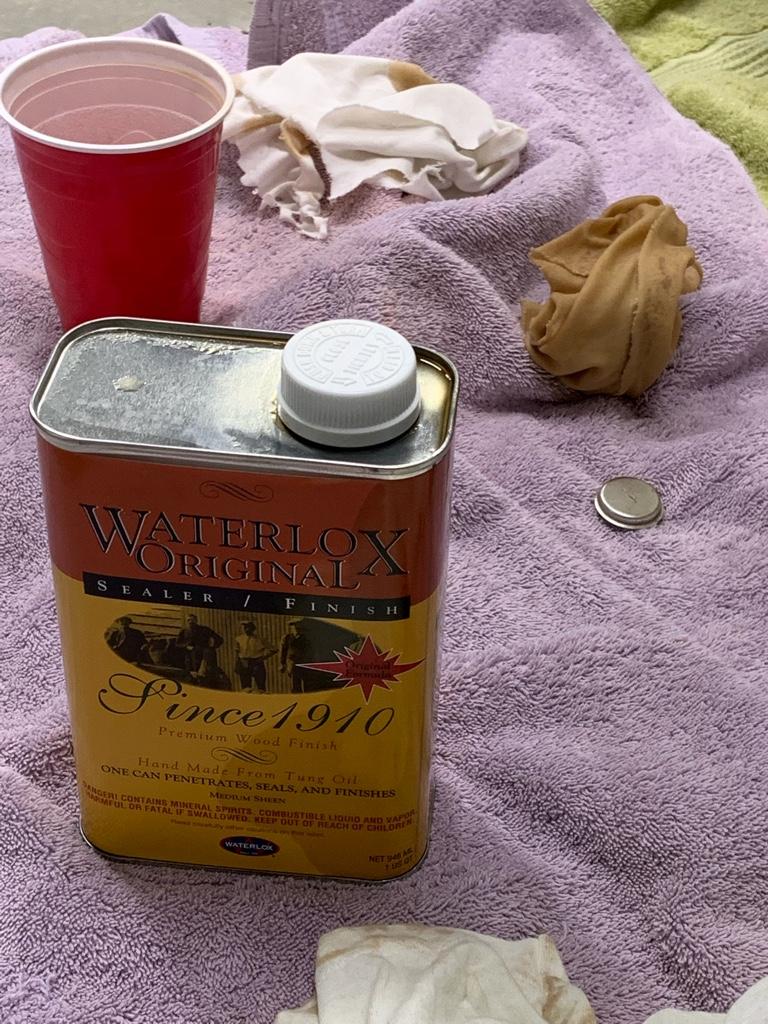
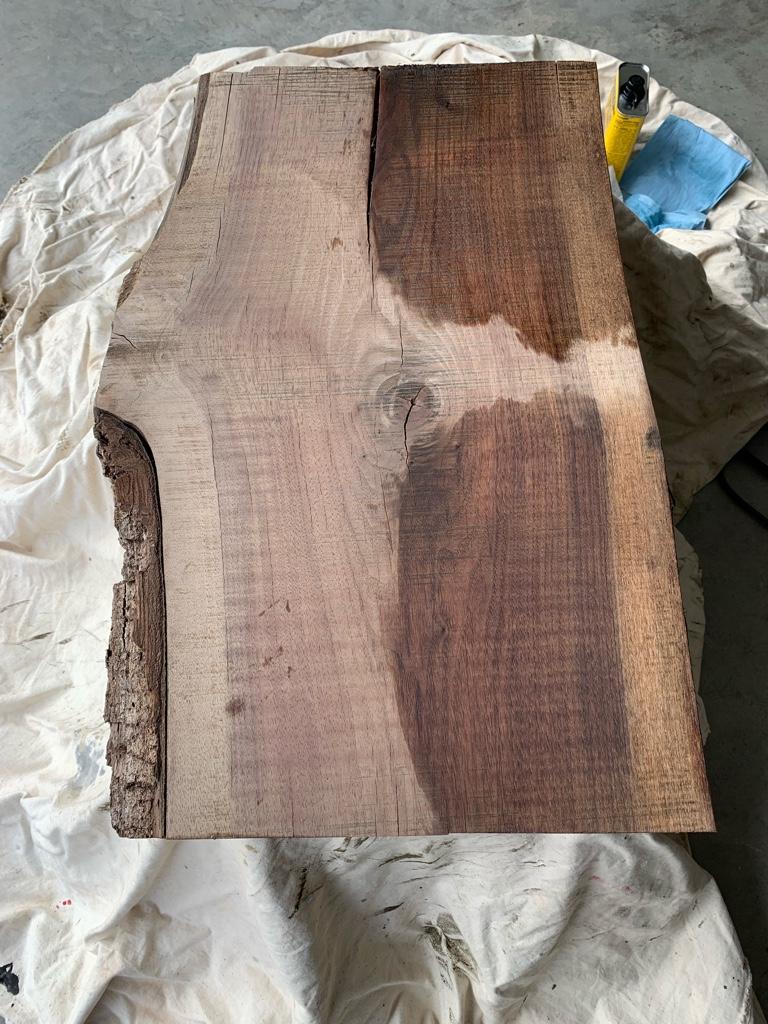
A little slow posting process. Moving along. Have placed two sealer finish coats. Using Waterlox brand.
A bit time consuming but like their products. Will place Satin finish coat once weather warms back up a bit. Then let cure for a week or so before mounting.

Before…
bc4e05e53e6d779d19212b7890e6badf.jpg


Spread w a clean t shirt rag. Dont use any Terry cloth products as they leave residue sometimes. I cleaned w a lightly moistened rag w mineral spirits before applying sealer.
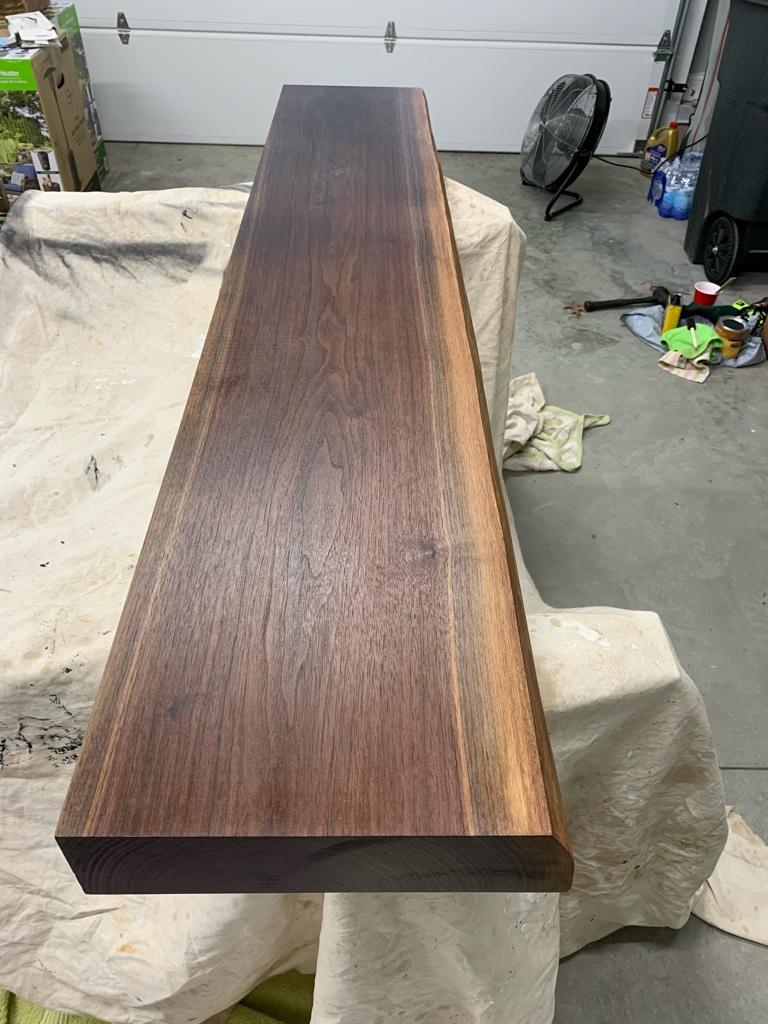
Here I’ve pretty much soaked wood with the sealer. In 15 minutes it had soaked in with very little to wipe off. Second coat the wood wasn’t absorbing as much and some more to wipe off.

330969ebc2a20cc097598262416f747b.jpg


At this step everything you are doing is below the surface. Solution is applied very liberally allowing to sit for 15-20 minutes then wiping any excess w a clean cloth. This also removes any residual sanding debris eliminating sanding between coats. I applied 2 coats of sealer 24 hours apart top /sides and then bottom.

f9d8f5ebfe0c0ed6f45cff9c8068b7bd.jpg


I want a not particularly polished look so some roughness I accept. Next step is finish satin coat in a few days. This is what I used for the first 2-3 sealer coats. You can see my t shirt rag laying.

fb6dc69bd0c47cc18451d1bf7da419cd.jpg


Sent from my iPhone using Tapatalk
 
Last edited:
Very nice, good looking 10, your water bed might spring a leak.

G

Couldn’t fig what you were referring to until I went back thru my pics and found the spare bedroom junkyard.
There was a time of having a waterbed. Sure were nice on cold nights among other things.
Merry Christmas George!!


Sent from my iPhone using Tapatalk
 
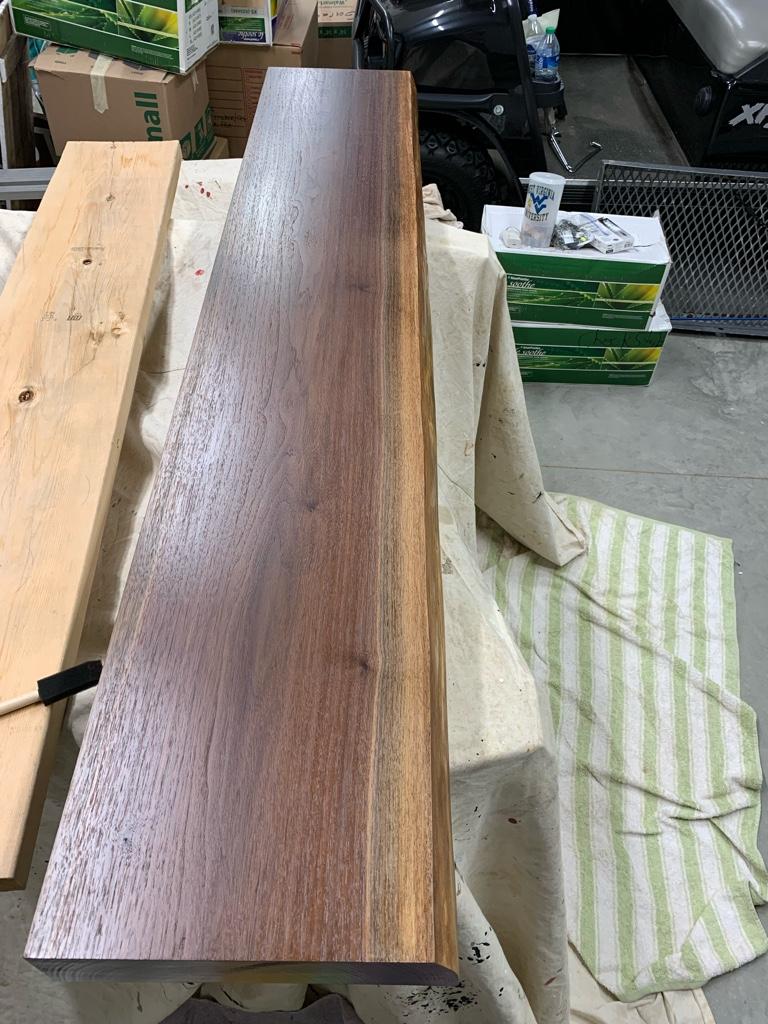
No pressure sand w 500 grit paper of sealer finishes. Ready for final steps.

Placing final Satin finish coat. Will give 2 of these 24 hours apart then let sit to cure for a week or so. I may still make that wife’s Christmas deadline!! If I do it may be the Hap Hap Happiest Christmas since Bing Cosby danced w you know what Danny Kay!!

9a4fa35ea0178d3e22661ee001c1720c.jpg


b5f136731a927c84f77ba19cf4283ba7.jpg


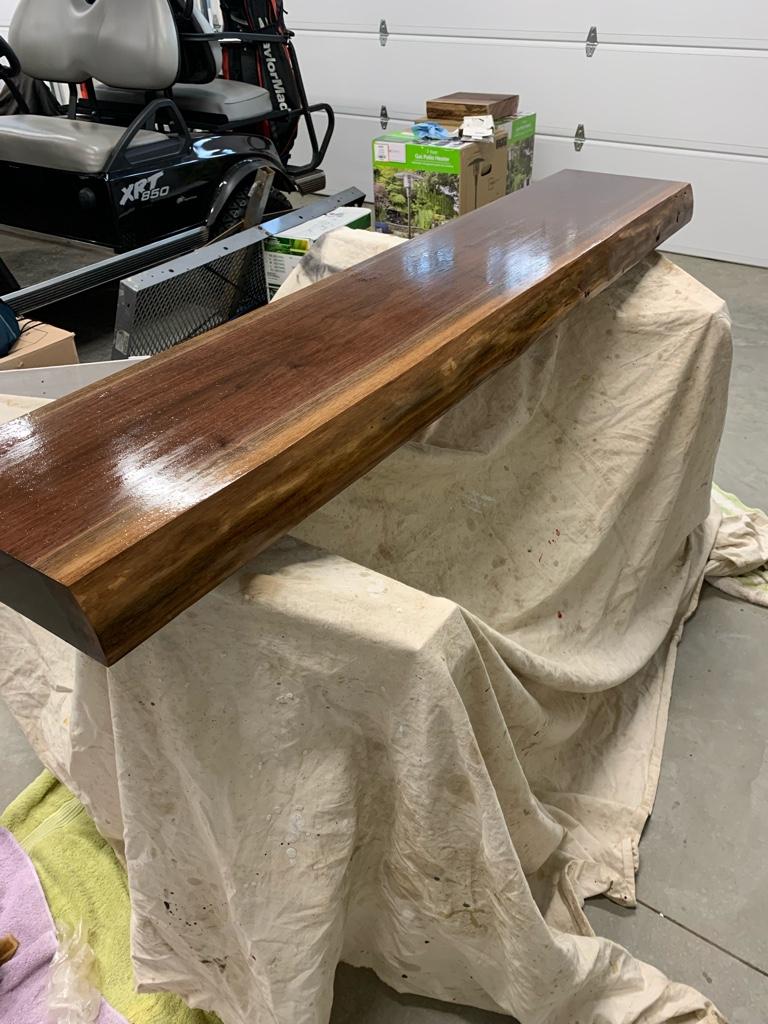
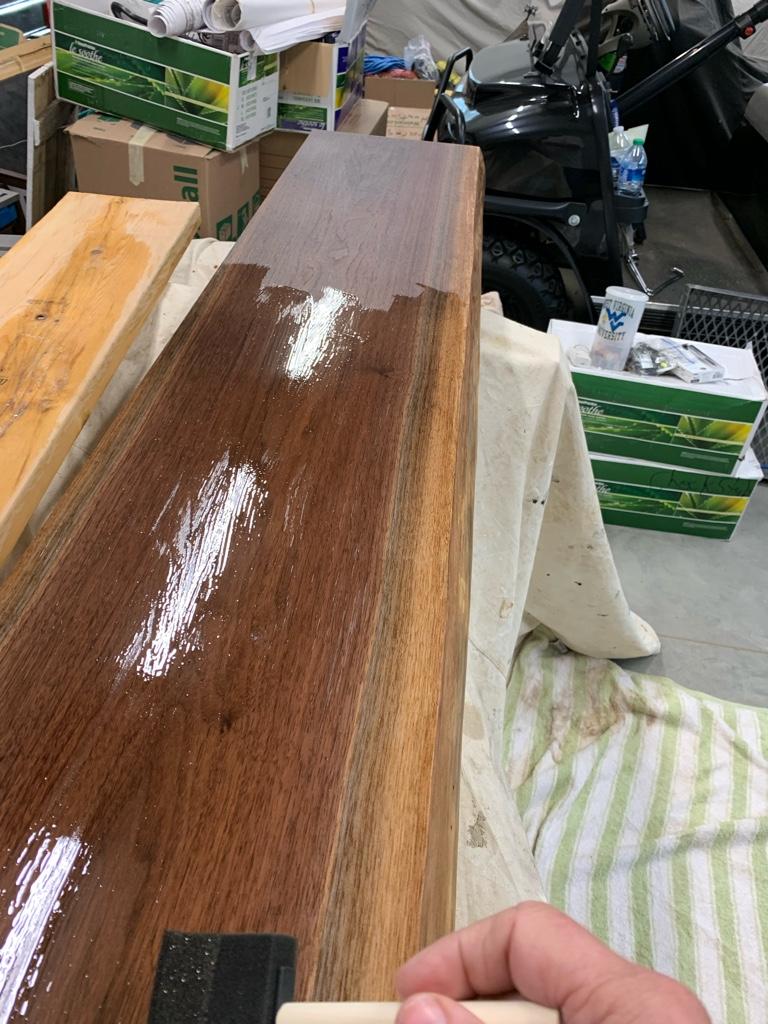
Unlike the previous coats of sealer which soaked into the wood and was a subsurface preparation , this finish coat is a surface coat which will not absorb into the wood , assuming enough sealer has been applied to the thirsty wood.
This coat is a protective layer and can be satin, semi, or gloss finish.

b14b1b3c1286c4d3140c428e8ceed227.jpg


afa0291bcd14bf51974d4ef11cb17fa2.jpg


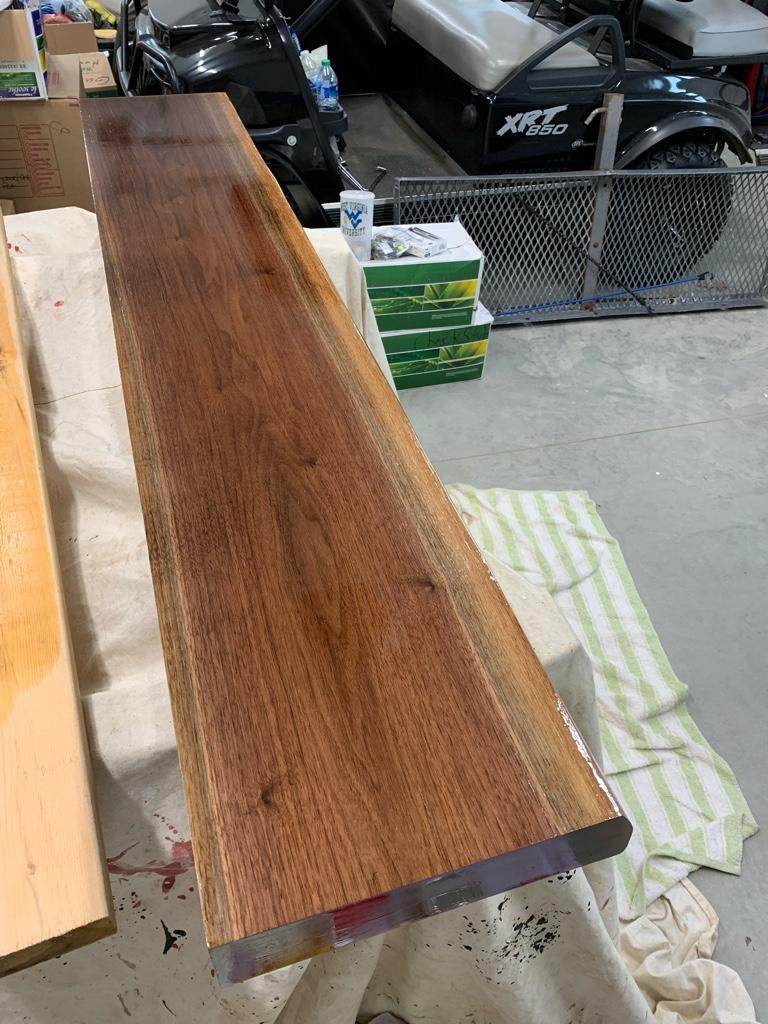
No wiping of this finish as we did with the sealer. Mainly just rechecking for 20 min or so of any running drip areas.
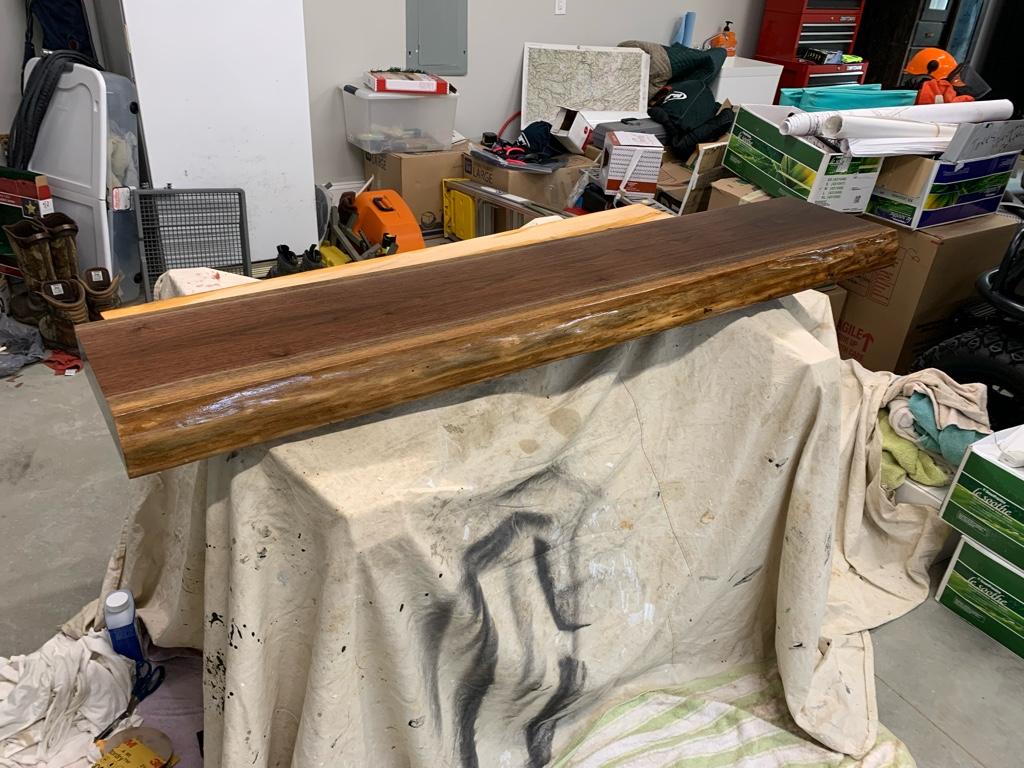
This pic is 10 hours of cure.

765b57b52a7c03408a4d8420afd904fb.jpg


Sent from my iPhone using Tapatalk
 
Back
Top