buiding a hunting bow and accessories

This is the process I use to make the broadheads that I hunt with. I make a few diff versions.

I use 125 grain field points and reshape them to remove the shoulders. this step may not be necessary buy It looks nice.

the blades are cut from a .039 thick bandsaw blade.
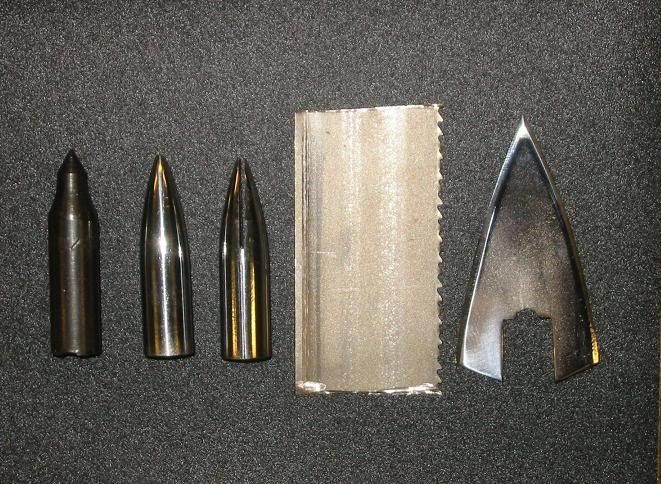
broadheads99.jpg


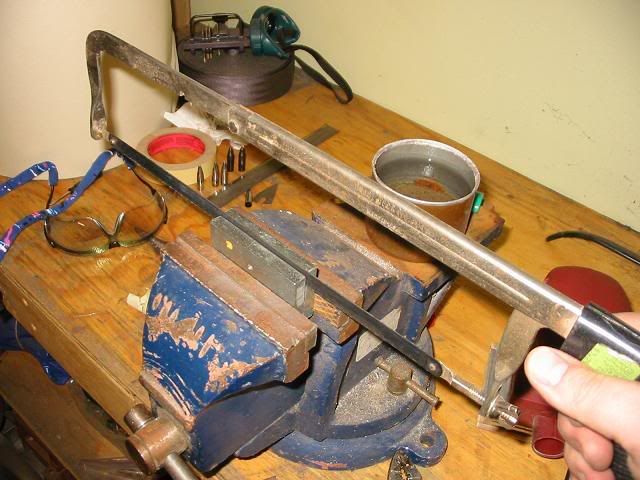
the jig for slotting the field point is made of steel and clamps the point while the spacer (piece of hacksaw blade) Leaves room for the saw to pass between the two halves to cut the slot.
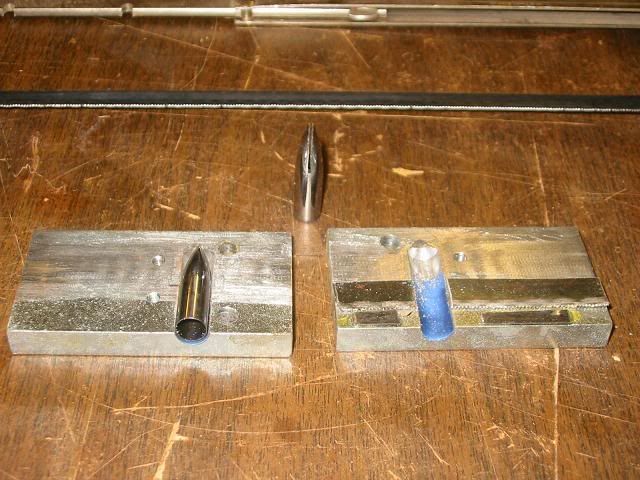
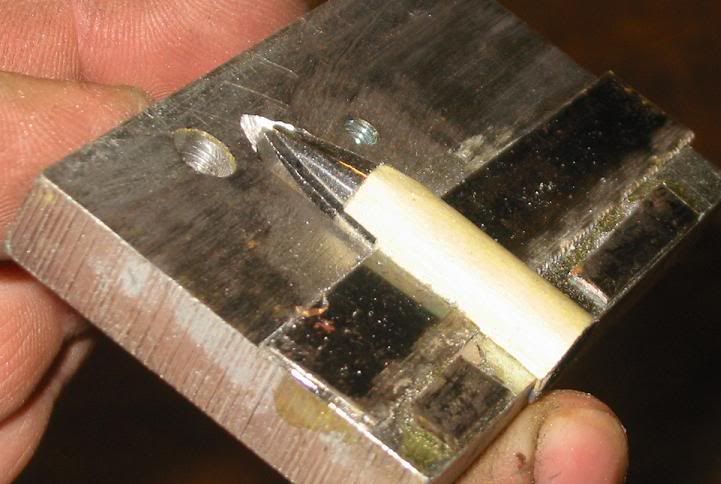
broadheads94.jpg


broadheads95.jpg


broadheads96.jpg


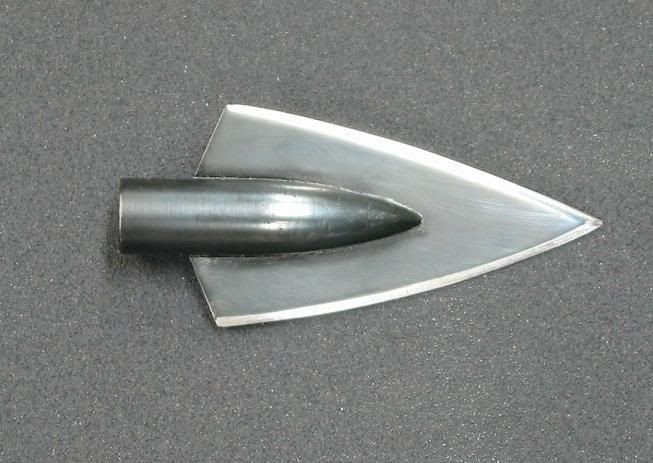
I then polish the two pieces and make sure I have a good fit up.
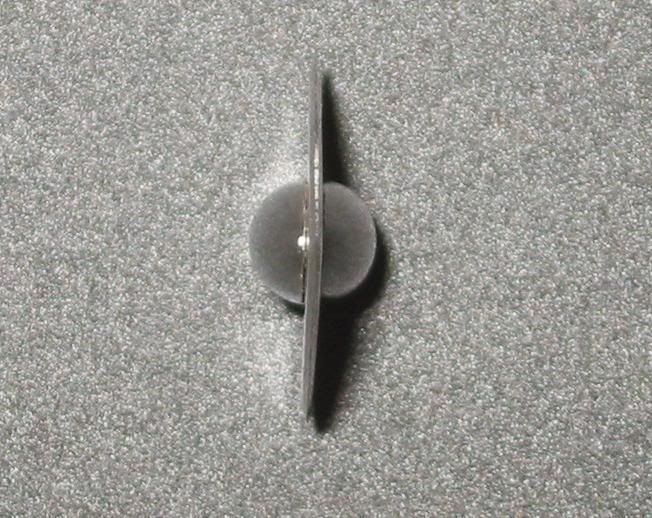
broadheads97.jpg


broadheads98.jpg


Next I braze the two parts together although I think solder or even J.B. Weld would suffice. I may try this on the next batch because brazing is messy and I have to quench afterward to make sure the heads are hard.
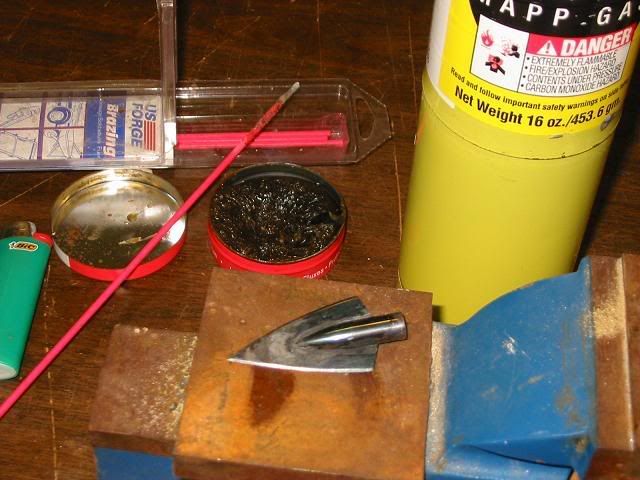
broadheads999.jpg


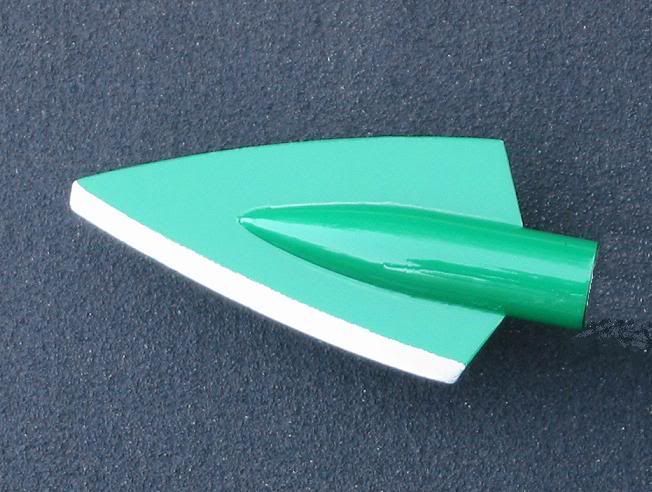
After cleaning and polishing again, I use a cold bluing to protect the heads and then a light coat of oil.
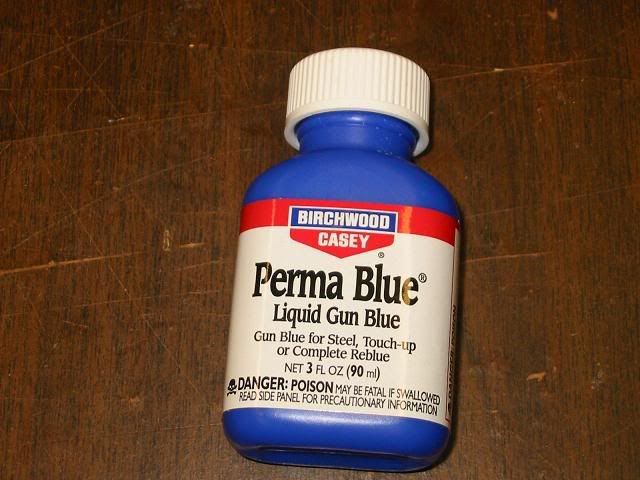
broadheads991.jpg


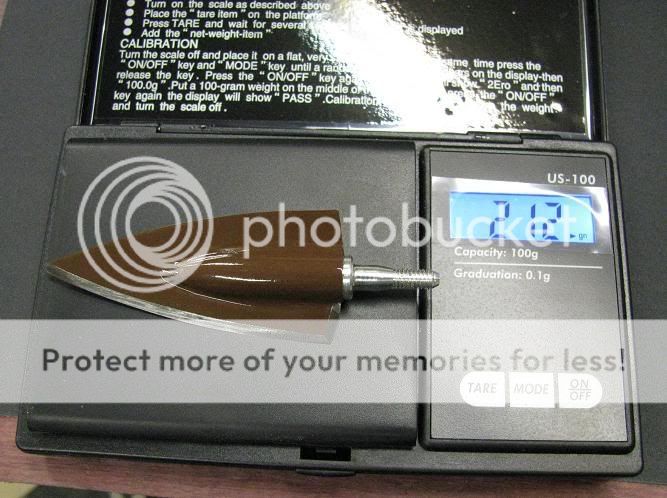
Finished weight, 165 grains. about 1 inch wide (15/16) and 1 1/4 long.
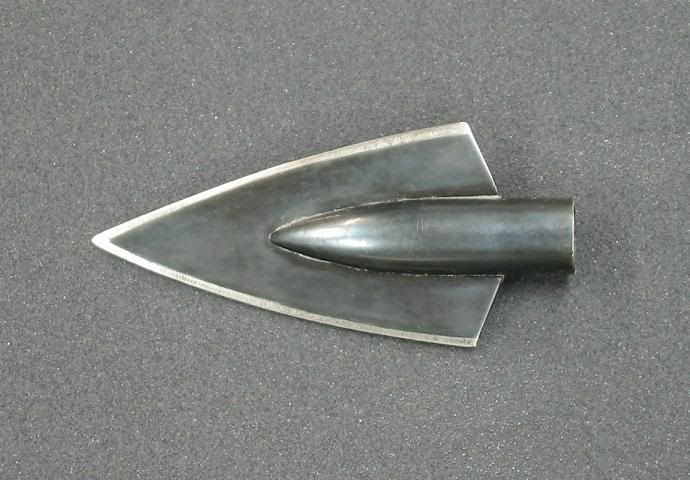
broadheads992.jpg


broadheads993.jpg


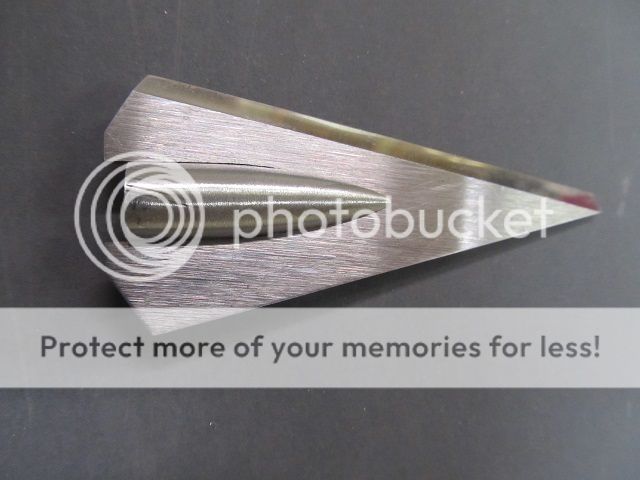
After reading Dr. Ashby's report on single bevel broadheads.(right after I finished the last batch of double bevel heads)
5c14afe4.gif
I just had to make some single bevel heads. It just makes so much sense. I will test both to see if I get his results.

http://www.tradgang.com/ashby/single-bevel-broadheads.pdf
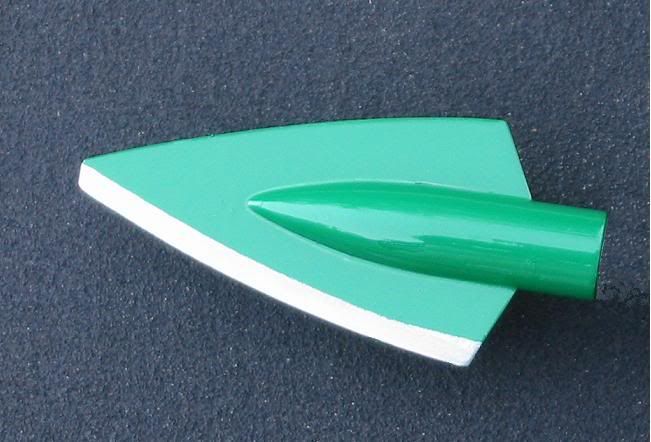
singlebevel1.jpg


singlebevel2.jpg


After making the first set of single bevel heads, I made a new set with a longer profile.

Then I fooled around with a longer version.
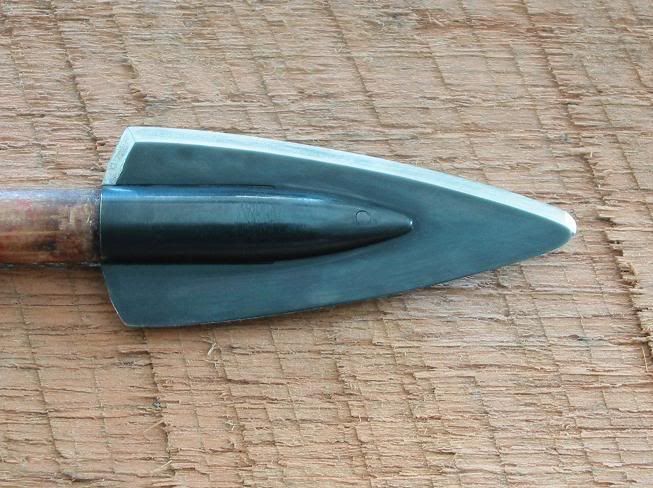
2.316.jpg


Another design and the one I hunt with.
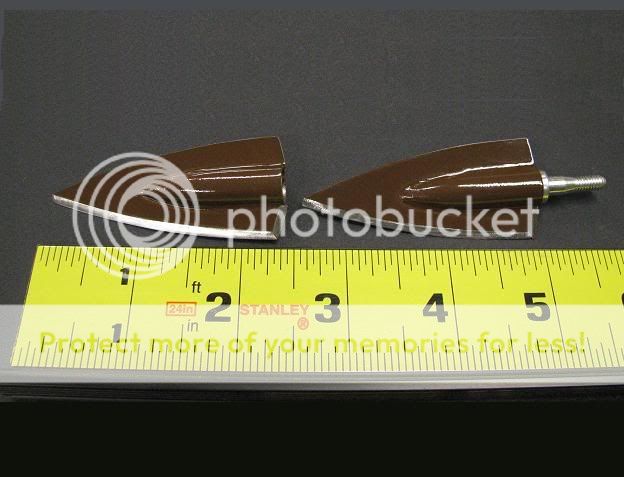
2008head.jpg


2008head2.jpg
 
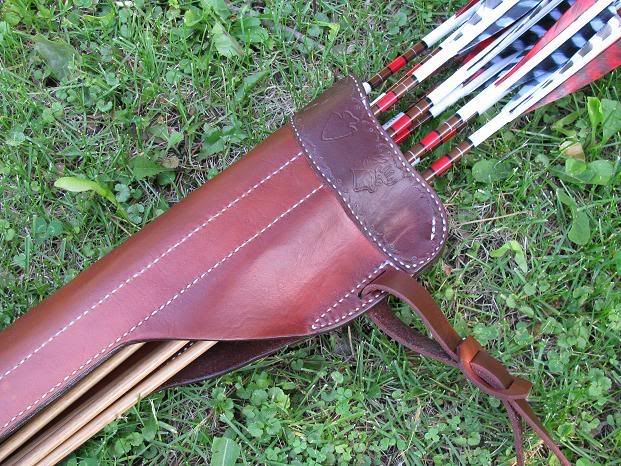
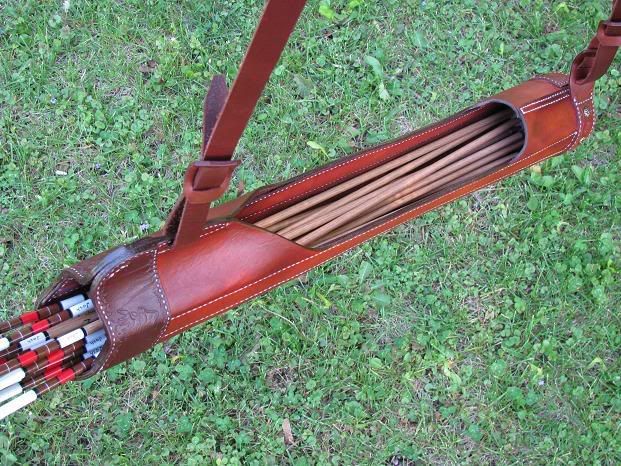
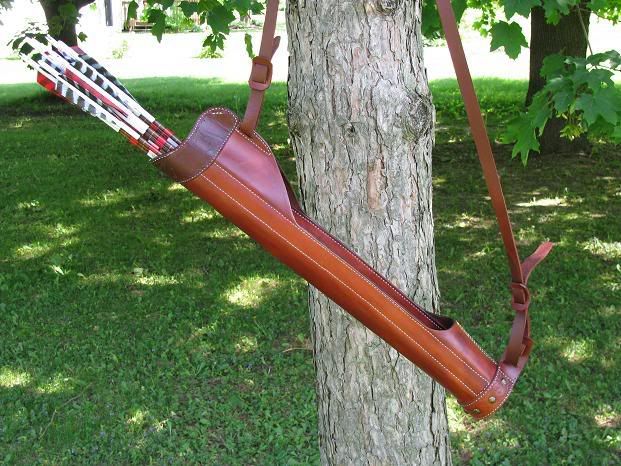
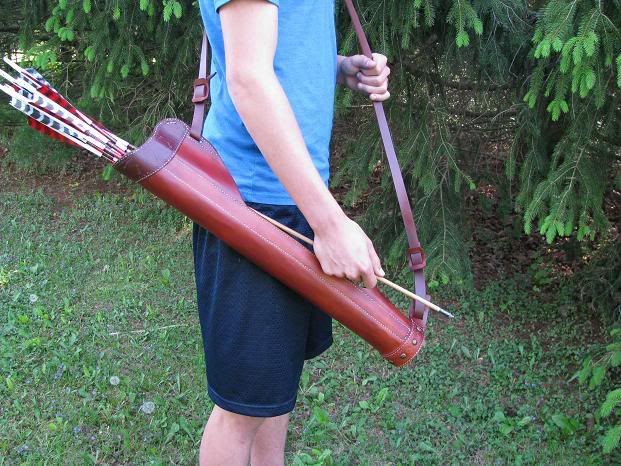
This Quiver is for the bow I built.
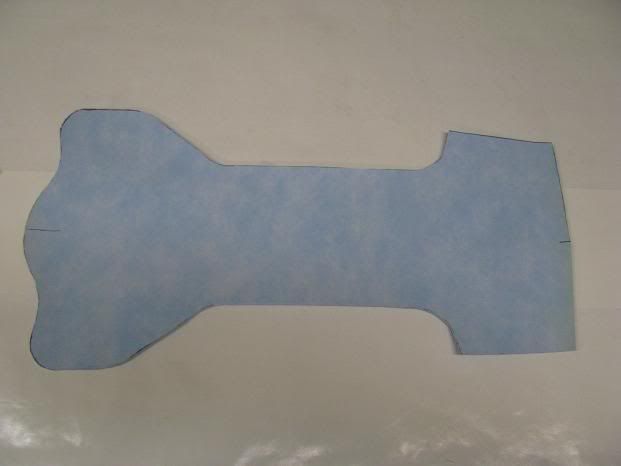
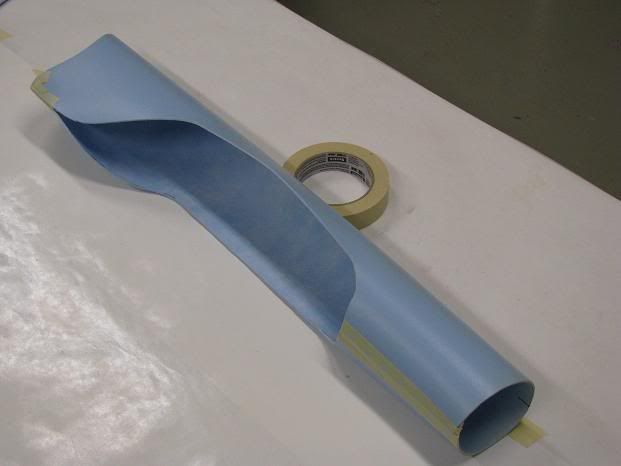
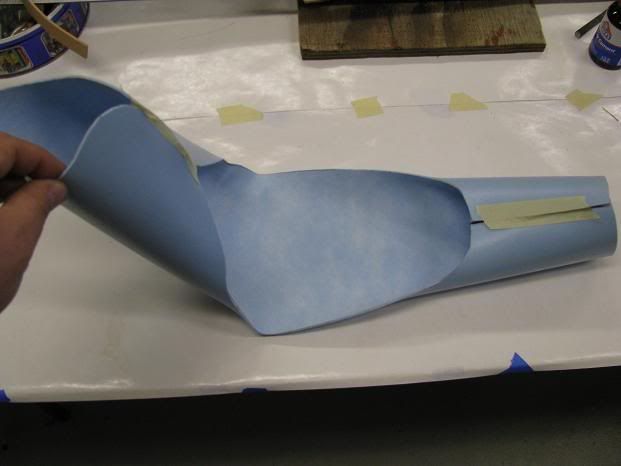
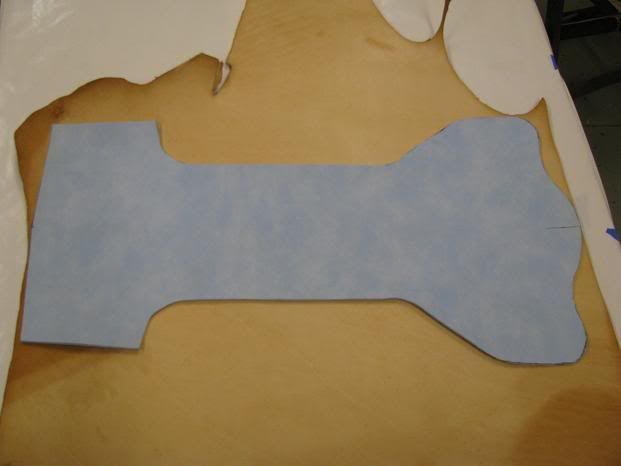
I made a pattern from a piece of padding from when I installed hardwood floors in my dinning room. It is about as thick as the leather I am using but a bit more flexible. It makes a good prototype material.

quiver1.jpg


quiver2.jpg


quiver3.jpg


My biggest concern with having such a big opening in the side of the quiver is that, over time, as the leather softens, it will fold or collapse. I will reinforce the quiver to prevent that from happening.

quiver3a.jpg


I am making the quiver out of 8 Oz. tooling leather.

quiver4.jpg


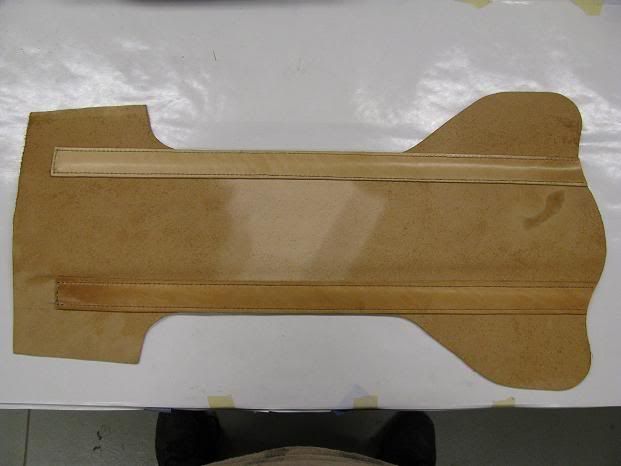
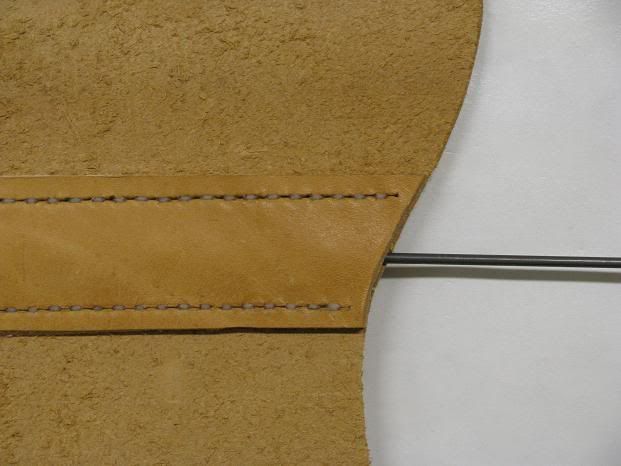
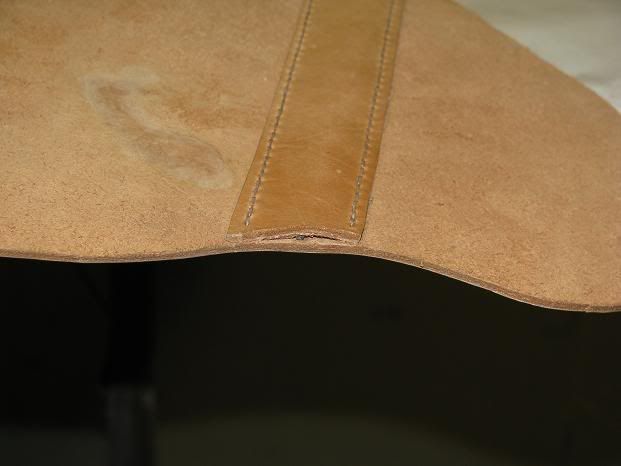
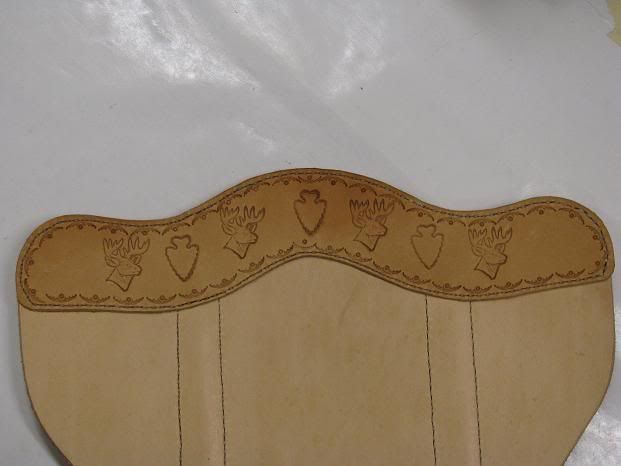
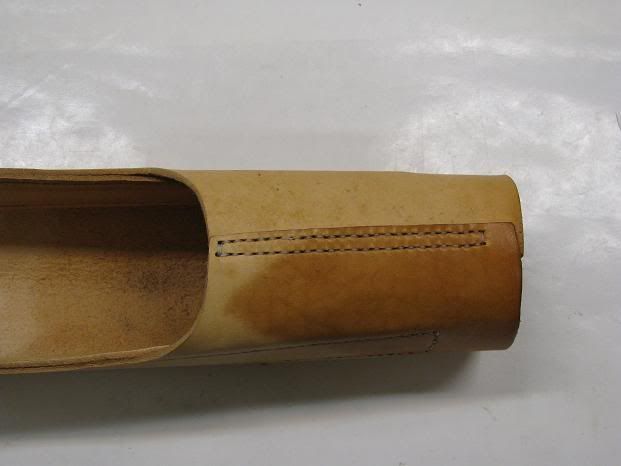
In order to stiffen the sides of the quiver, I stitched long strips of leather to the inside of the quiver.

quiver5.jpg


I left one end open so I could insert 3/32 dia. music wire the entire length of the quiver.

quiver6.jpg


quiver7.jpg


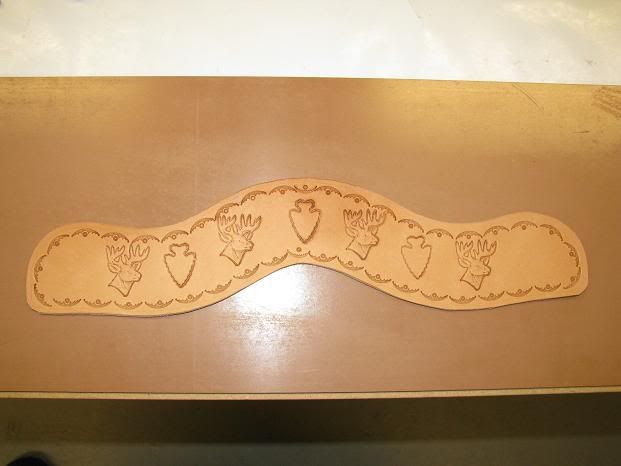
the next step is to at a bit if stiffness and decoration to the opening.

quiver8.jpg


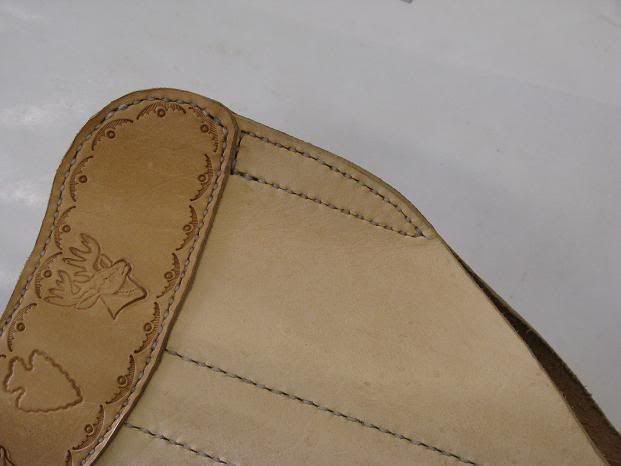
I stitched this piece of 5 Oz. leather to the quiver while flat (before shaping.

quiver9.jpg


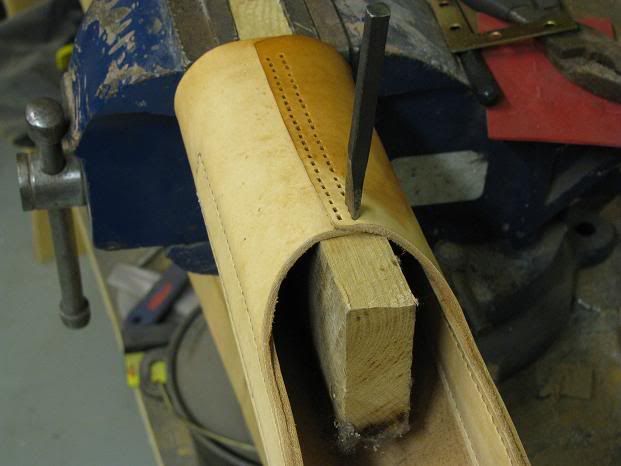
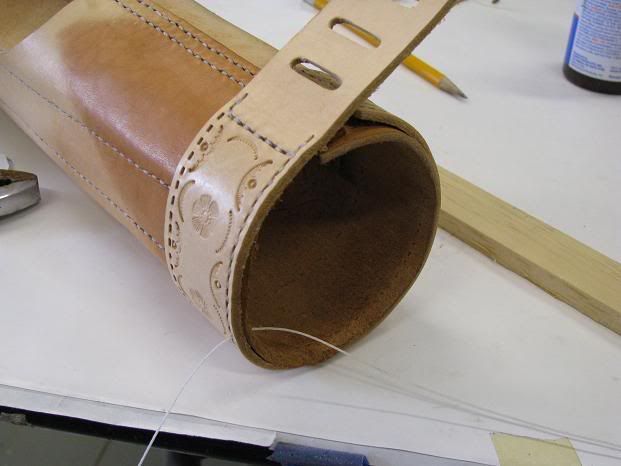
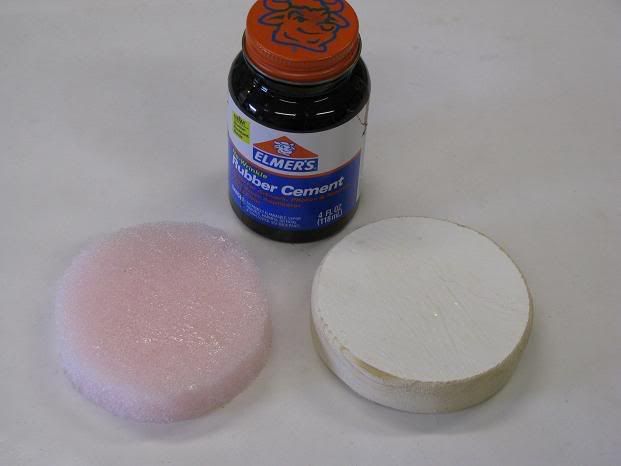
The next step is to shape the quiver into it tubular shape. I wetted the leather to allow me to shape the quiver and then used a blow dryer to save a bit of time drying it off. I then marked an overlap and used rubber cement to join the to ends so that I could punch the stitching holes.

quiver91.jpg


quiver92.jpg


With the bottom stitched, I joined both sides of the quiver opening.

quiver93.jpg


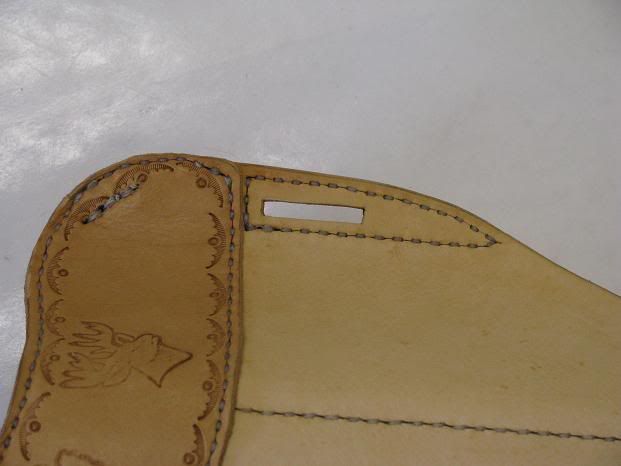
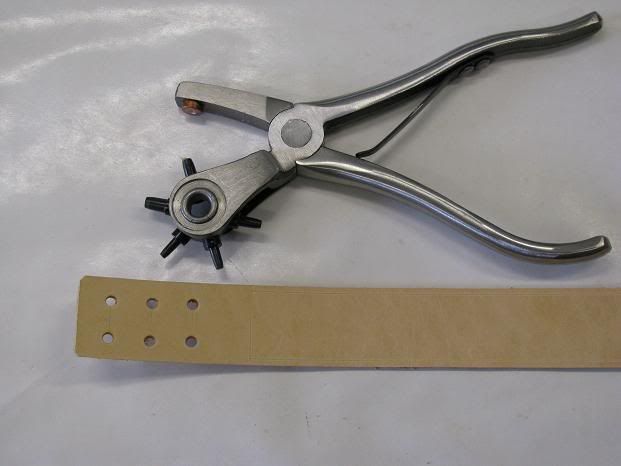
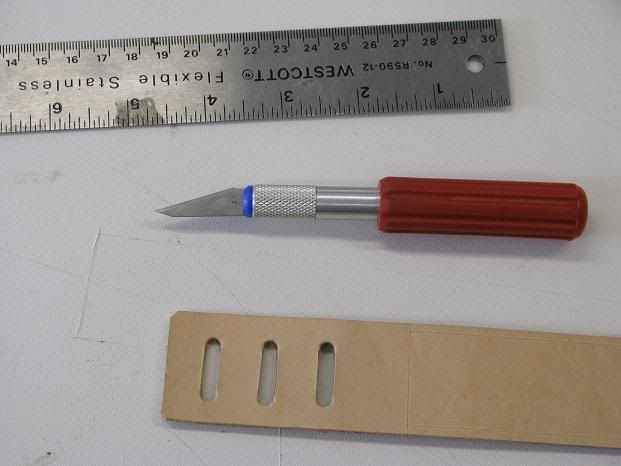
Then I cut a slot for the shoulder strap.

quiver991.jpg


Next, I added a piece to the bottom of the quiver that I could attach the other end of the shoulder strap to.

quiver94.jpg


quiver95.jpg


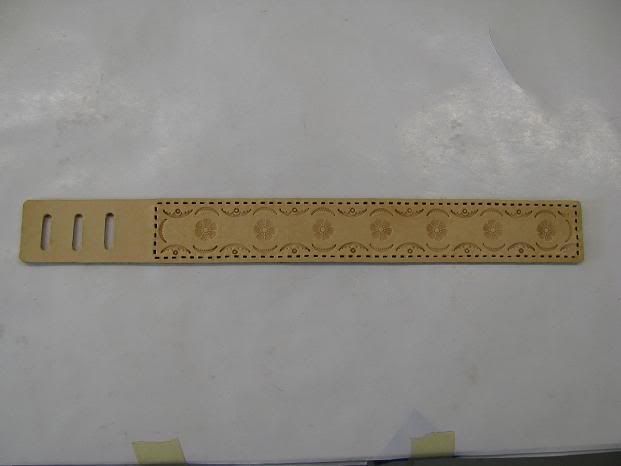
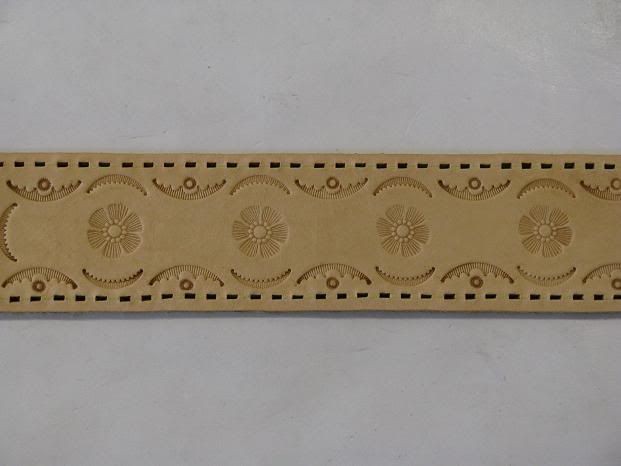
And then gave it a bit of decoration and some stitching holes.

quiver96.jpg


quiver97.jpg


Stitching the already rolled tube proved to be a real pain.

quiver98.jpg


quiver99.jpg
 
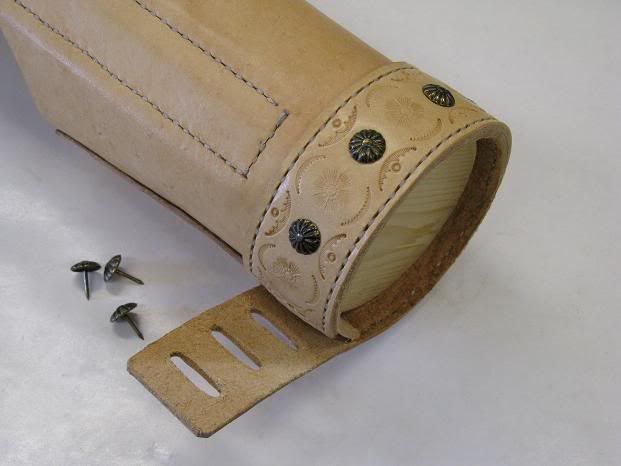
For the bottom of the quiver, I used a piece of 3/4 inch thick pine.

quiver992.jpg


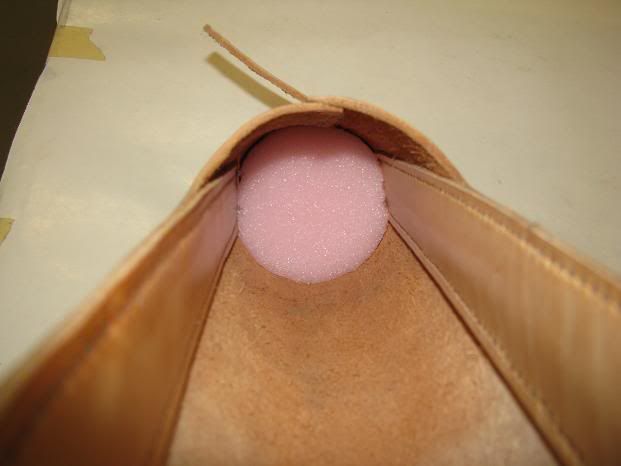
And then added a layer of foam to reduce the noise.

quiver993.jpg


The bottom is held in place with decorative nails.

quiver994.jpg


quiver995.jpg


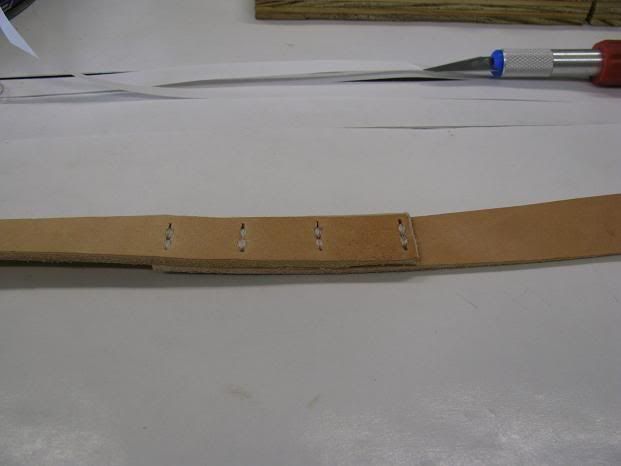
I do not have a large enough piece of leather to make a continuous shoulder strap so I have to join a few strips together that I cut out of one of my bigger pieces.

quiver996.jpg


quiver997.jpg


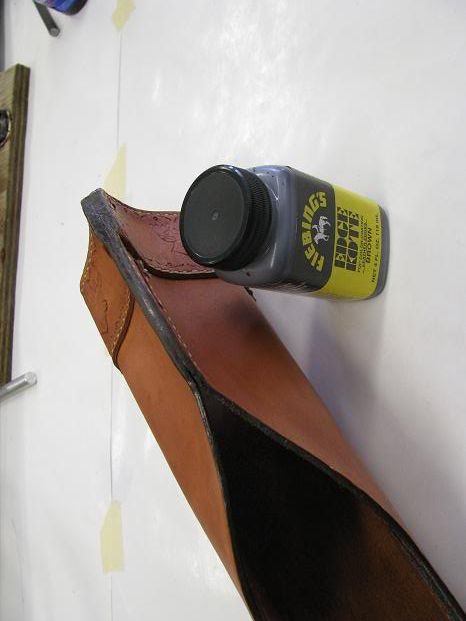
I stained the quiver with a mixture of dark brown and oxblood to create a burgundy. I added about a tablespoon of this mixture to a pint of denatured alcohol. I did not want a dark stain but rather an antique look and I know the neatsfoot oil will darken the leather even more. Once the quiver was dry (blow dryer assisted) I applied brown edge kote to all the exposed edges of the leather. Once it dried, I polished it with a piece of bone.

quiver9993.jpg


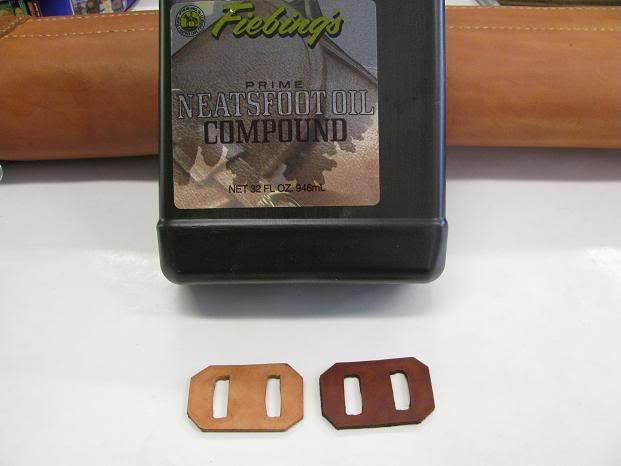
The next step was to return the oils to the leather that were lost during staining due to the alcohol and blow dryer. Without this step, the leather would crack when flexed. As you can see by the buckle on the right, the oil has a darkening effect on the leather.

quiver9994.jpg


After a few hours sitting in the sun, the oils had soaked in and I applied a coat of mink oil to further moisten the leather and to waterproof it.

quiver9995.jpg


The burgundy was a good color choice for this project.

quiver9997.jpg


quiver9998.jpg


quiver9999.jpg


quiver9996.jpg


quiver99991.jpg


quiver99992.jpg
 
In 2016 I drew a black bear tag in WI so made a new set of single bevel broadheads for that hunt. Im using field points and 7 1/4" circular saw blades for the main blade. Im slotting the field tip (ferrule) and can peen the tip of the ferrule onto the blade but the joint at the back end is more challenging.

I starting messing around with a prototype. Now Im thinking of instead, using a threaded adapter rather than a reshaped field point.

IMG_3152_zpsbrelxatq.jpg


Beveling made easy with the right tool for the job.

[video]
 
I used J.B. Weld in the slot cut in the adapter to fuse the blade and I peened over the tip of the adapter in the hole in the blade to further trap the blade on the adapter. The J.B. Weld and eventual paint will have the final broadhead around 180 grains. Here is a video of the fit up before fusing the parts.


[video]
 
With all the homemade primative Trad gear in hand, I went to northern WI to hunt black bear.

Part one one of the trad archery bear hunt

[video]

Part 2

[VIDEO]
 
Just finished this thread. Holy Cow! What an awesome build along with some off the charts talent. Thanks for sharing! Can you imagine what your grandson will think when this bow is handed down to him many, many years from now?
 
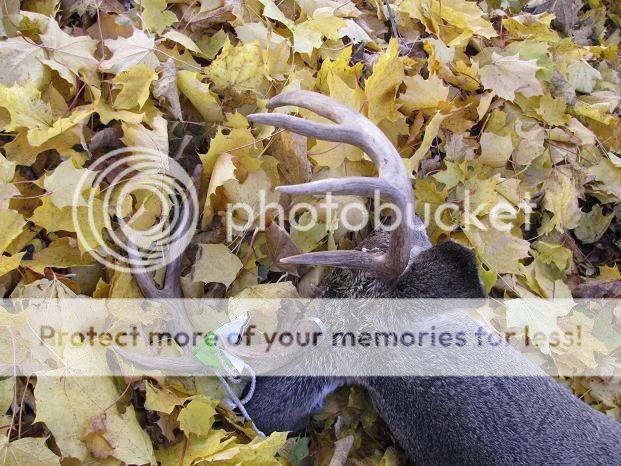
As of this writing I have but one grand daughter aged 2 but I follow what you are saying. The joy is in the doing. The journey is where the fun is, not the destination. Ive taken deer and bear with all homemade primitive trad. It sure adds a level of satisfaction when you score. This is my last all DIY trad buck. a fat young 8 I took at 8 yards.

skull4.jpg
 
Just finished this thread. Holy Cow! What an awesome build along with some off the charts talent. Thanks for sharing! Can you imagine what your grandson will think when this bow is handed down to him many, many years from now?
In the gun section I posted a firearms version of this sort of build along.
 
Just finished this thread. Holy Cow! What an awesome build along with some off the charts talent. Thanks for sharing! Can you imagine what your grandson will think when this bow is handed down to him many, many years from now?
Up until I started my bowhunting products company in 2015, I had time for this sort of stuff. Those days are gone. Im making other tuff but now there are deadlines and the other trappings of owning a business.
 
Absolutely amazing. Don’t think I have ever conversed with anyone who has ever made every single thing needed to buwhunt. I have made selfbows for myself and others. I have made river cane arrows with turkey fletching and hand knapped my own arrowheads and I do make my own Flemish strings but what I do is primitive compared to the artistry you have done with this complete build. I took 1 doe with my hand knapped rock head out of my self bow. For the past 2 years I dealt with a torn rotator cuff that turned into frozen shoulder in my right shoulder. It has slowed me down tremendously but with Home done PT I am back to able to draw a bow again.
Thank you for this thread...I used to hang out a bunch on stickbow.com as Gonzo...

Thanks for the kind words. If you have taken an animal with a stone head that you knapped, then you have exceeded my abilities. Ive yet to do so despite having snapped my own heads. Saddly time is my biggest constraint these days.

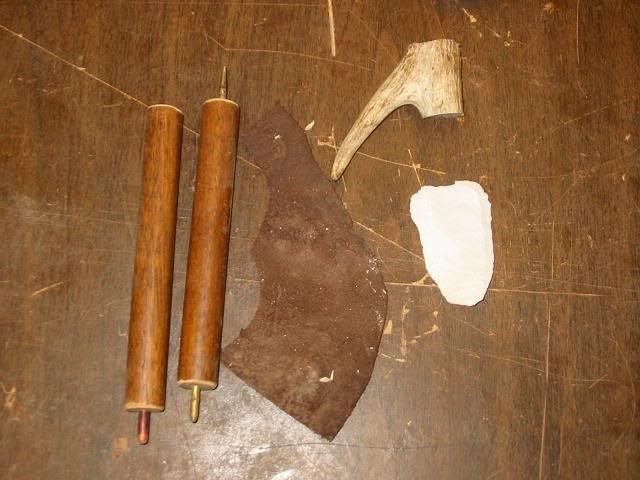
This is how I make stone points.

chert1.jpg


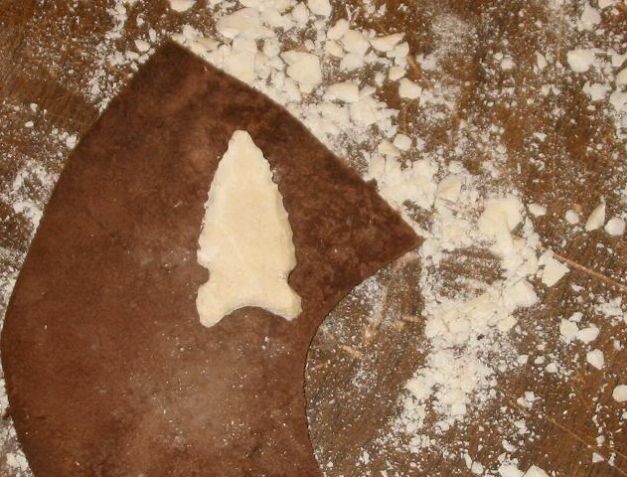
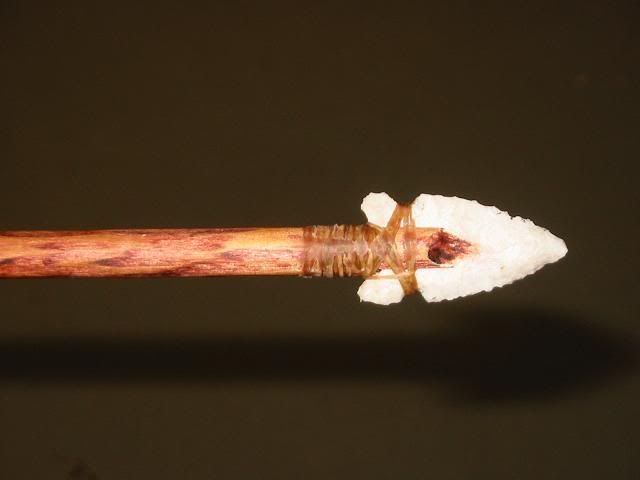
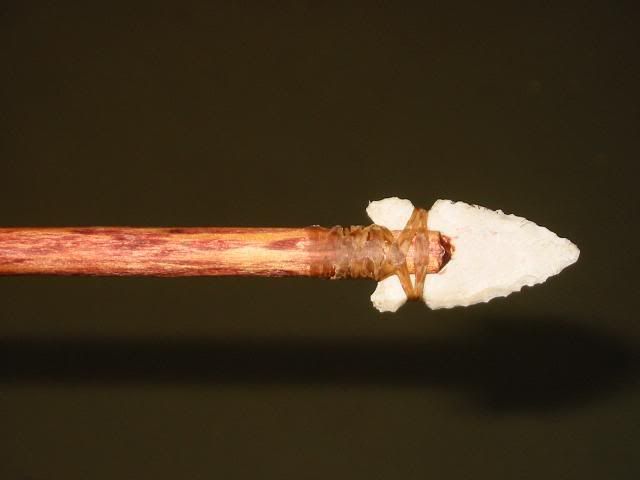
I used a nice, thin, white piece for the arrowhead.

chert2.jpg


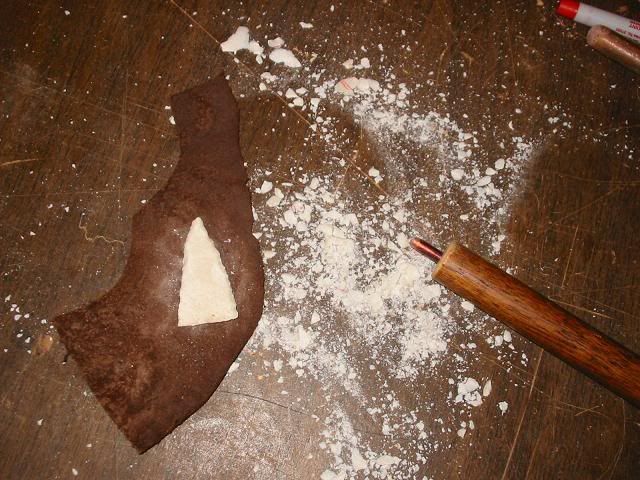
I made some wood and cooper tools and an antler brow tine to flake away the stone. The leather is to protect my hand as I press the coper tool against the chert. The flakes are sharp.

chert3.jpg


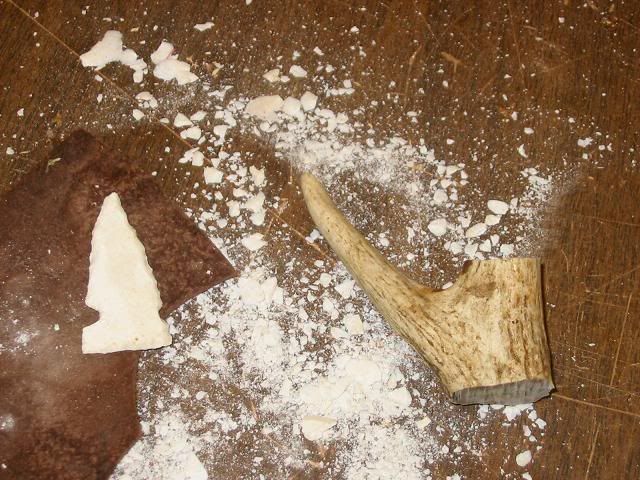
I started by squaring off the bottom of the flake and then chipped the head to shape.

chert4.jpg


chert5.jpg


Lastly I added the grooves to each side that will be used to tie the head to the shaft. This is where I make the most mistakes and break the head.

chert6.jpg


chert7.jpg


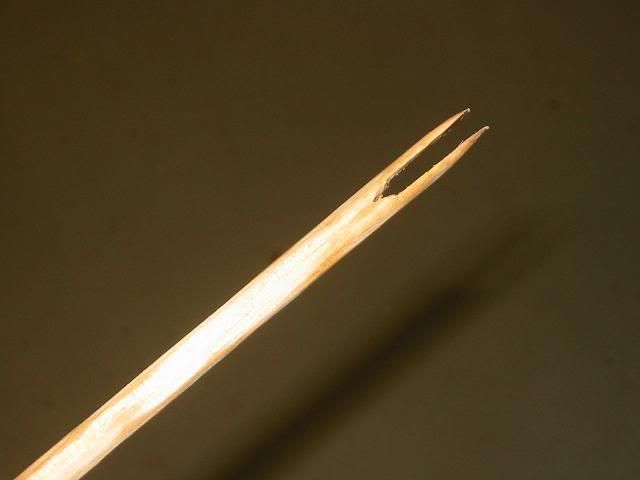
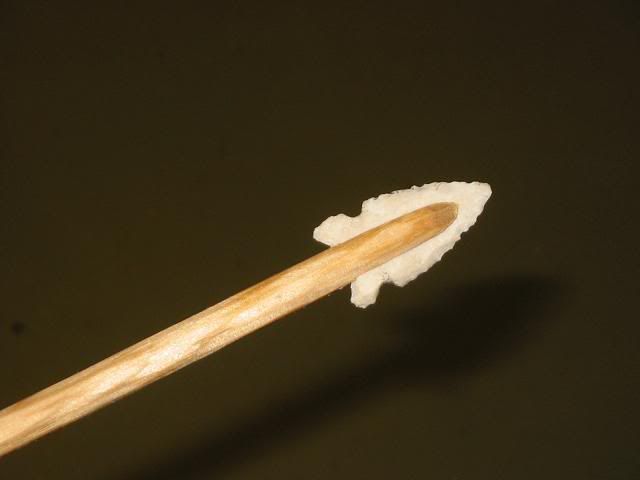
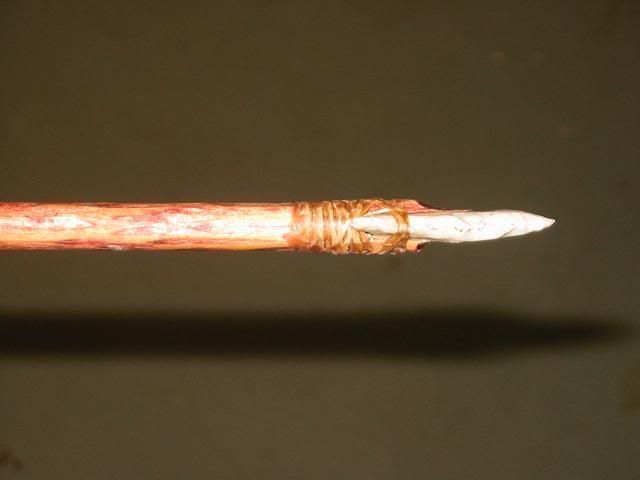
Next, I used a knife to cut a groove in the end of a wood shaft to accept the stone head.

chert8.jpg


I will trim away the extra wood after I tie the head on.

chert9.jpg


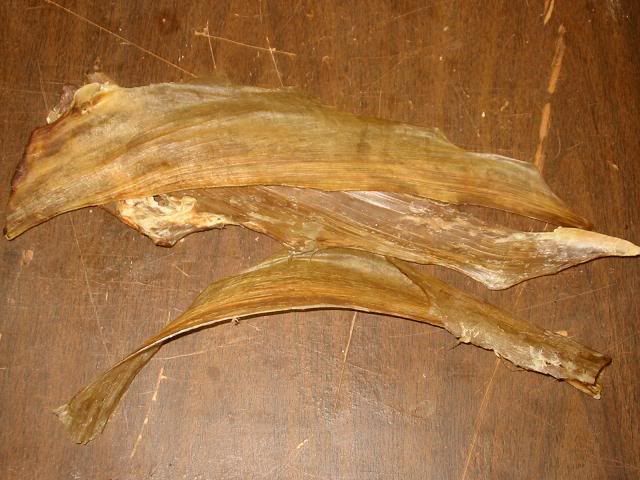
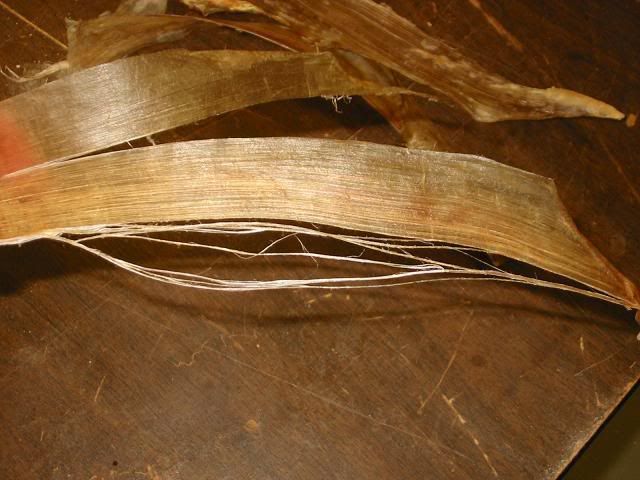
To tie the head to the shaft, I use the sinew I save from the loins/backstraps from my deer.

chert91.jpg


It separates into nice thin threads.

chert92.jpg


I soaked the sinew threads in cold water to soften and stretch them. While waiting, I stained the wood shaft. The sinew does not really get tied onto the shaft. It is more like wrapping a wet noodle around the shaft. After I put on a few layers, I dried it with a blow dryer (just like I'm sure the early people did). This makes it shrink tight. I then rub the sinew with a block of bees wax to waterproof it so it won't get wet and loosen up.

chert93.jpg


chert94.jpg


chert95.jpg


For the fletching, I went back to the turkey feathers and tied them on.

chert96.jpg
 
Back
Top