Restoring my fathers old hunting Jeep

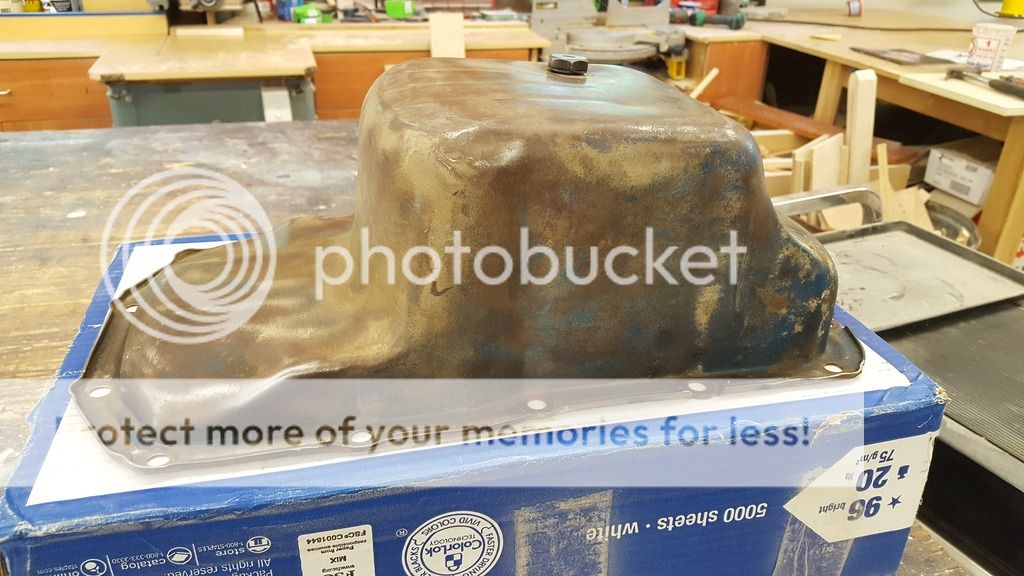
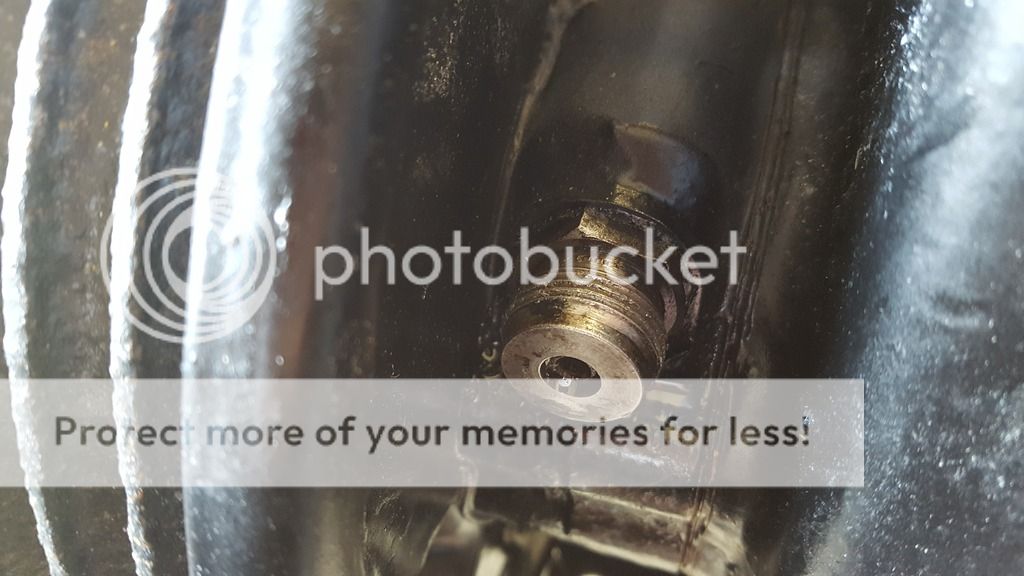
Finally got to do some therapy work, been awhile but I have to make the money to spend it o_O
My original oil pan had a pin hole in it so I found another one,
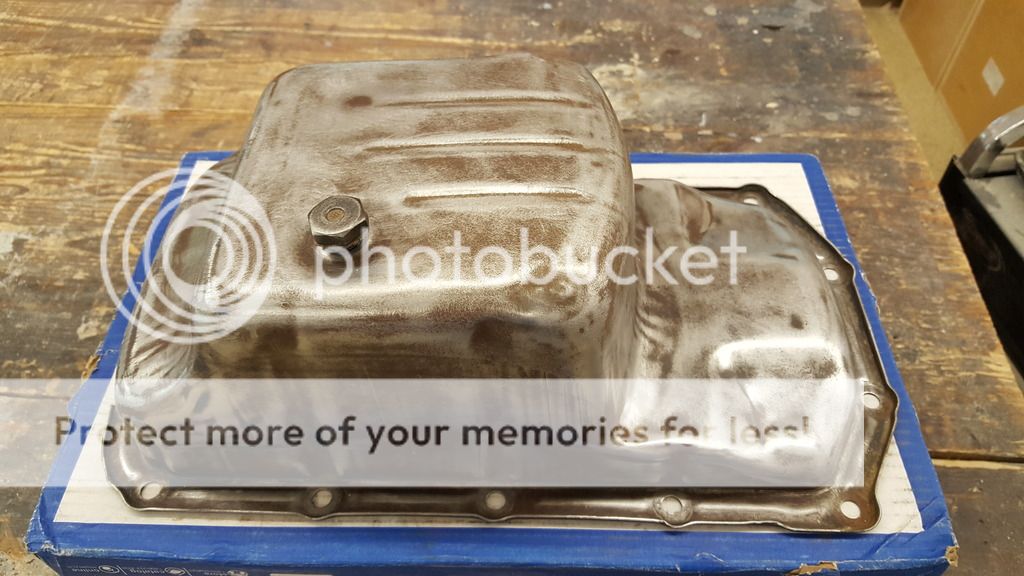
20160807_101753.jpg


Got her sanded
20160807_104650.jpg


Prepped with Por-15 metal prep
20160807_104736.jpg

20160807_113757.jpg


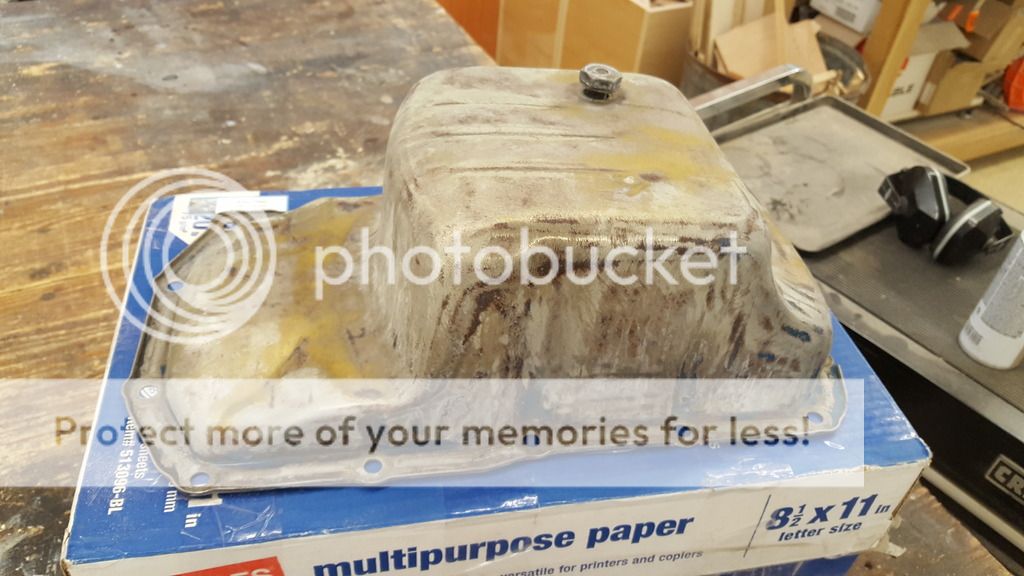
A little scotch bright sanding and primer

20160807_114300.jpg


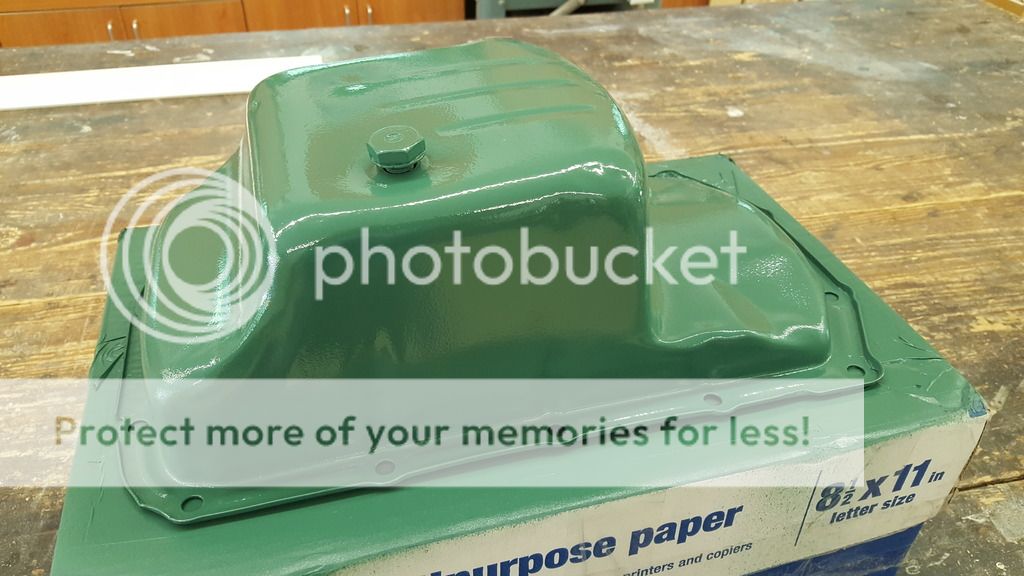
Back to Buick green. Hope to get the old one off and this one on this week and get her started again to fix a few drips and leaks
20160807_121858.jpg
 
She's peaking out of her storage spot


She survived pretty well for being in a dark damp basement for over 8 months


Looks like my temp. Switch is leaking, probably cracked
 
Last edited:
I couldnt seem to keep where the speedometer cable attaches from dripping oil no matter how hard I tightened it
20160816_172907.jpg

20160816_173549.jpg


So I made a cork gasket for it, hopefully there will be no drips under it in the morning, thats my Jeep accomplishment of the day
20160816_173407.jpg

20160816_173620.jpg
 
Well before the bugs got to me I tried to get the tailpipe hanger mounted. Tomorrows another day. And yes thats a NOS hanger I found and cleaned up :)

 
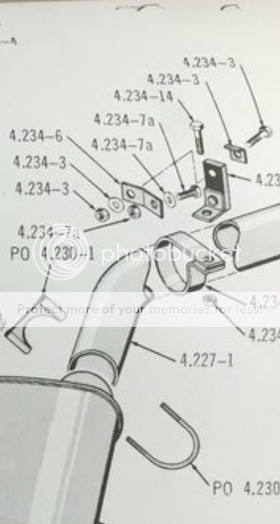
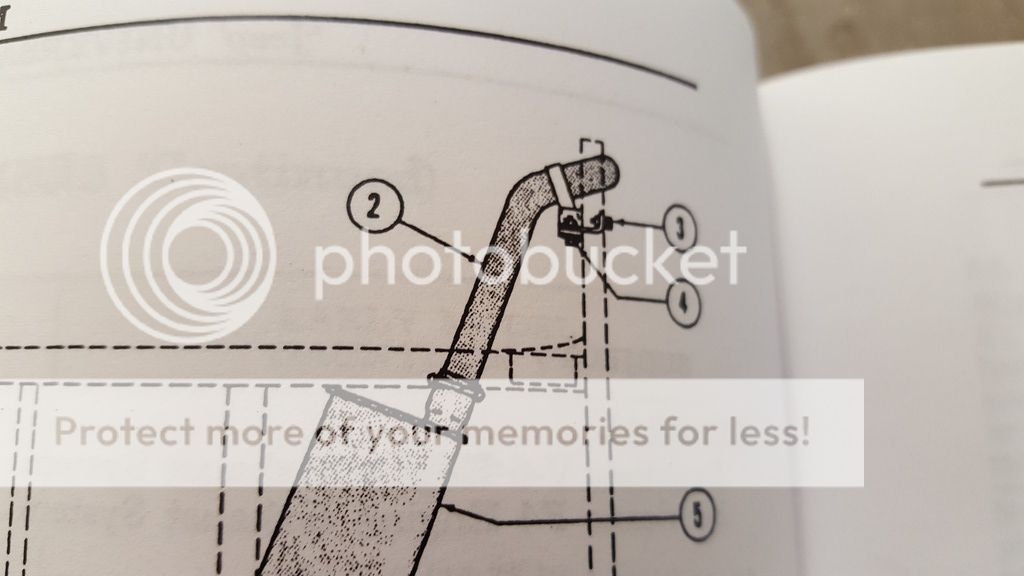
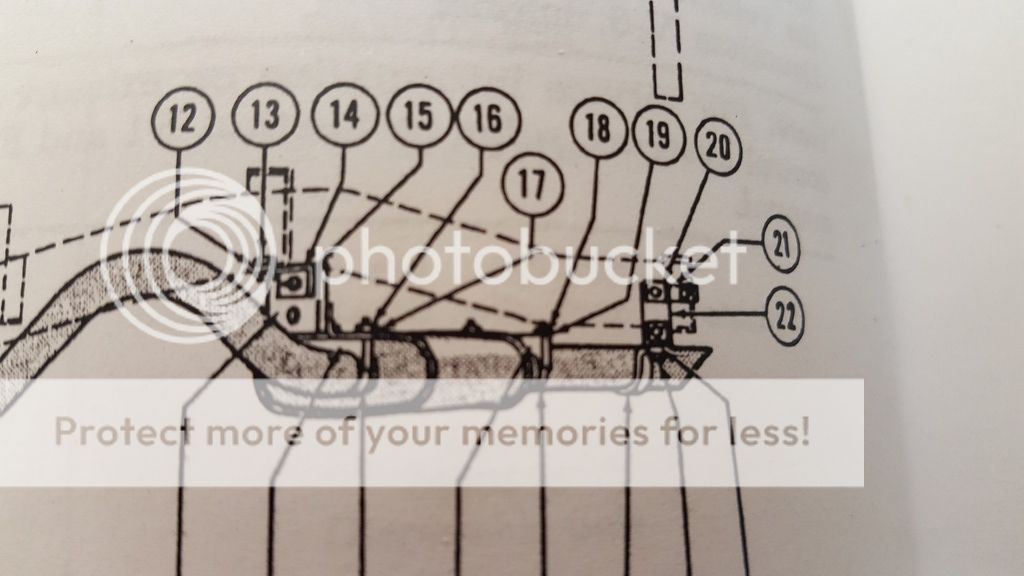
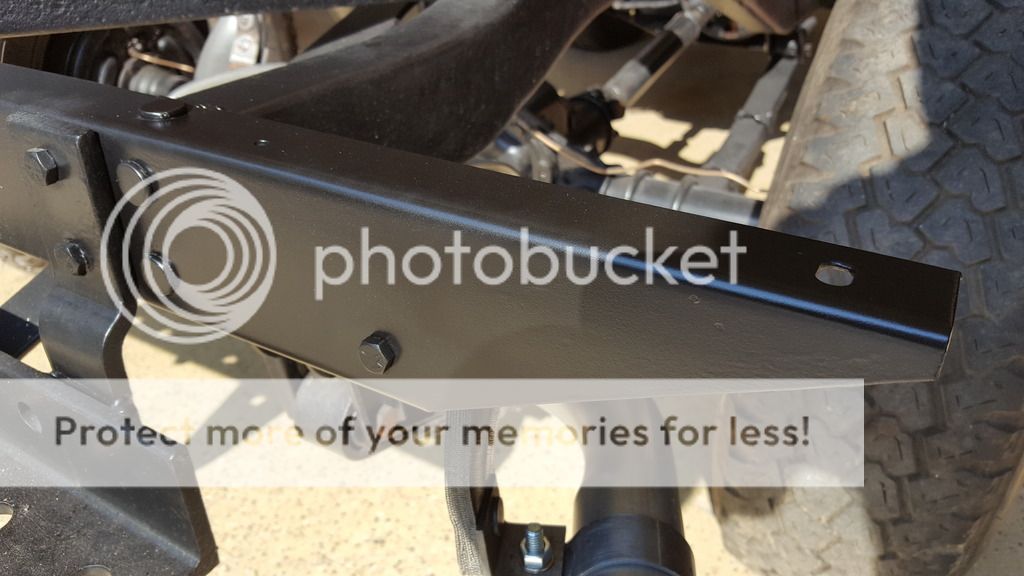
So wanting to stay as factory correct as I can I did some research to see how the tailpipe hanger was configured and attached to the crossmember. These diagrams are about all I could find on it

72ce773d-b3e2-4d20-85fb-79a294ef93e3.png

718e4ce7-2642-45b3-b051-d248db24abdf.jpg

32164c23-977b-4b0d-a8f5-9039d4cf12e7.jpg


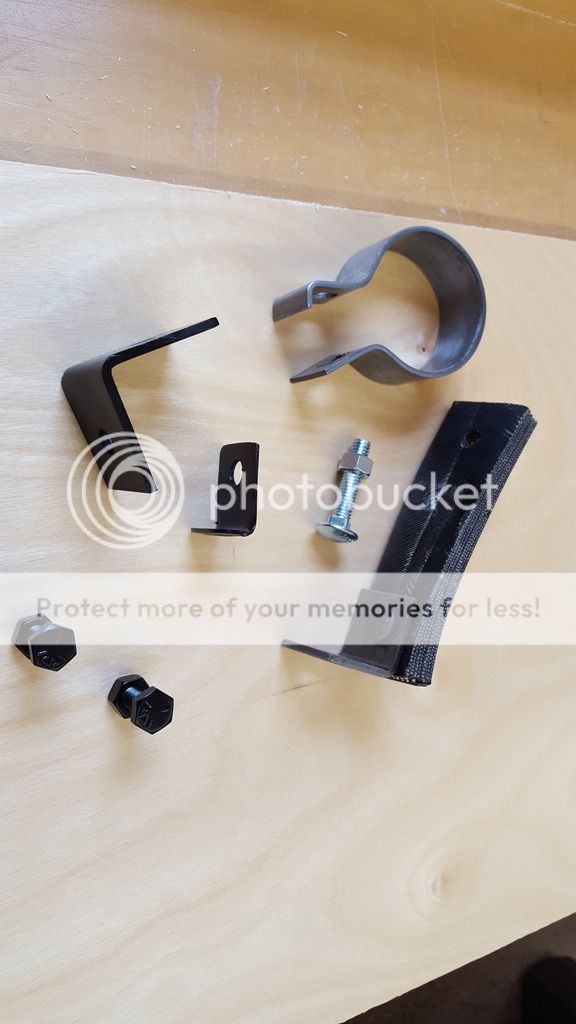
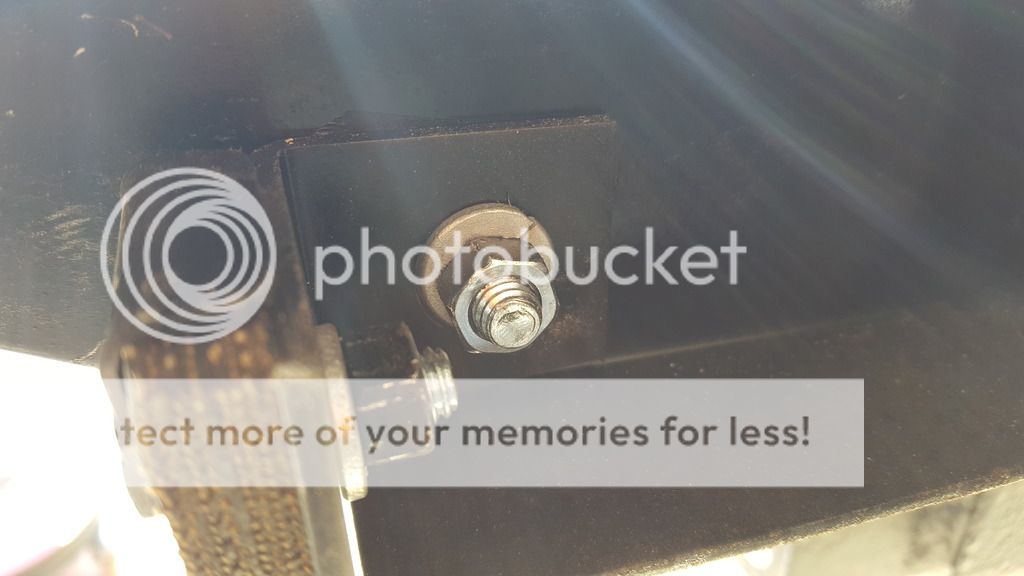
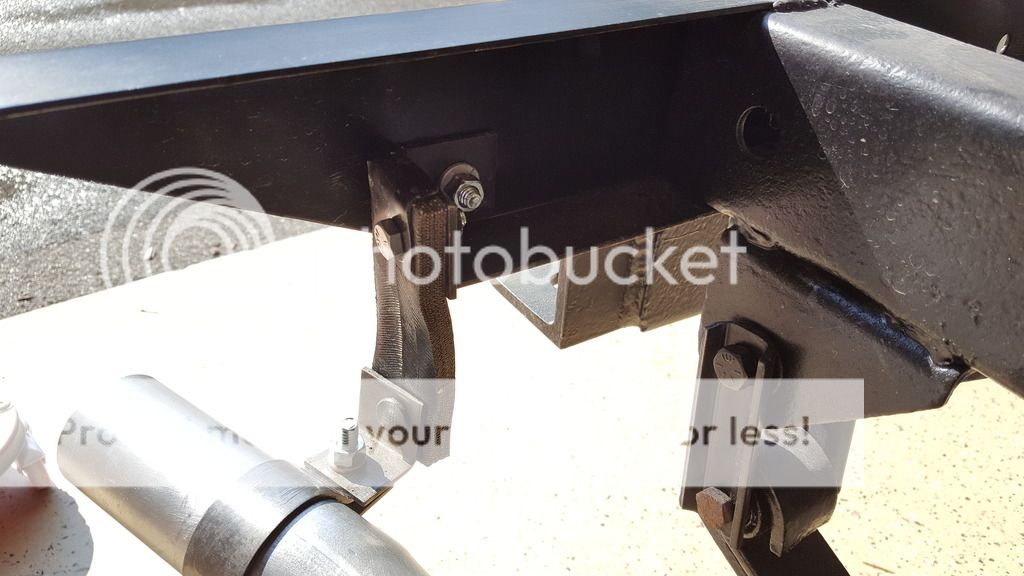
I already had a what I believe is a NOS hanger, But I needed to make the support and L brackets shown in the diagram. I found some pc's in the shop

20160820_161643.jpg


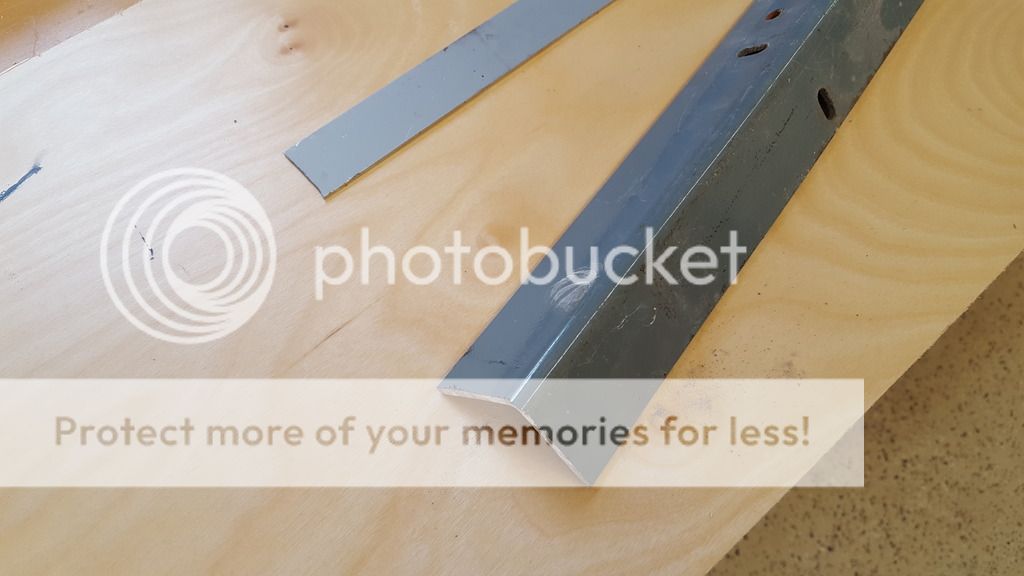
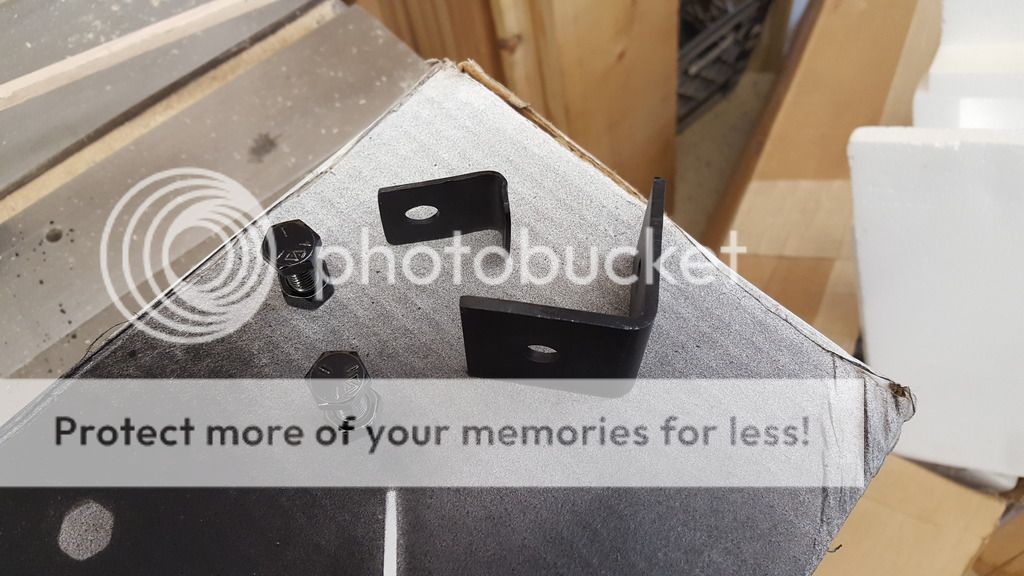
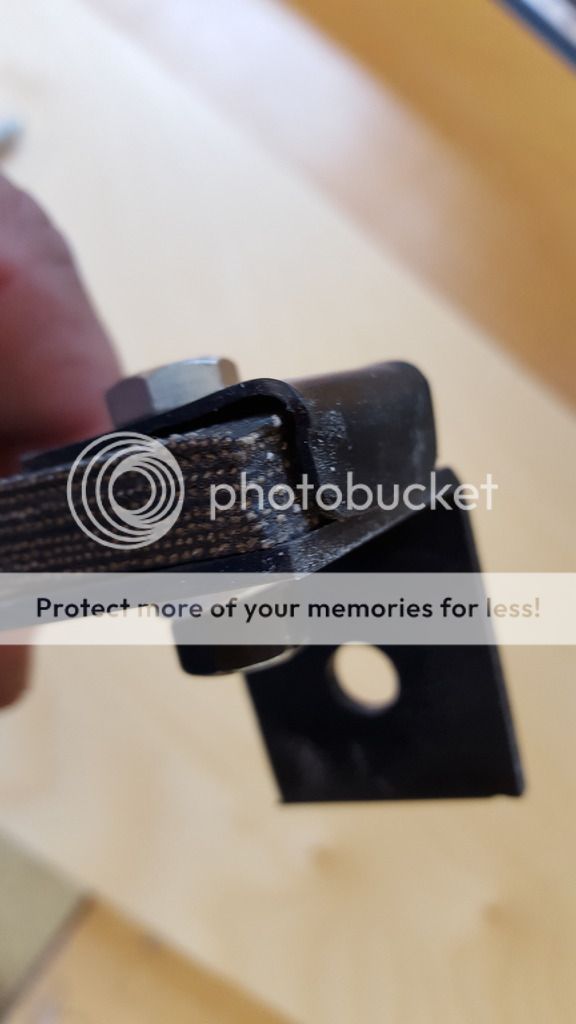
Here are the pc's I made, L bracket on right and the support on the left

20160820_154718.jpg

20160820_155125.jpg


This is what I came up with

20160820_155643.jpg

20160820_155725.jpg

 
Marked the hole location and drilled, every tool box should have one of these step bits

20160820_160025.jpg


Everything mounted to what I believe is factory correct

20160820_161117.jpg

20160820_161126.jpg

20160820_161833.jpg
 
Man, I've done a lot of work on cars but never cared much about factory correct. In fact, most of what I've done was to "correct" what the factory sent out :)

I've got to say that I love your Jeep and what you are doing with it. Almost like a puzzle how you are researching everything and piecing it together. Great job!
 
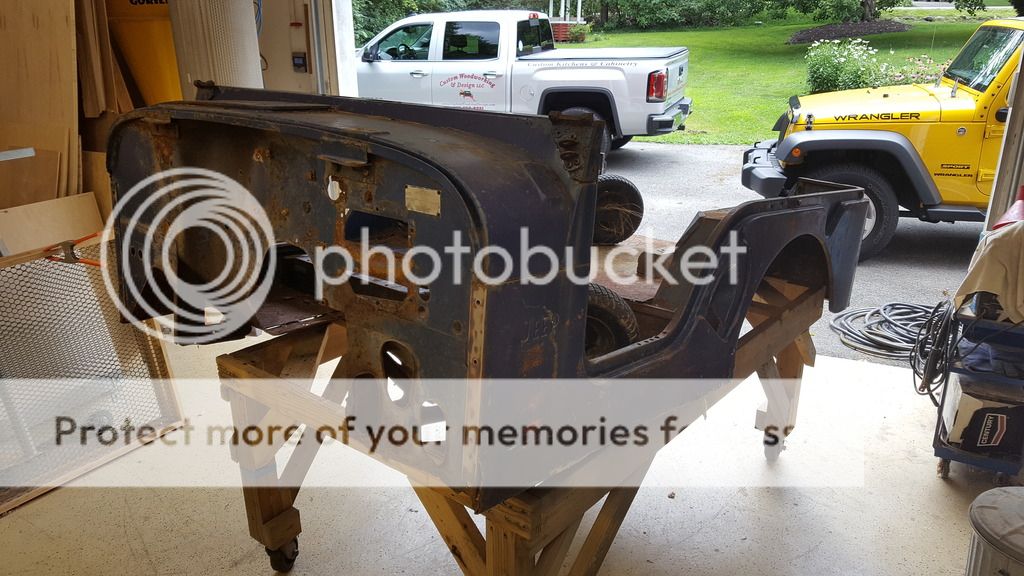
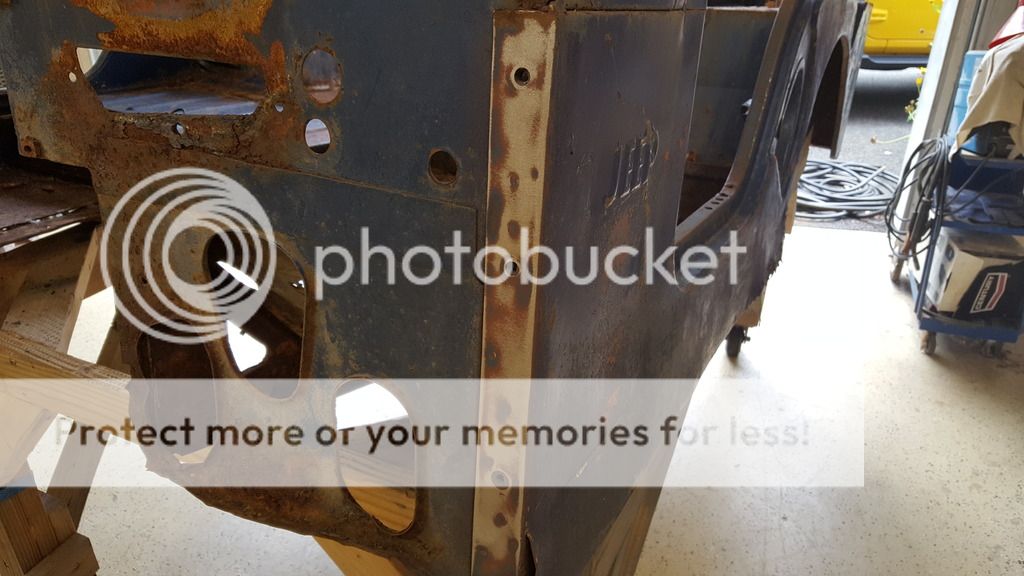
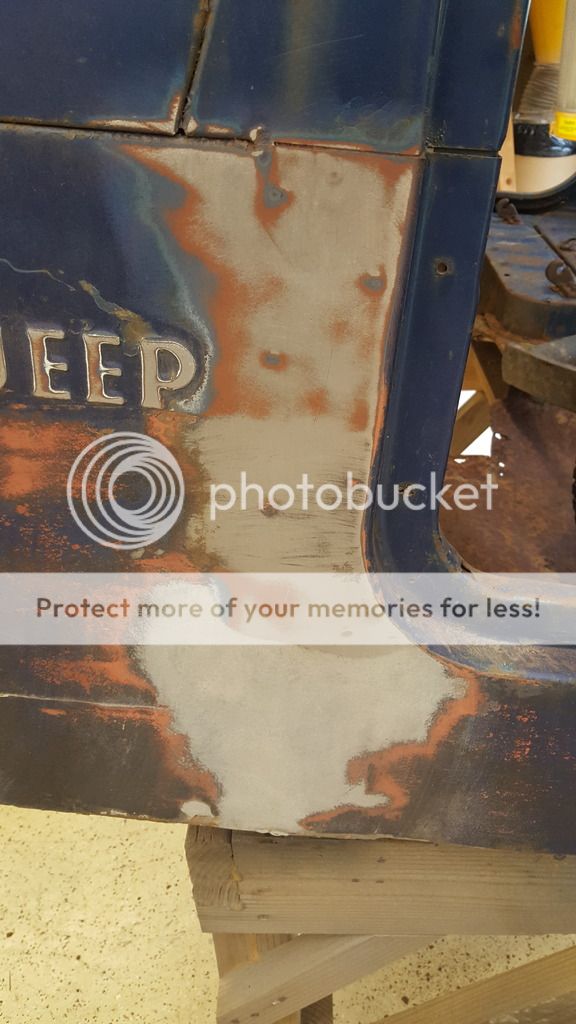
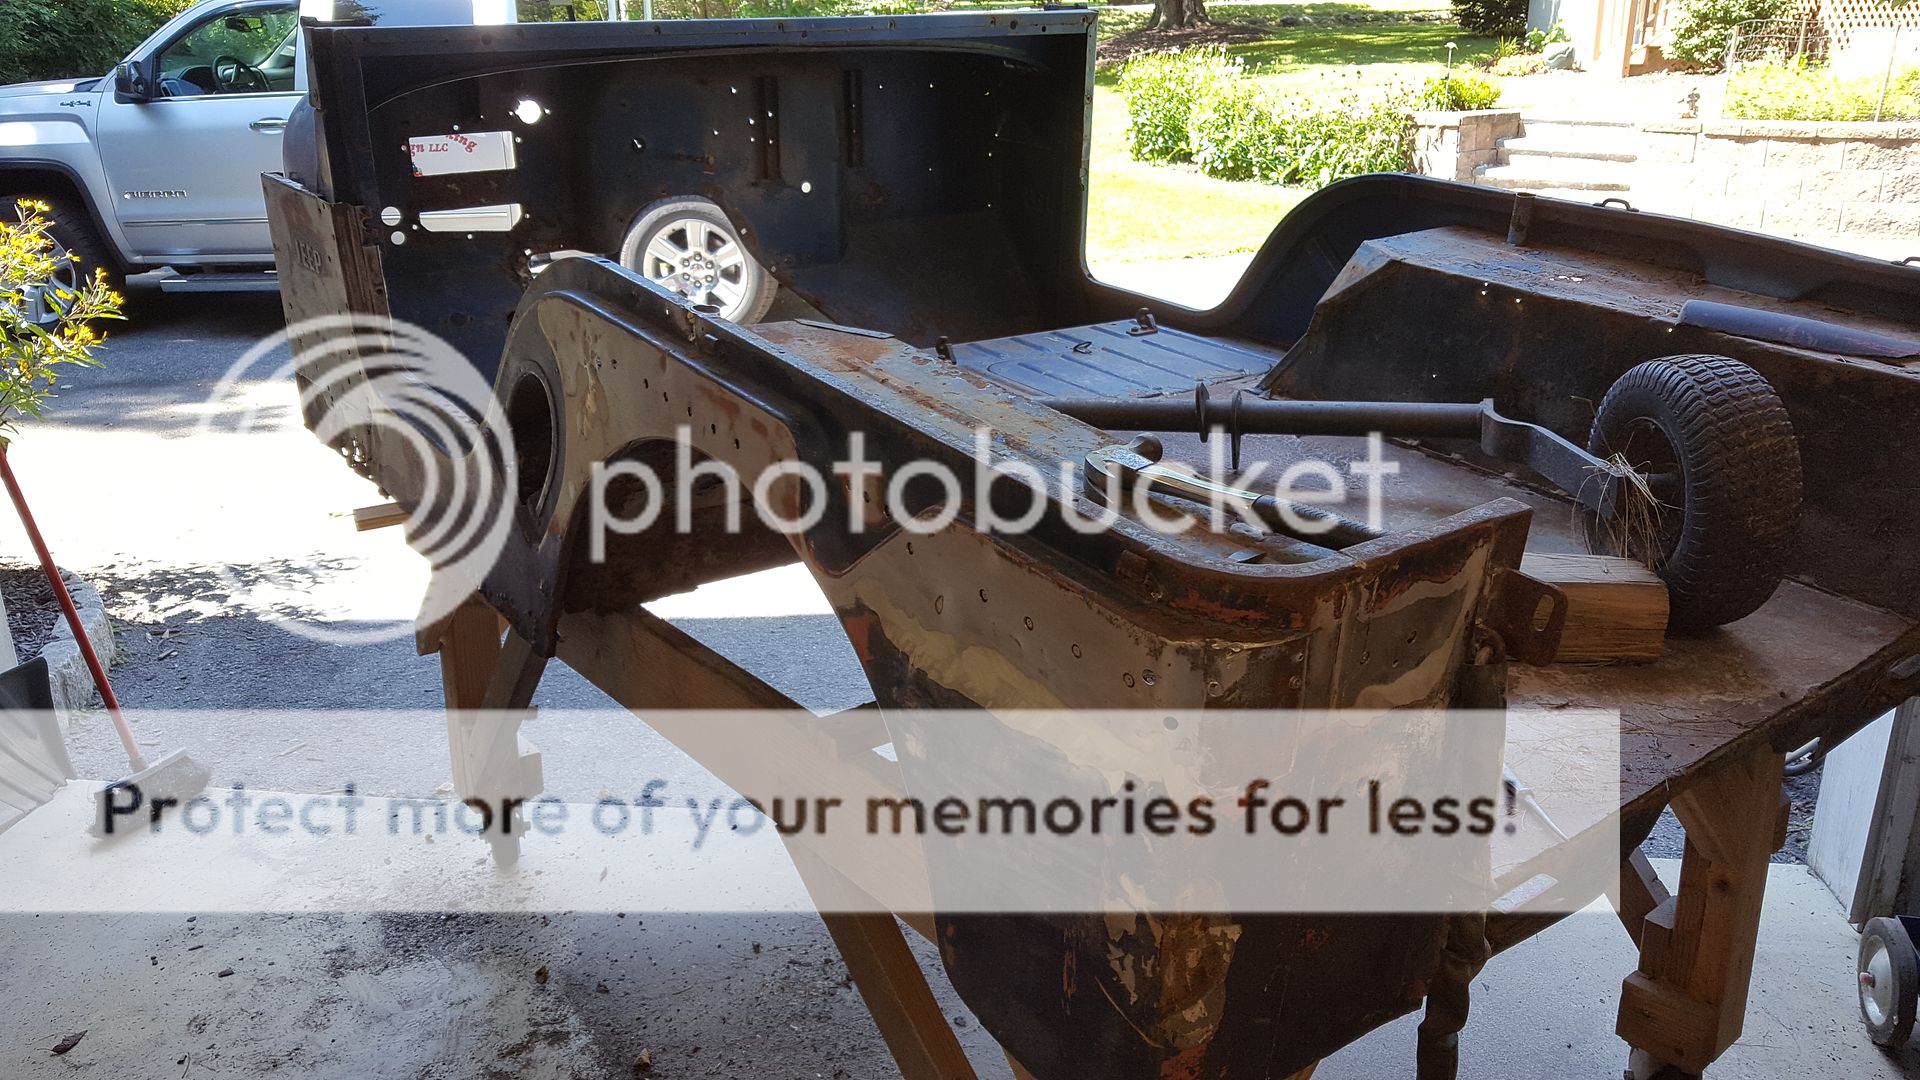
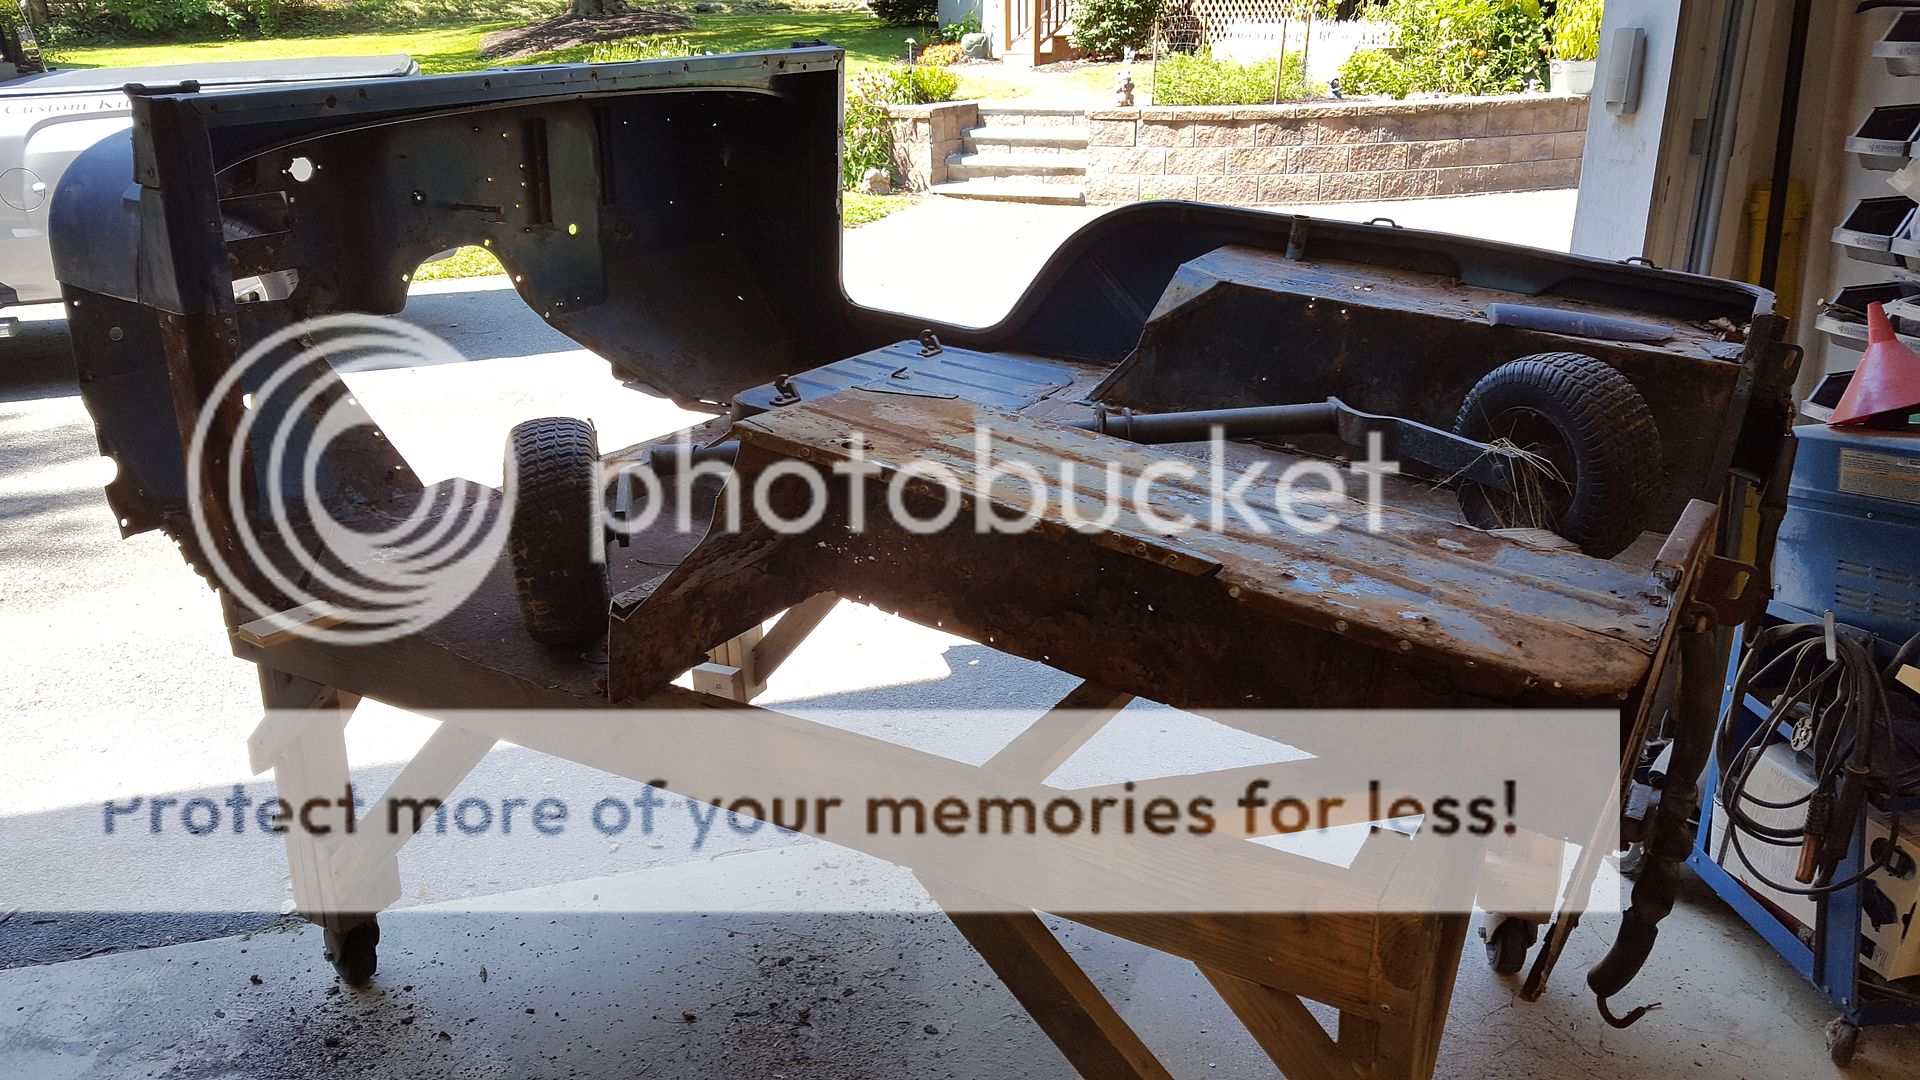
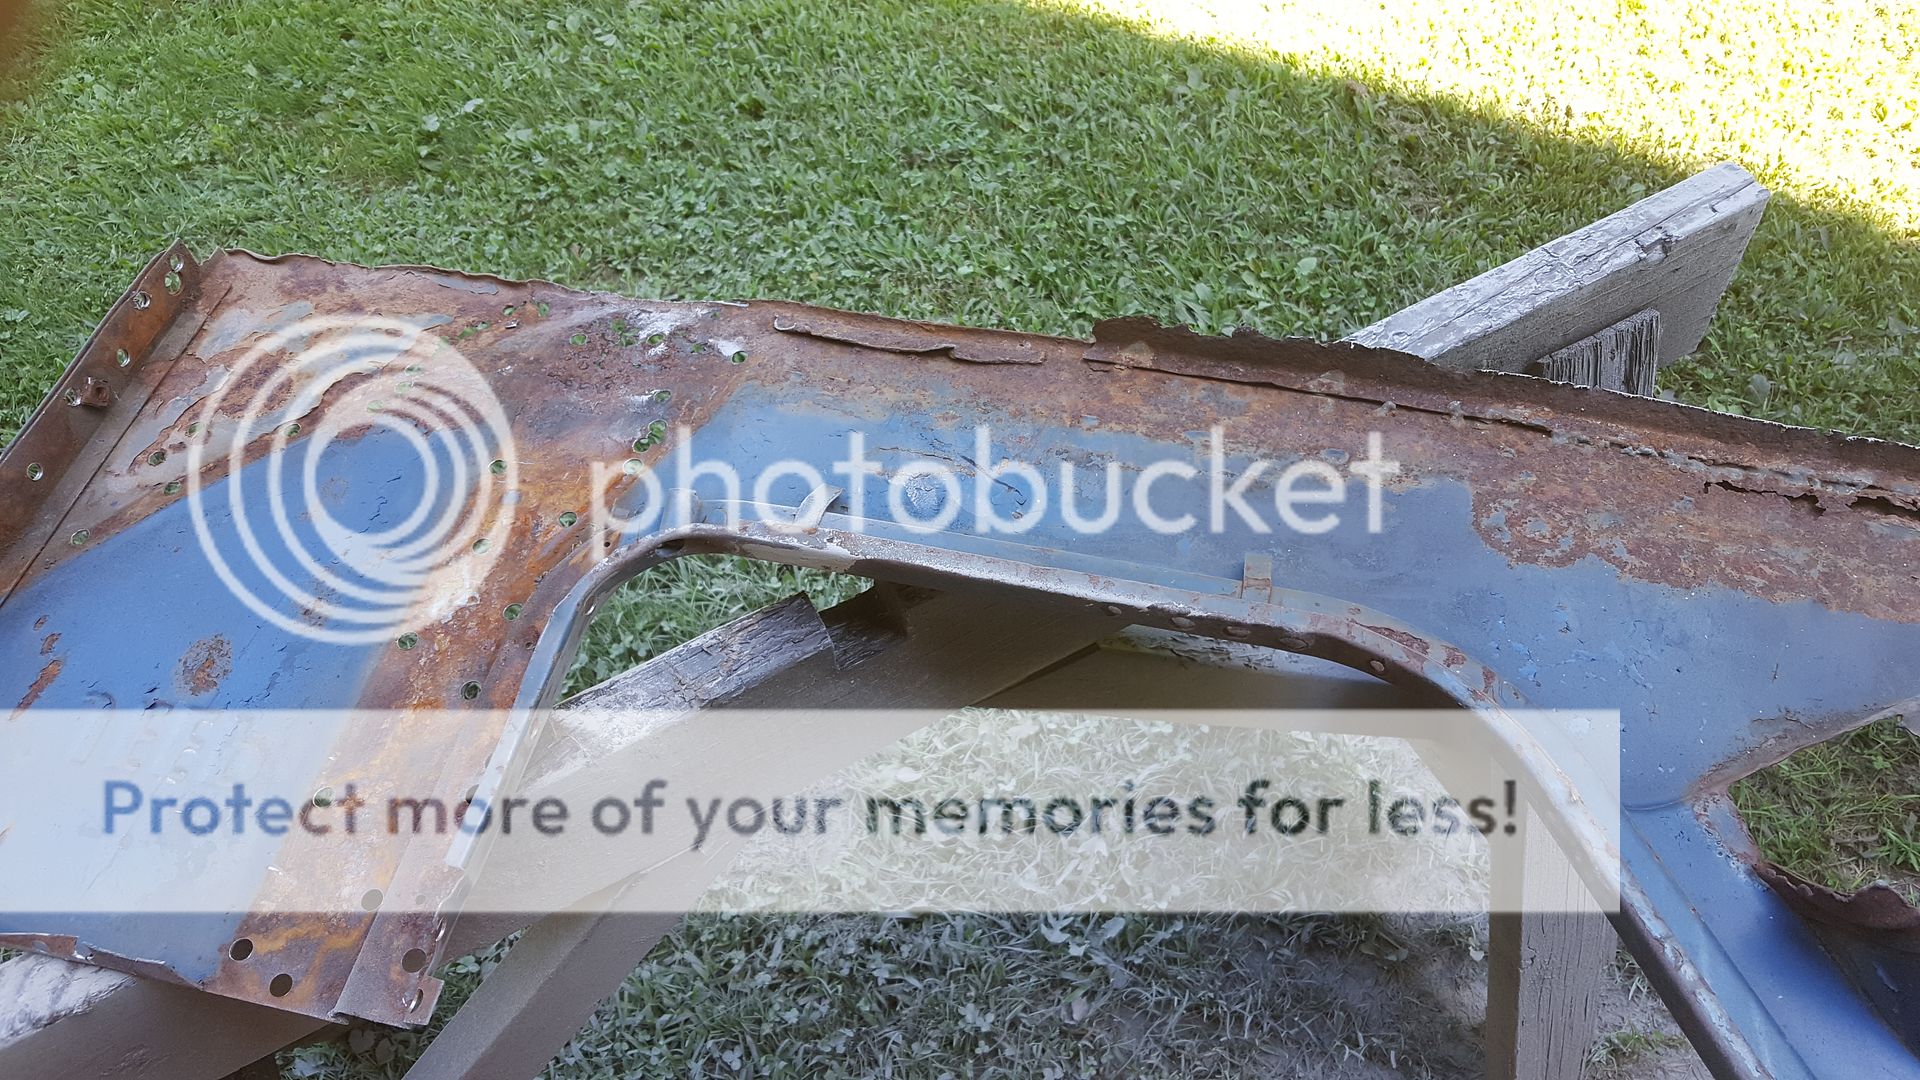
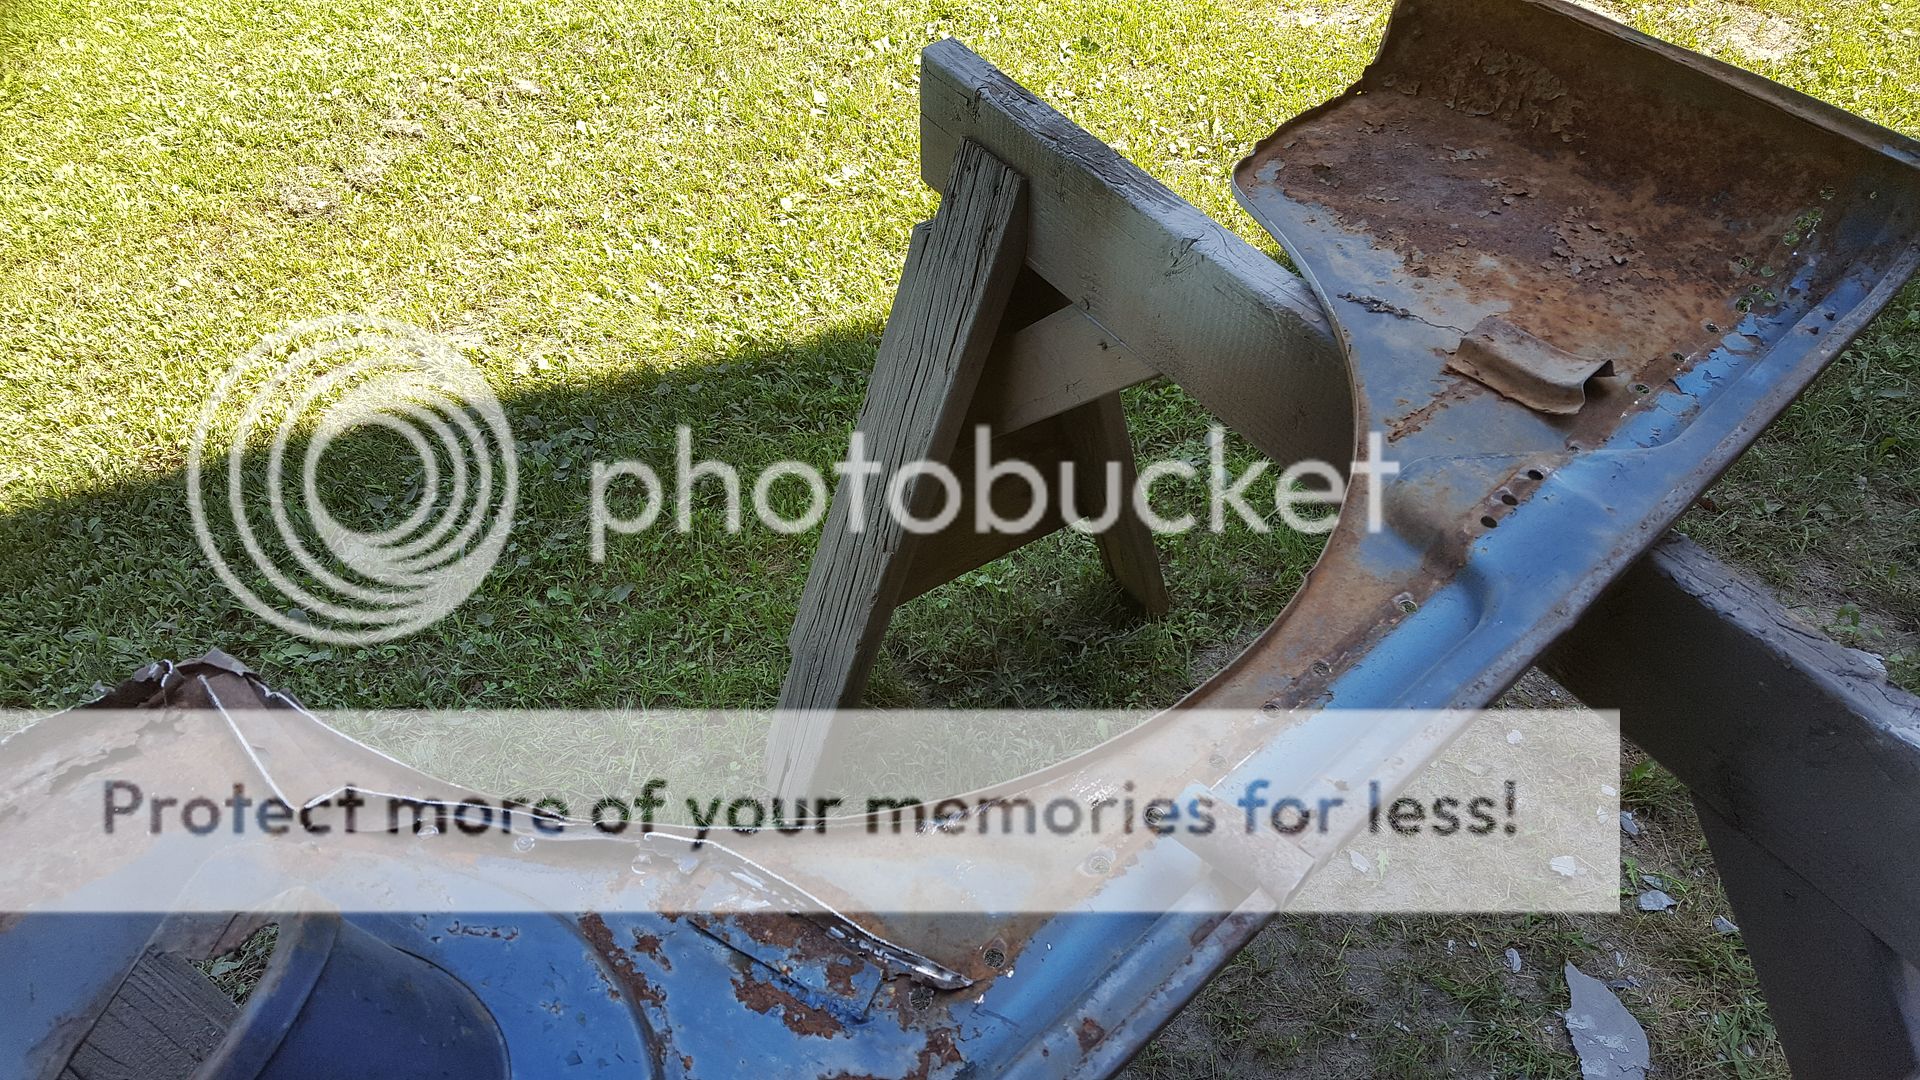
With the chassis back in storage, time to dig into this body to even see if I can save it
20160821_153256.jpg


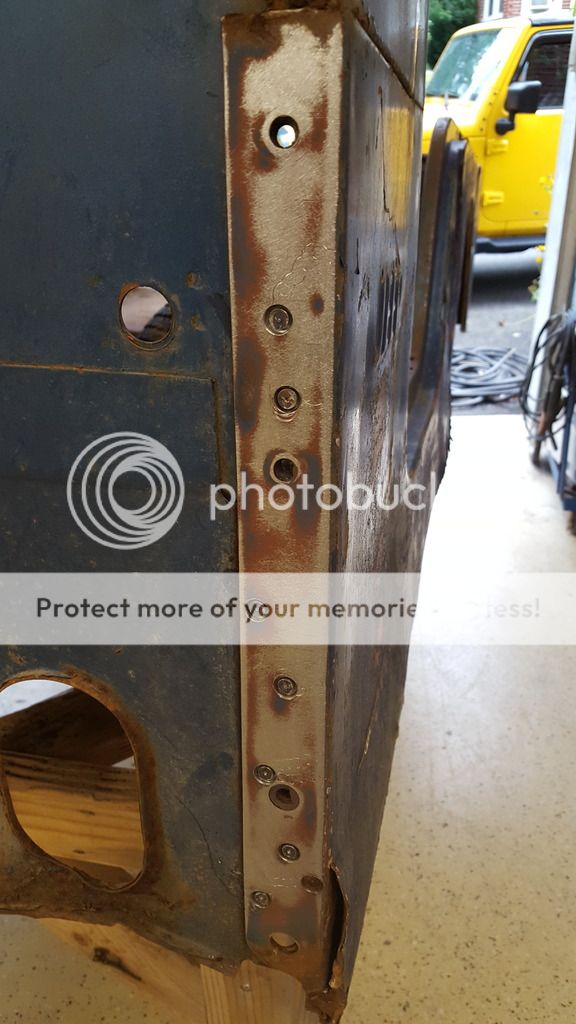
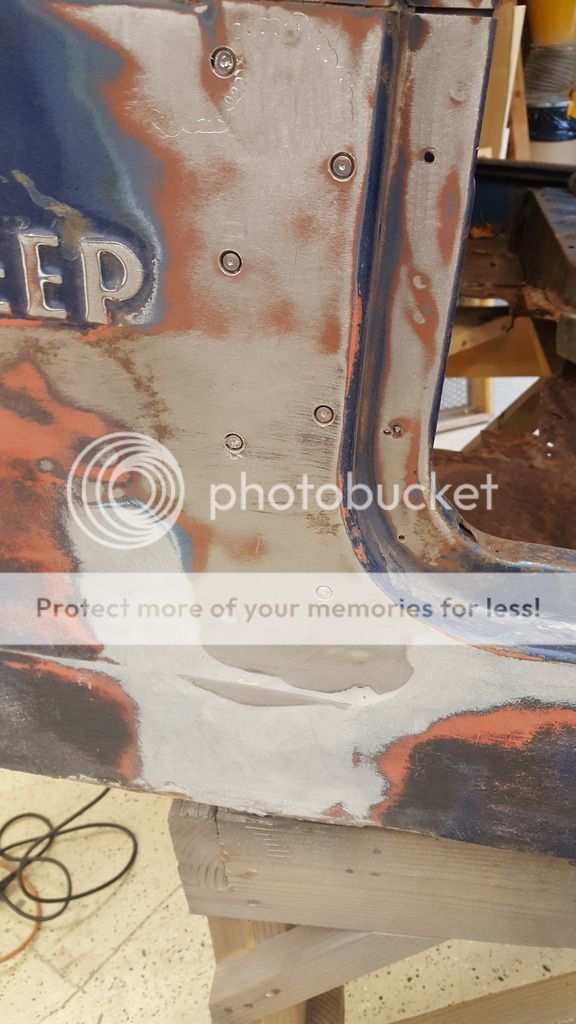
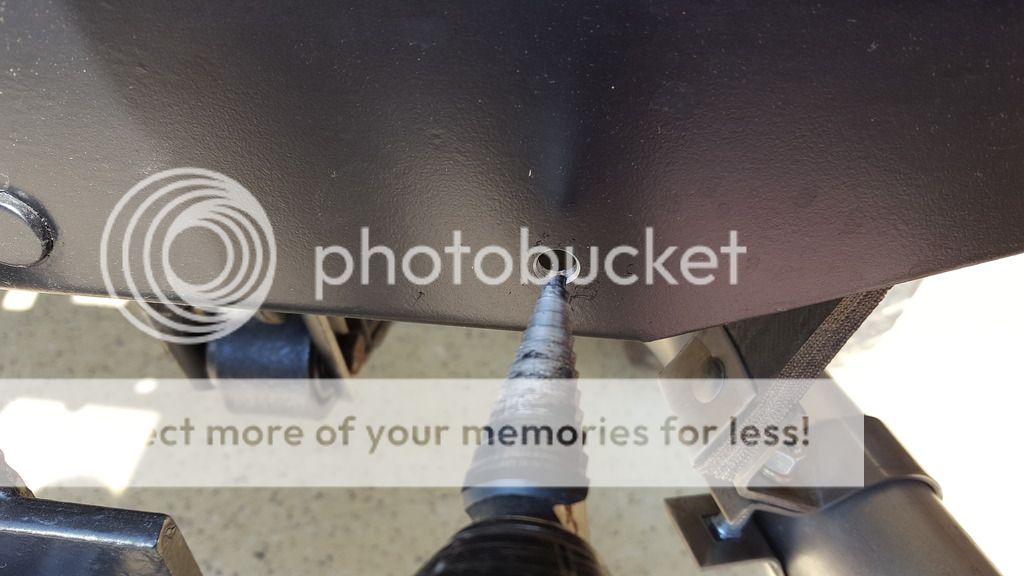
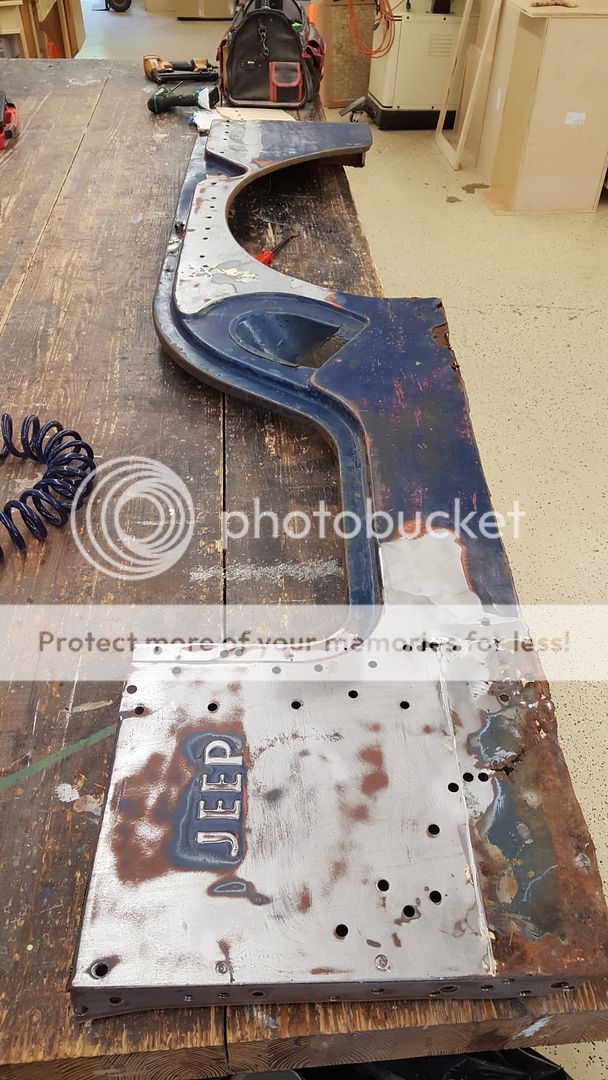
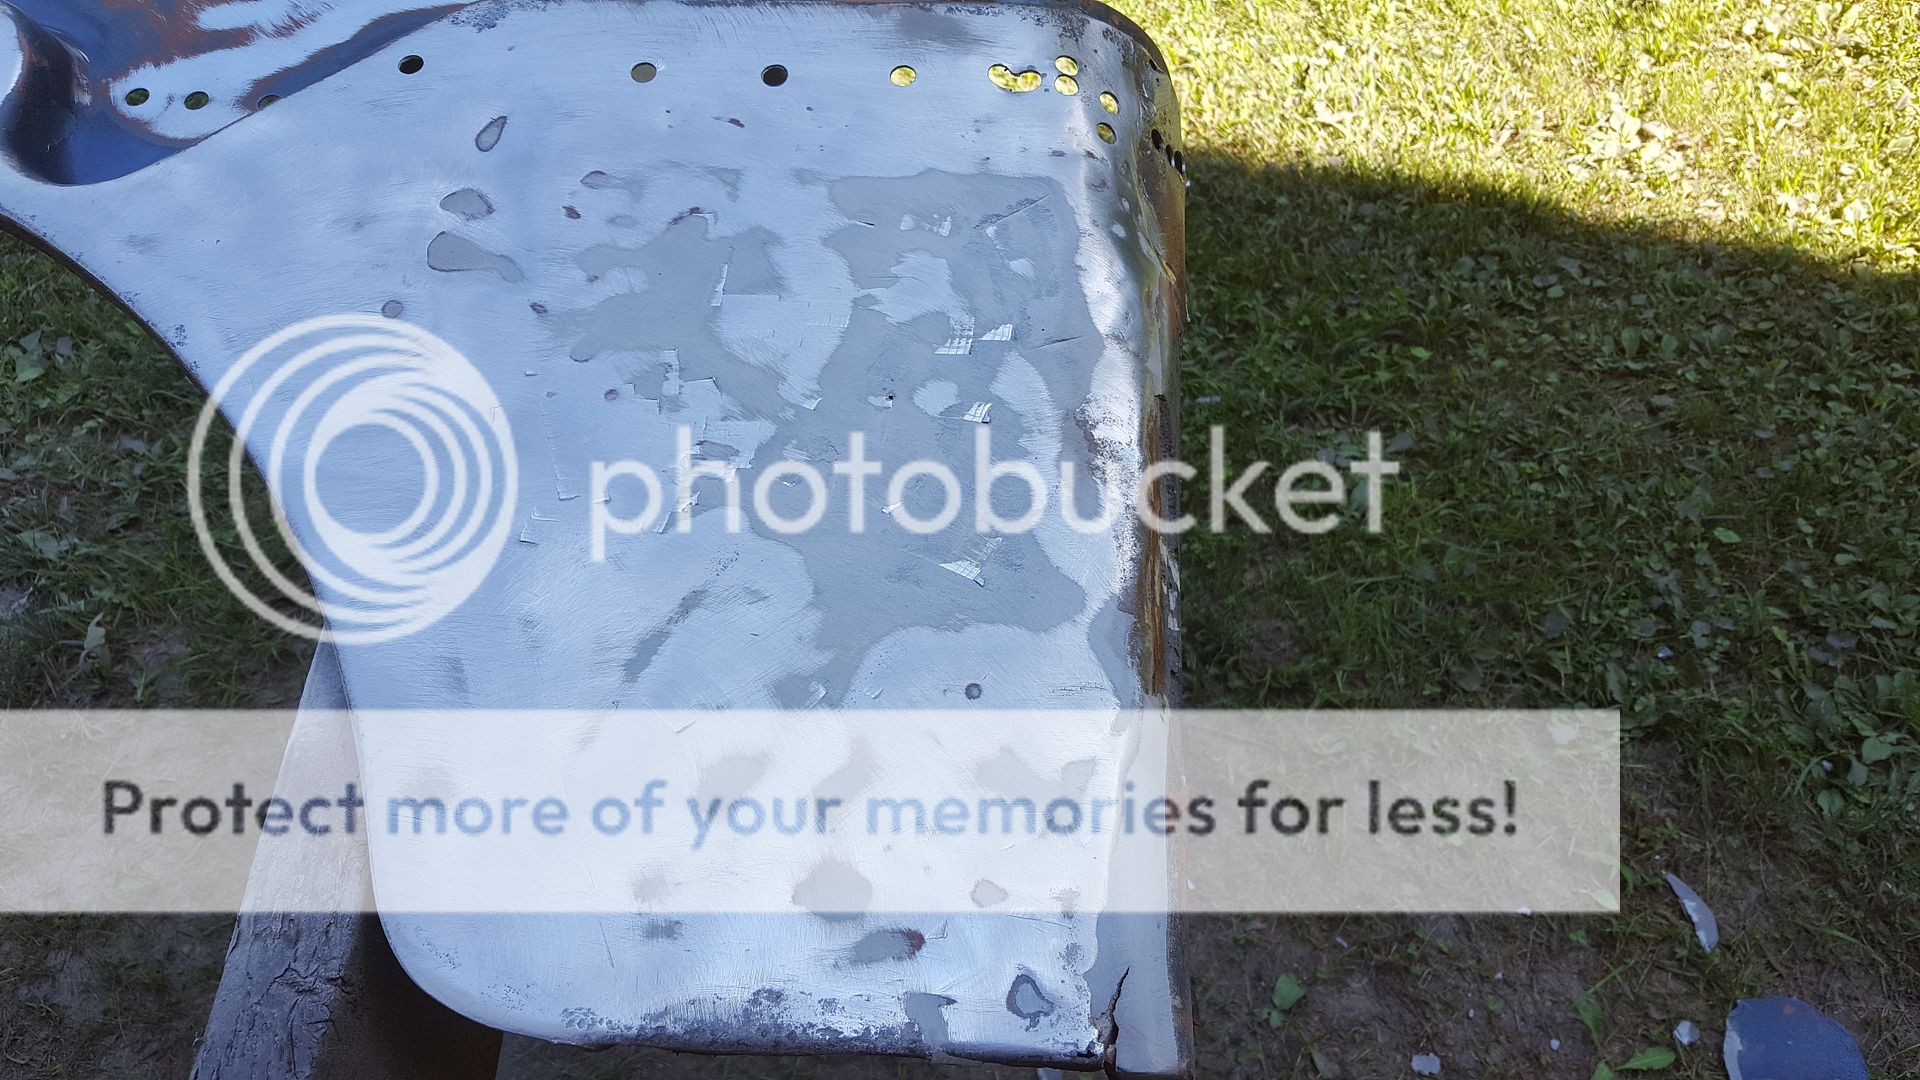
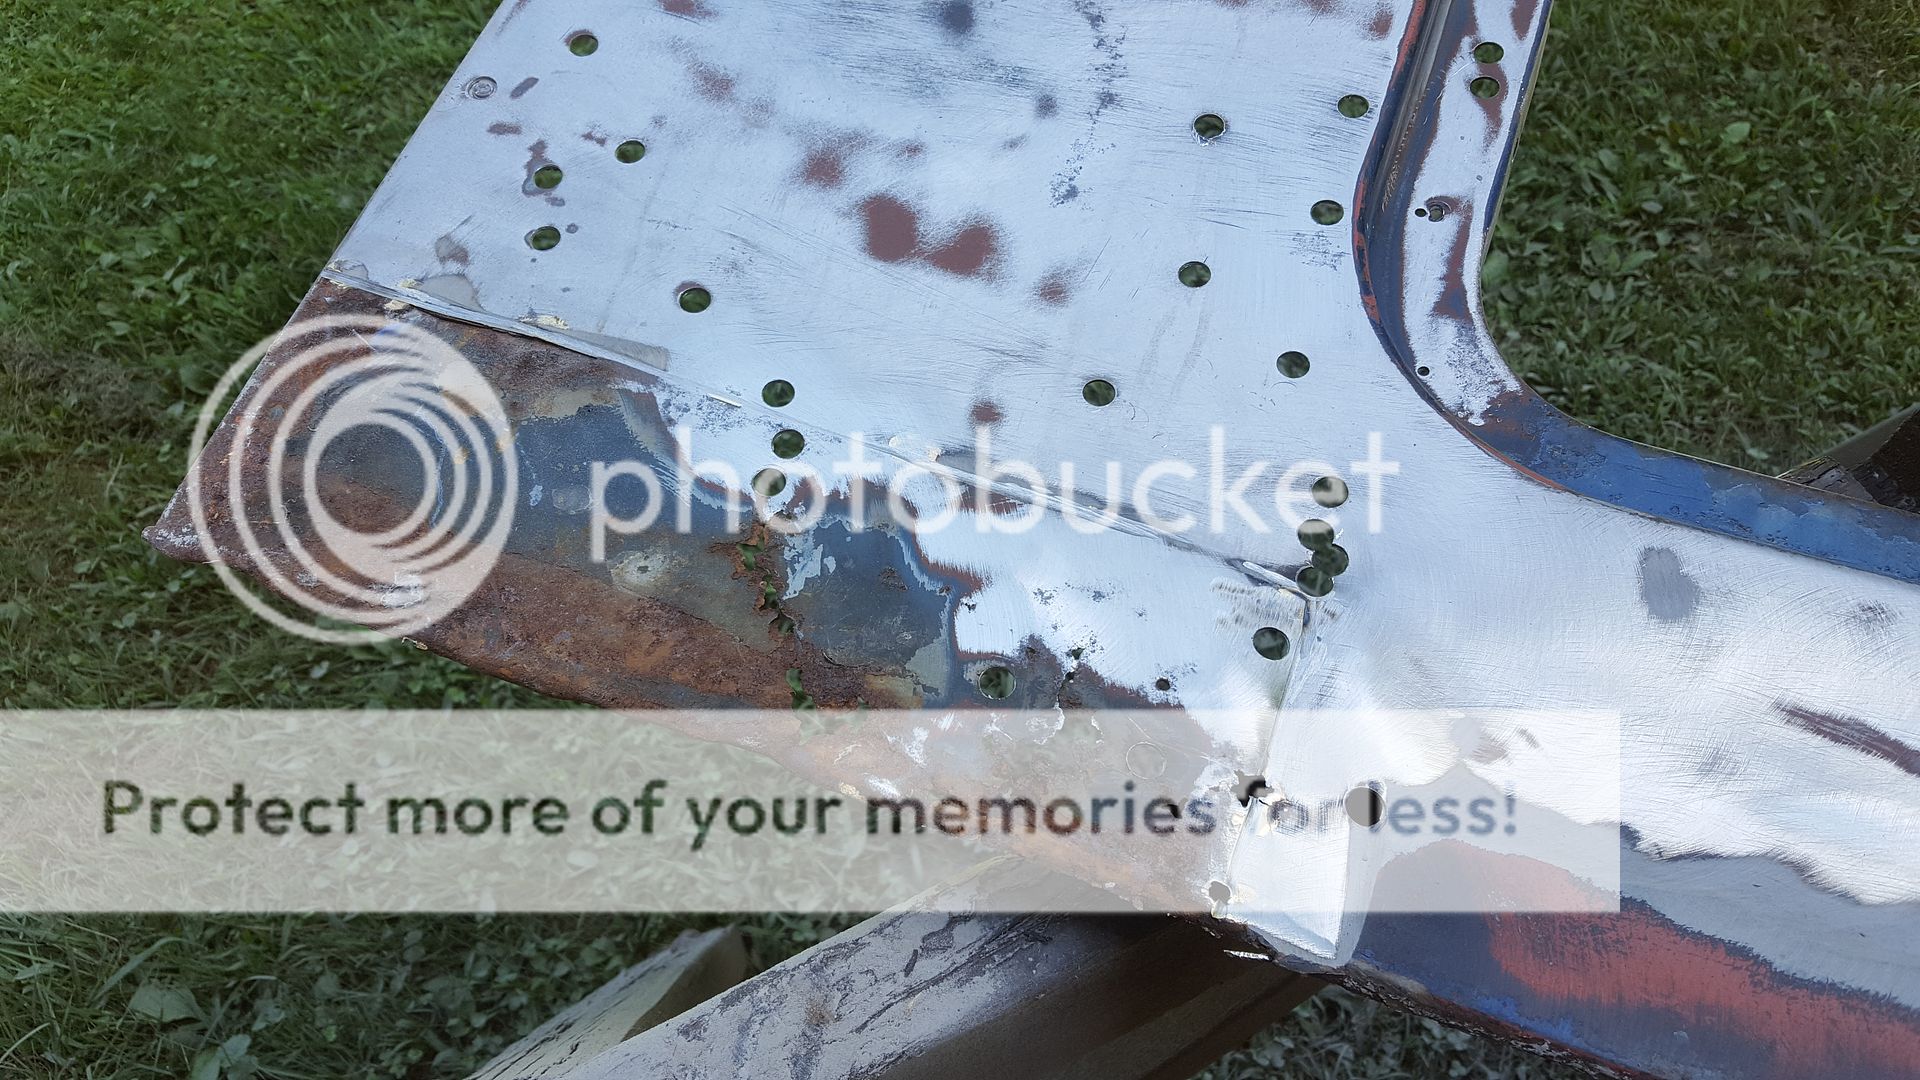
My plan is to try to save the sides and replace everything in between with new panels. First step is to remove the sides which means lots of spot welds. easiest way to find them is to sand the paint to bare metal. Any round spots of paint left over usually is a spot weld which will need to be drilled out
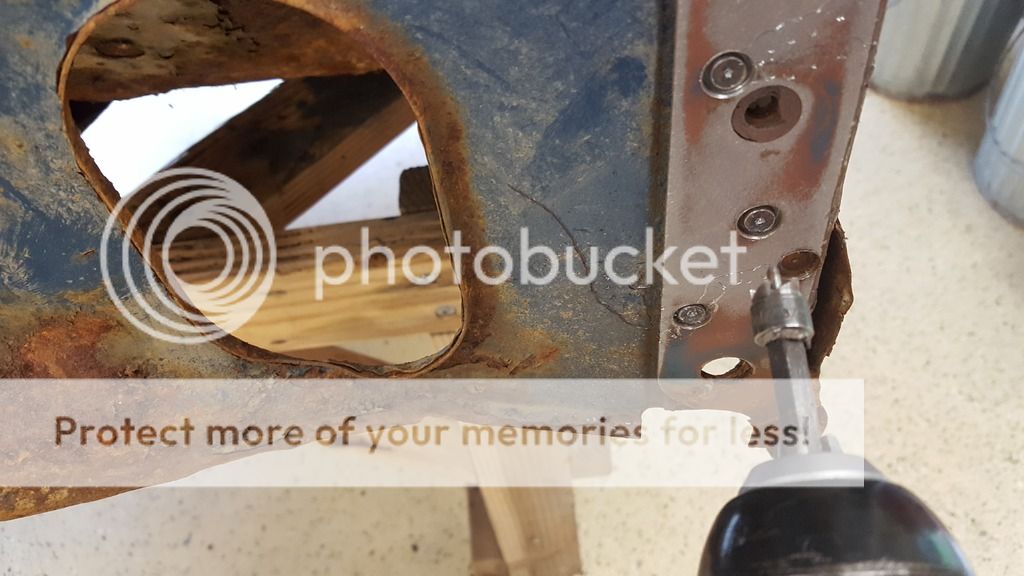
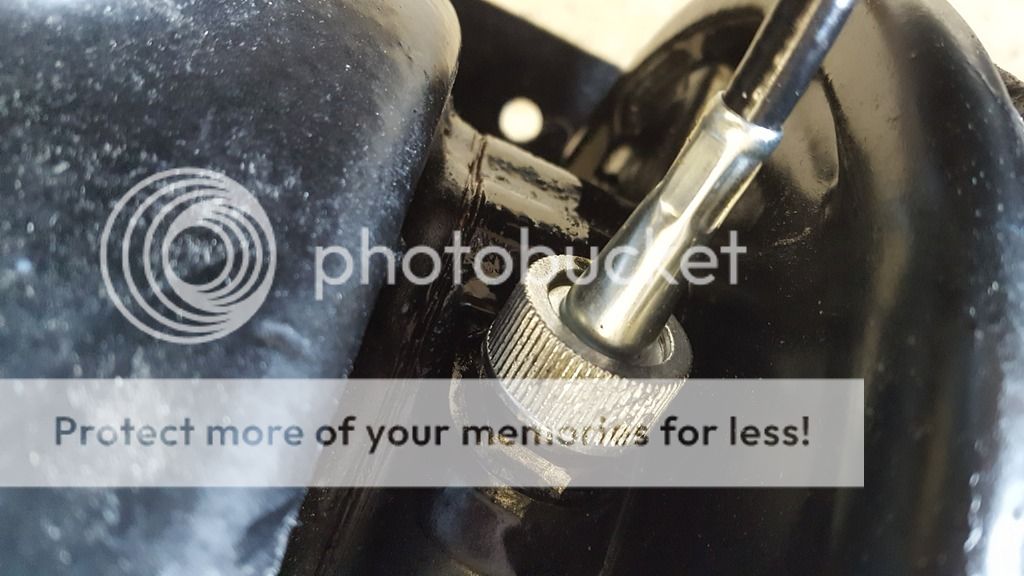
20160821_153300.jpg

20160821_154721.jpg


Spot weld cutter
20160821_154729.jpg

20160821_155519.jpg


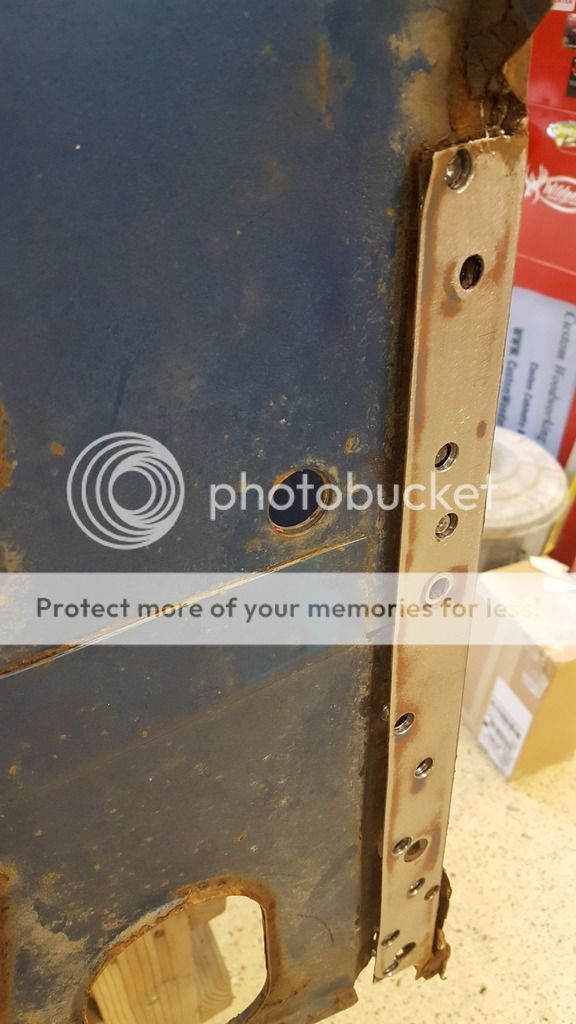
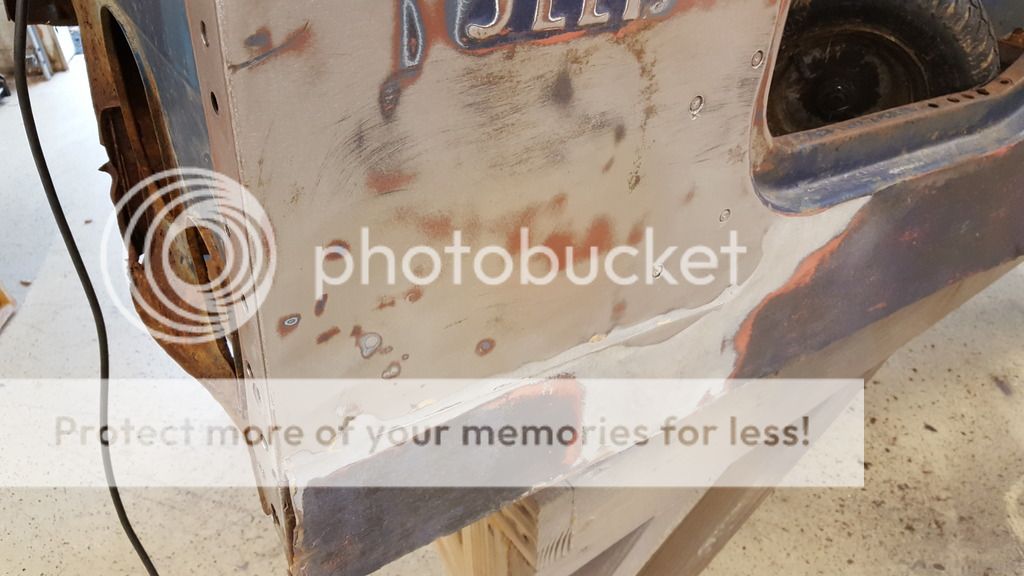
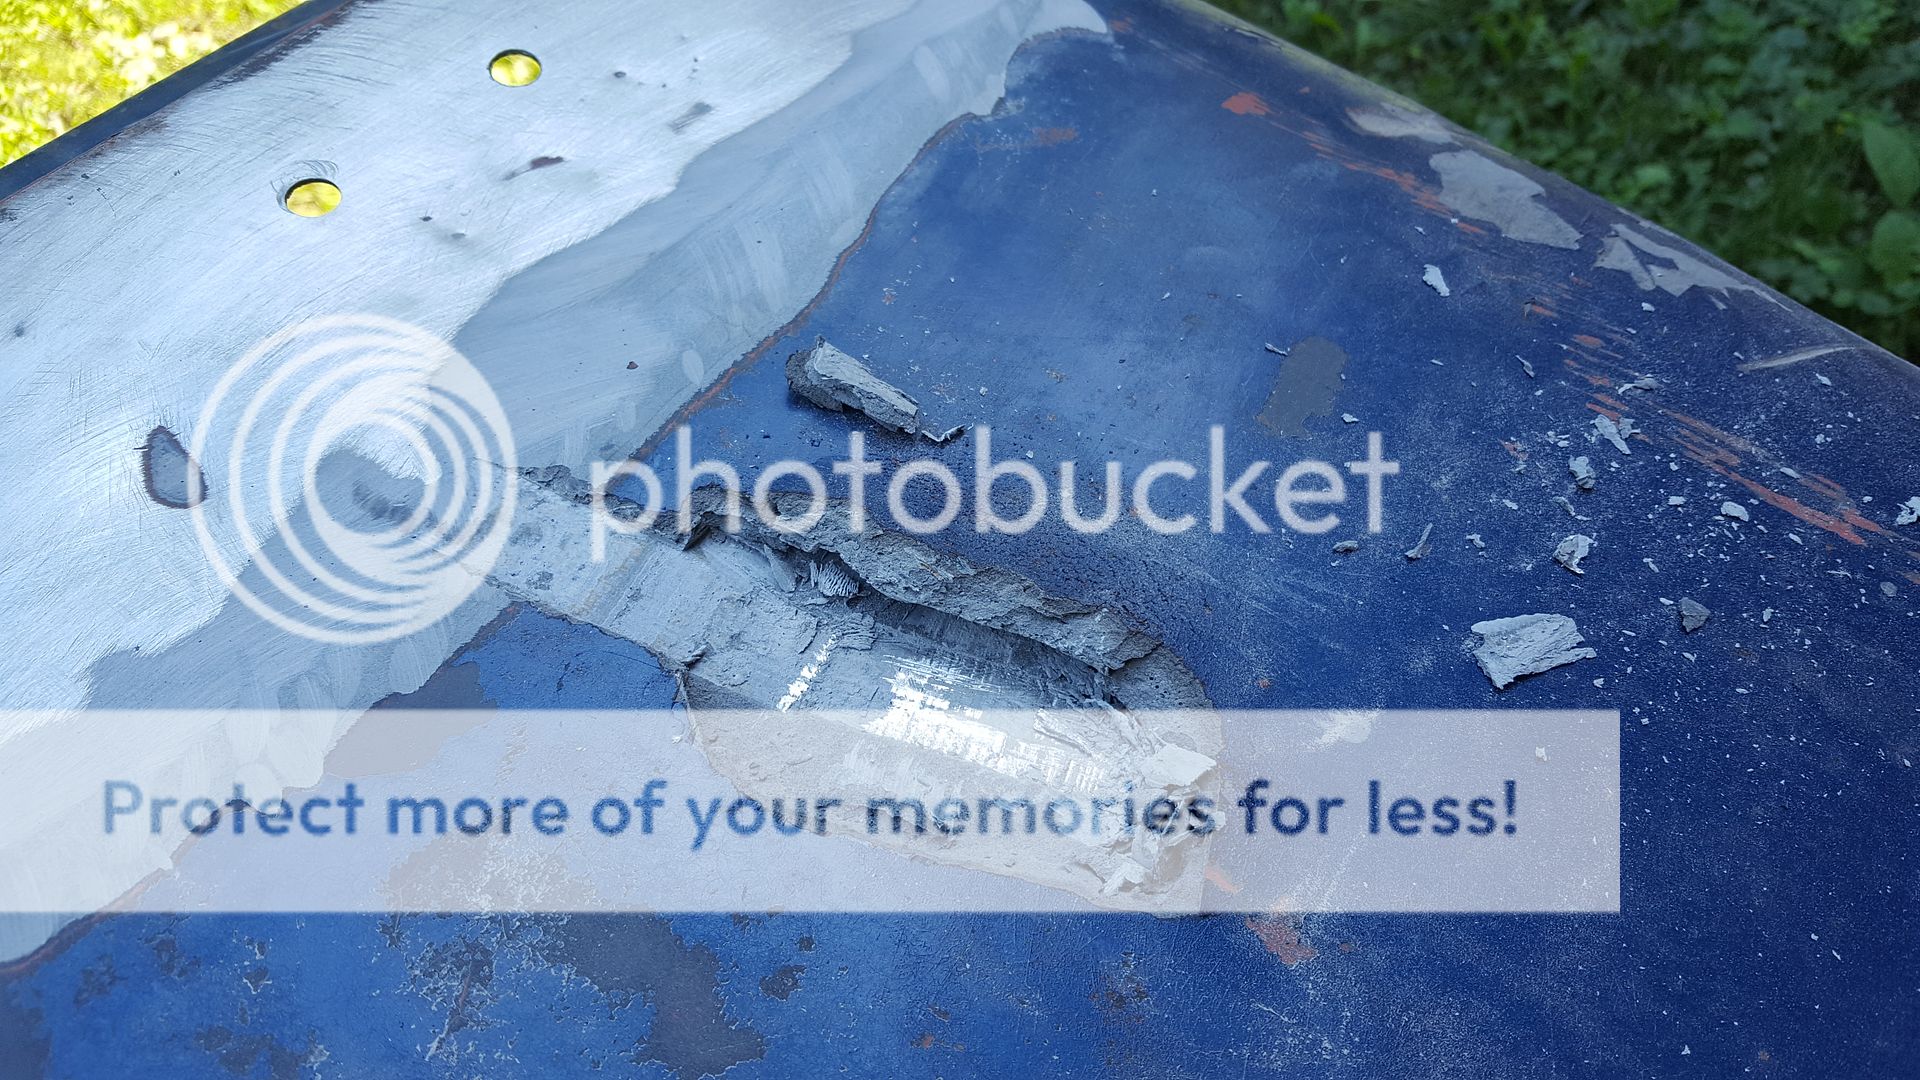
Spot welds for inside support. Nice amount of bondo here
20160821_155959.jpg

20160821_161309.jpg


looks like a 70's repair to me. overlay sheet metal over rust, braze and loads of bondo
20160821_165823.jpg
 
What am I getting myself into here o_O
20160828_121027.jpg


I got the drivers side off after a million spot welds
20160828_122904.jpg

20160828_122915.jpg


Laid a square on the bondo. more than 1/2" on here and this is the good side
20160828_125757.jpg


had to take most of it off with a chisel
20160828_132208.jpg

20160828_134335.jpg

20160828_134344.jpg

20160828_134410.jpg

20160828_134415.jpg

20160828_134421.jpg
 
Only patch panel I can't find is the rear corner but found this on you tube on how to make one

 
Back
Top