You are using an out of date browser. It may not display this or other websites correctly.
You should upgrade or use an alternative browser.
You should upgrade or use an alternative browser.
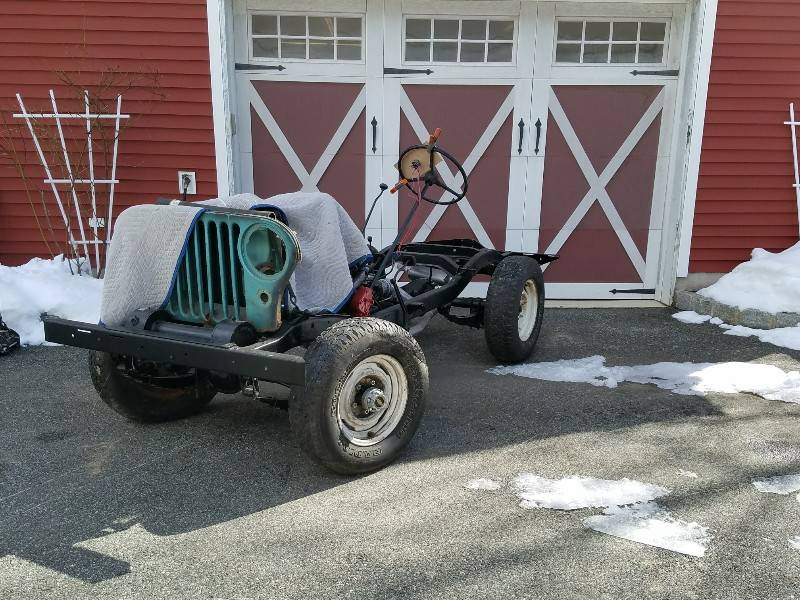
Restoring my fathers old hunting Jeep
- Thread starter JohnL48
- Start date
JohnL48
Well-Known Member
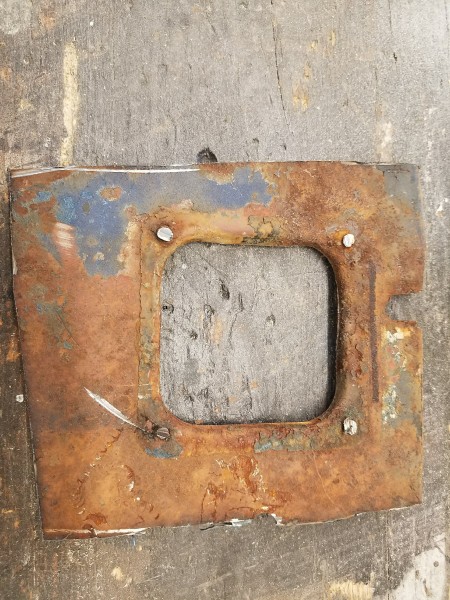
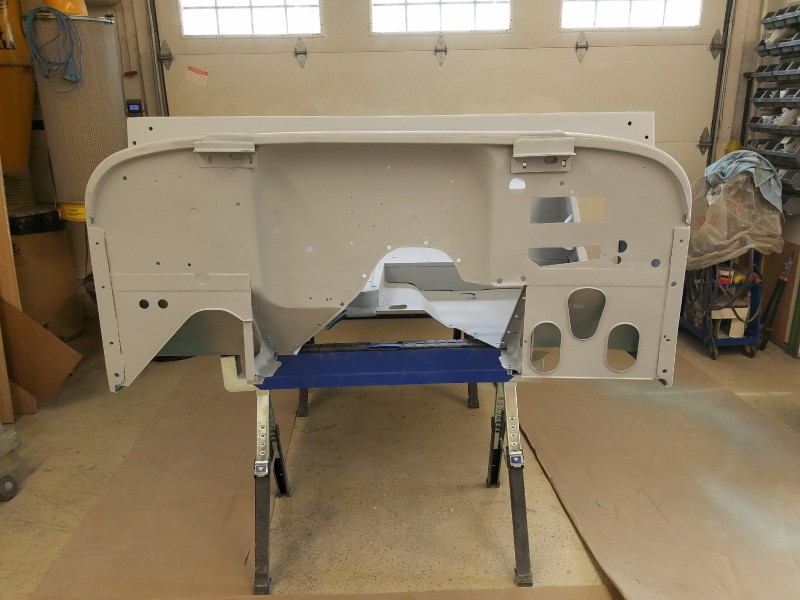
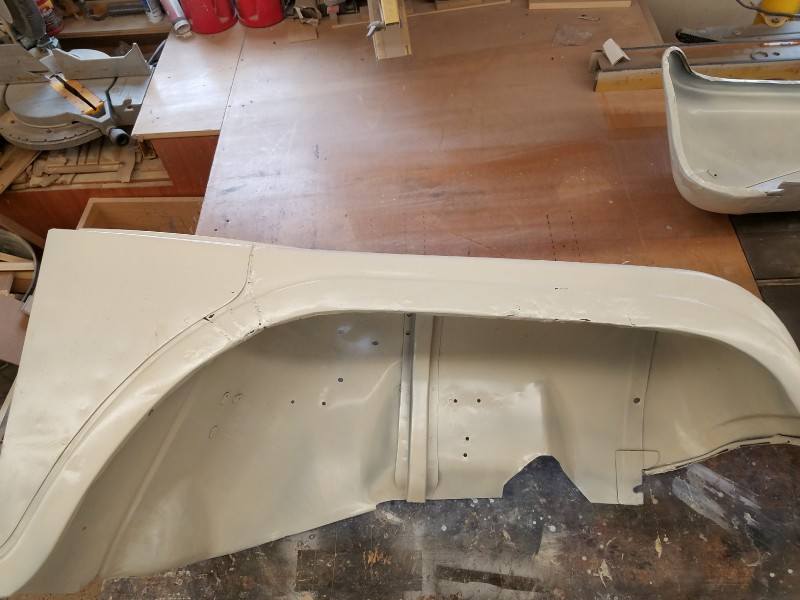
To my amazement it fit.... the hat channel holes were right on, the back riser holes were off front to back about 3/16" so I redrilled those.
My only snafu. I think I will cut the square out of the old one and just weld it in the right spot, if it survives sandblasting
My only snafu. I think I will cut the square out of the old one and just weld it in the right spot, if it survives sandblasting
Last edited:
Turkey Creek
Well-Known Member
I see a light at the end of the very long tunnel!
JohnL48
Well-Known Member
Still a pretty long tunnelI see a light at the end of the very long tunnel!
JohnL48
Well-Known Member
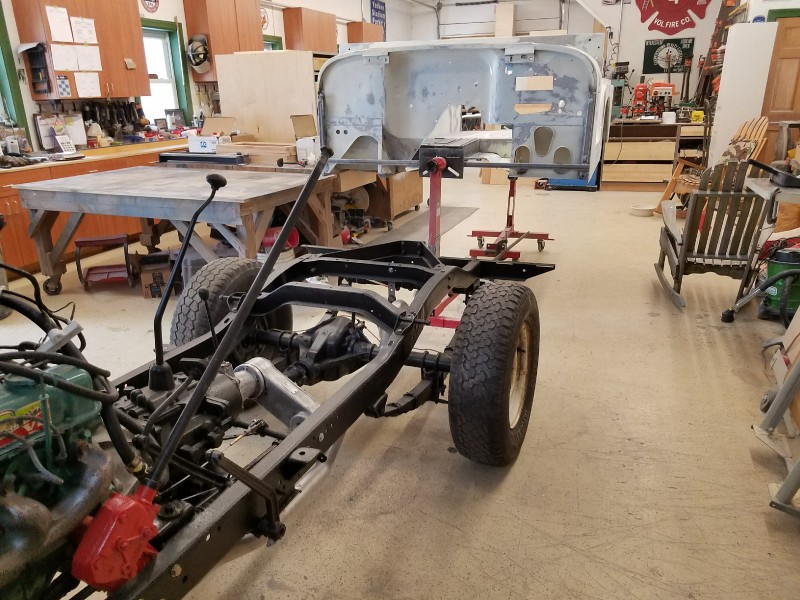
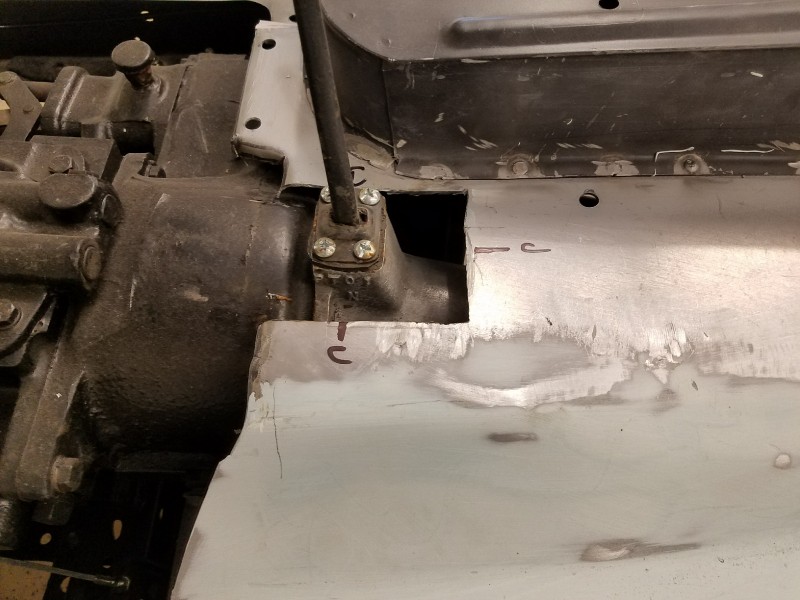
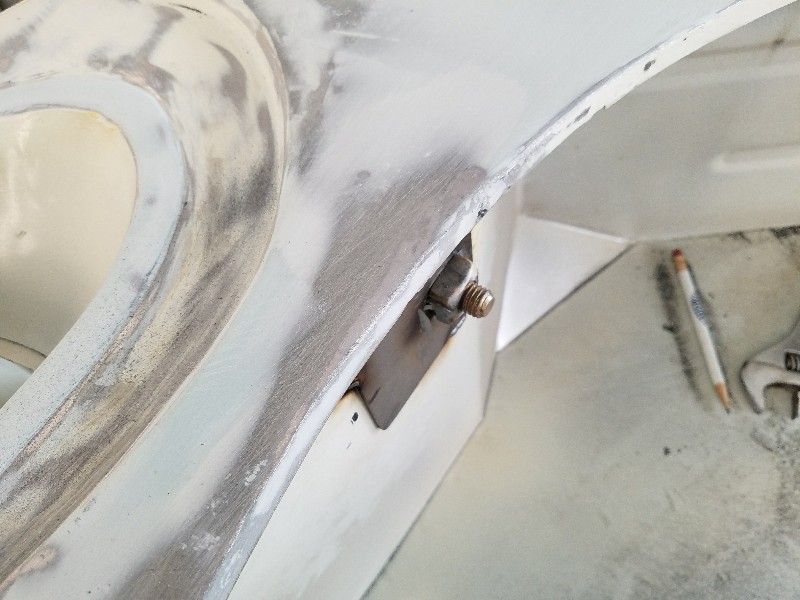
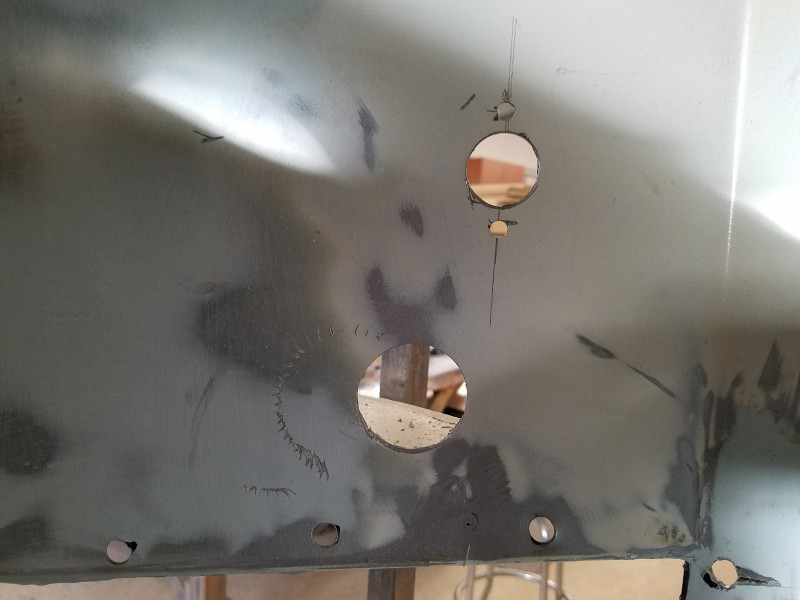
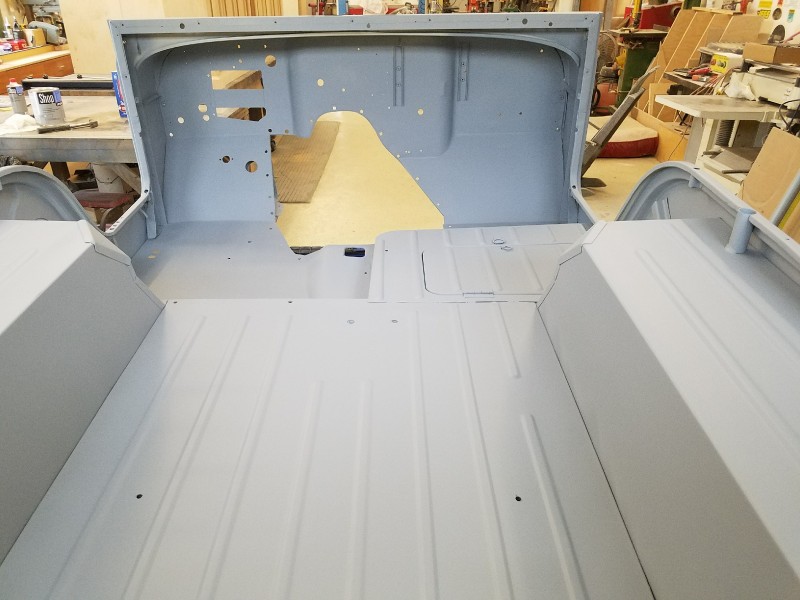
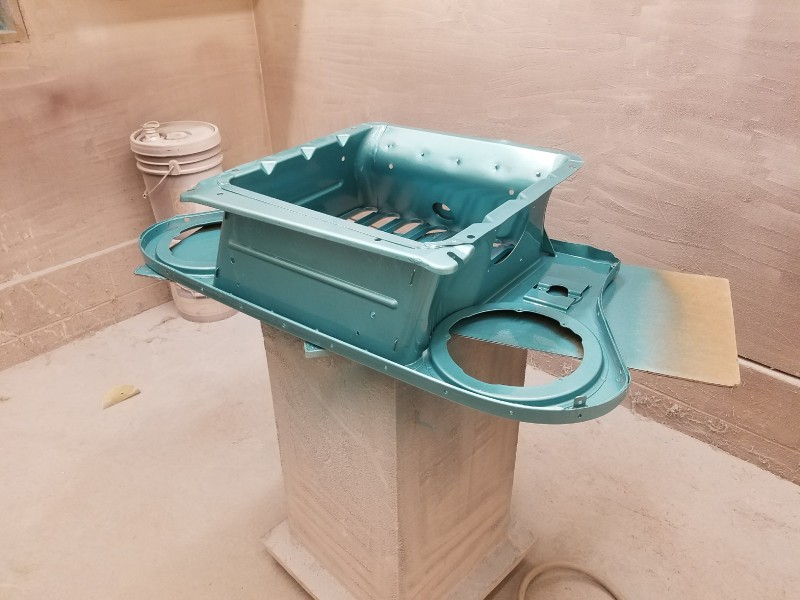
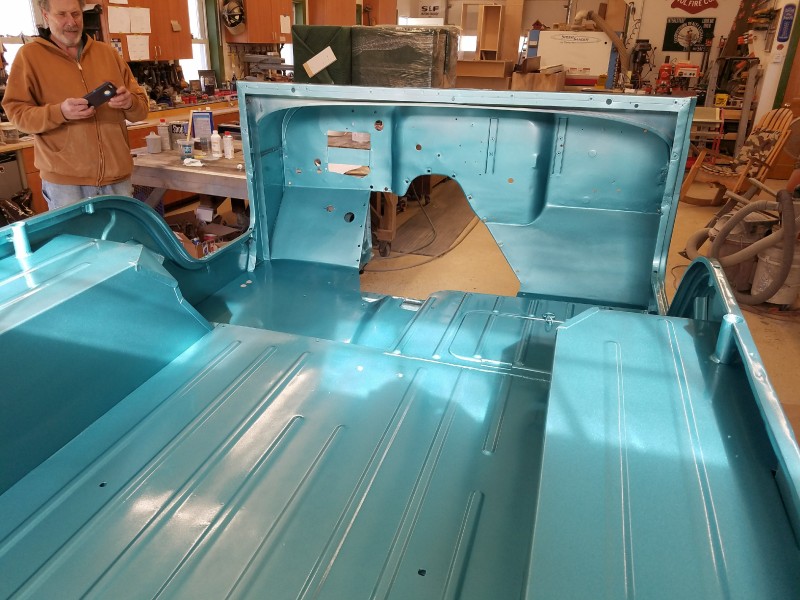
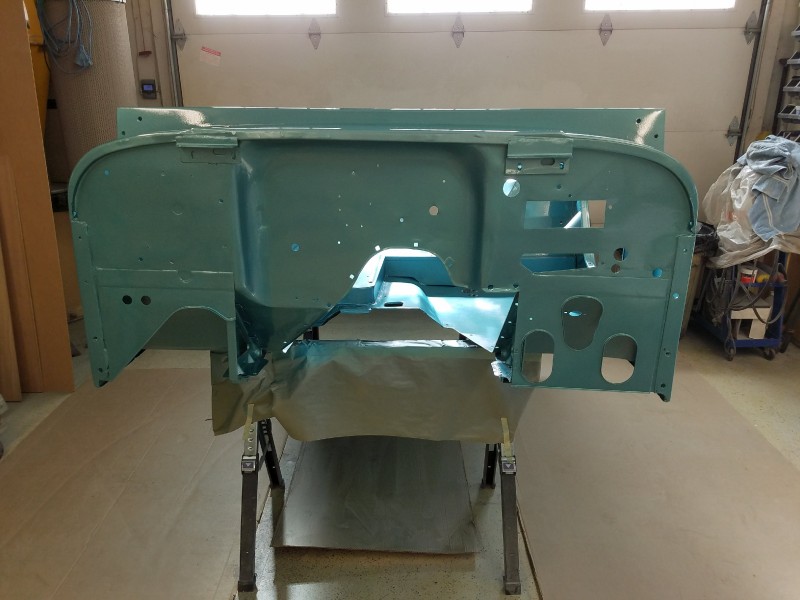
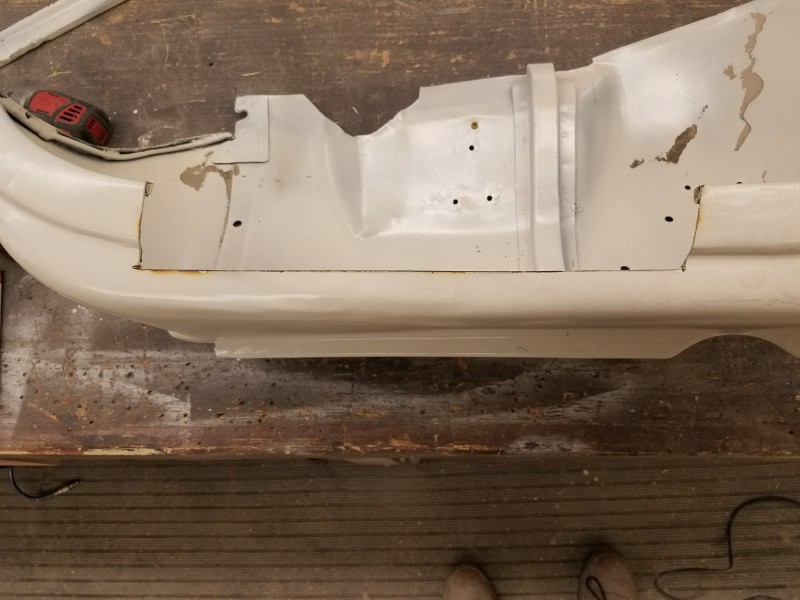
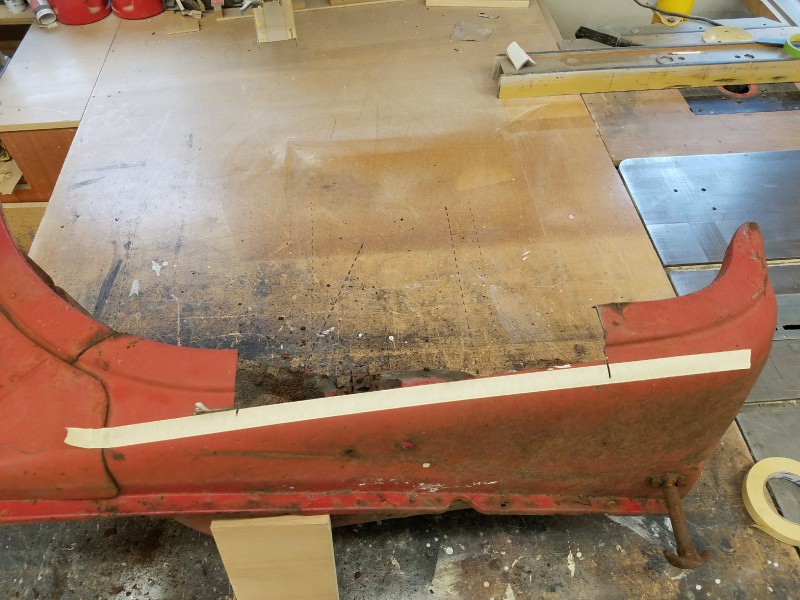
This transmission tunnel has me stumped, when I made it I used the old one as a template and fit it to the tub using the transmission cover, and the hole for the pto was too far back.
I cut the old square out , sandblasted it and welded it in based on the pto center
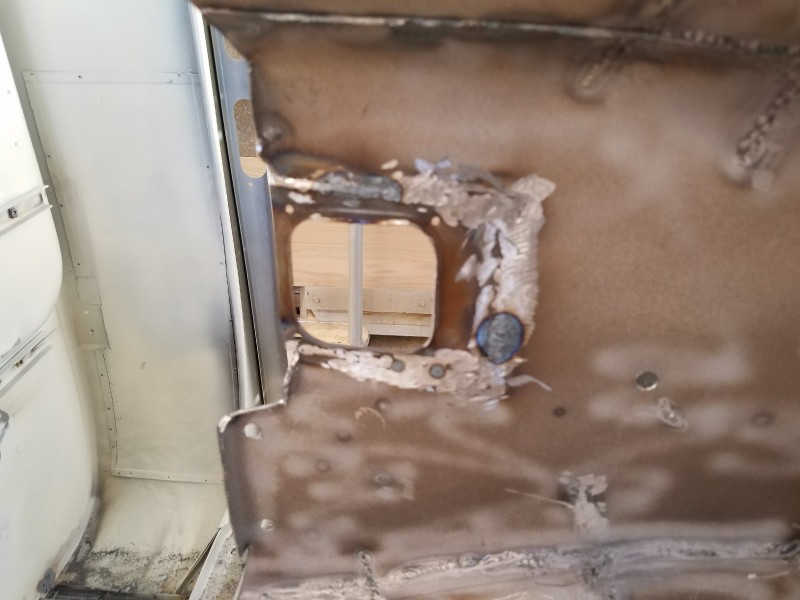
Still some work to do,
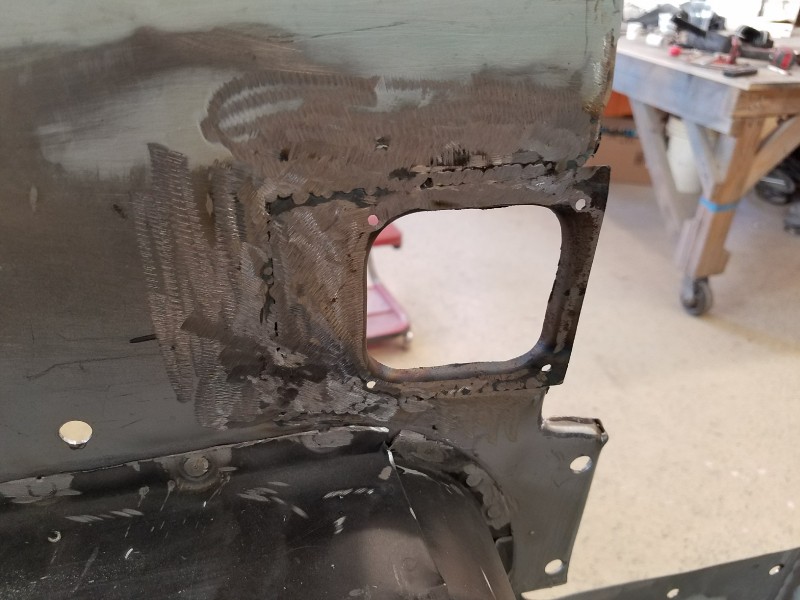
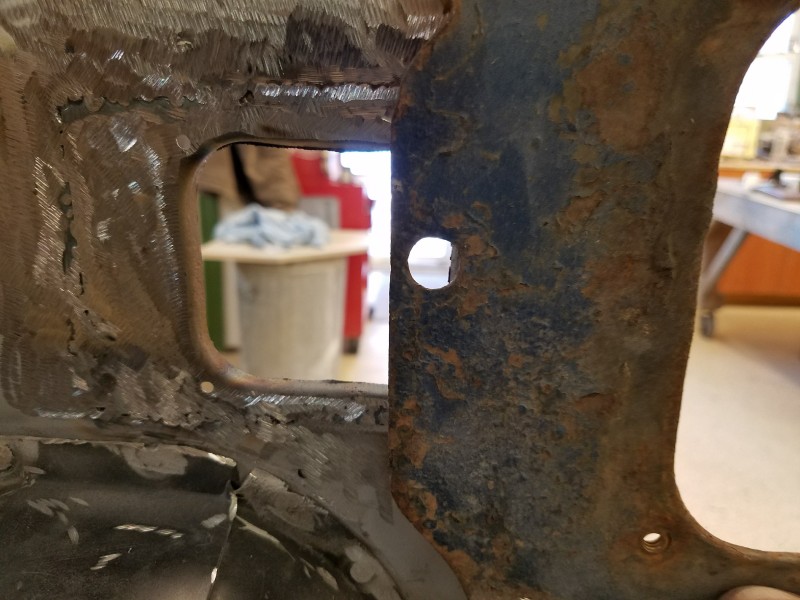
But now I'm faced with this , the transmission cover overlaps the hole. I can't figure out the problem
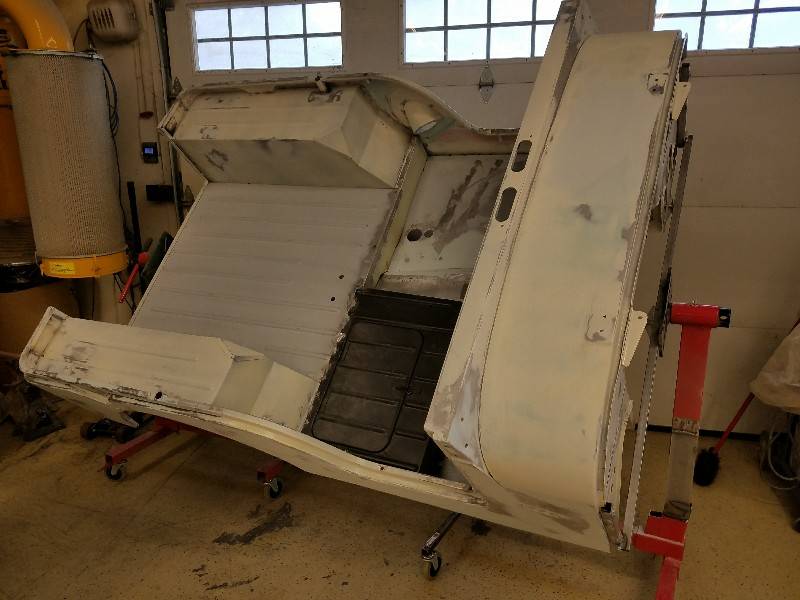
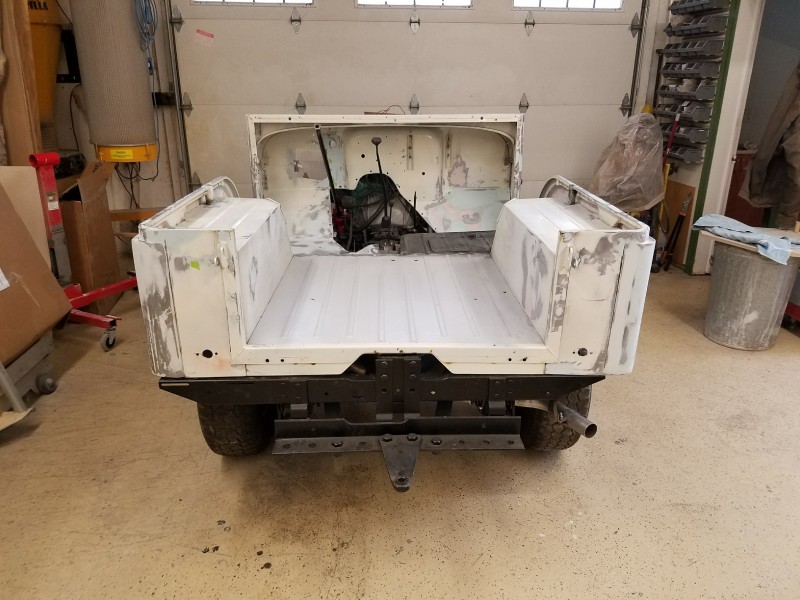
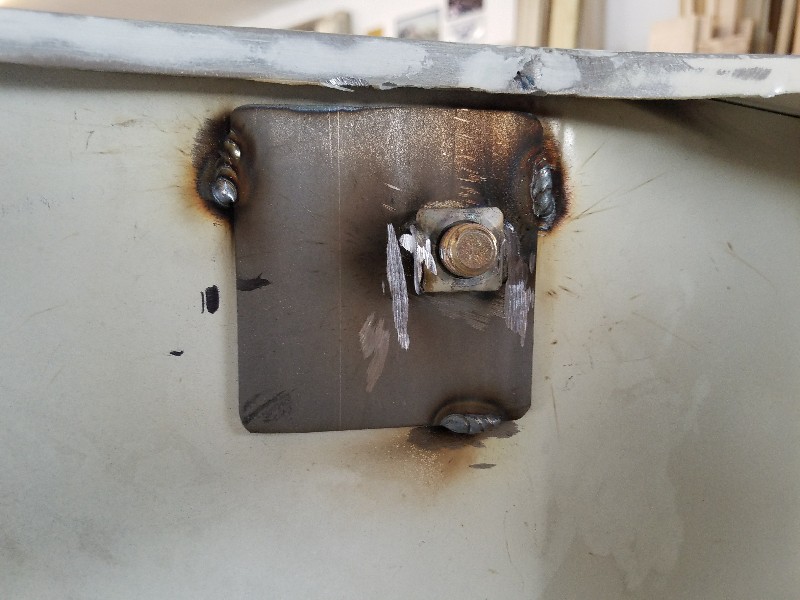
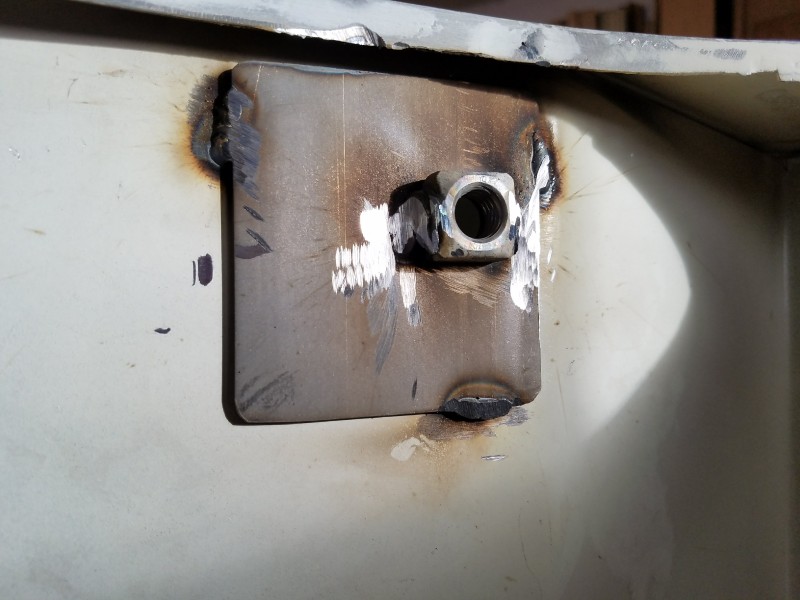
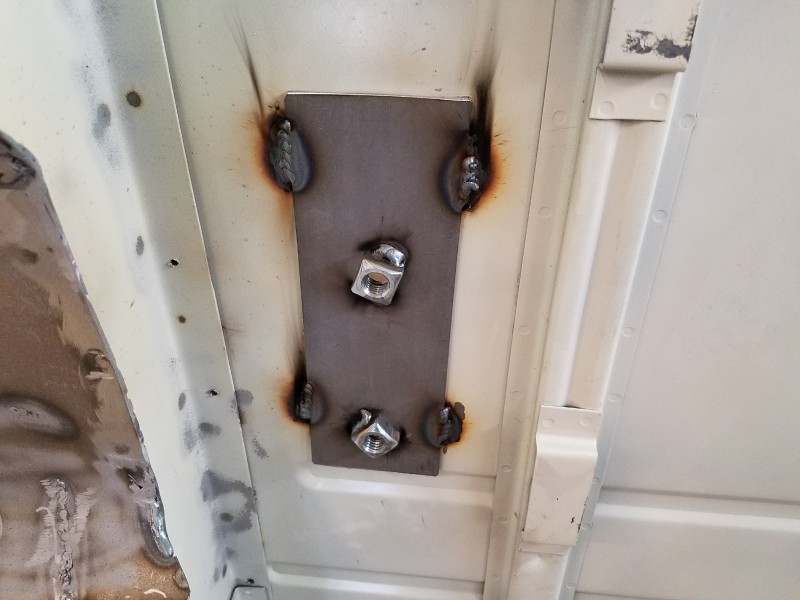
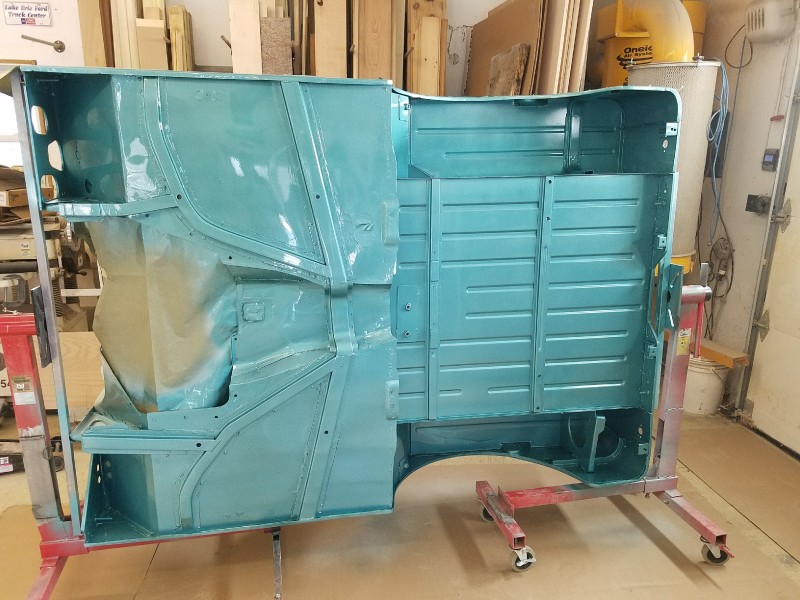
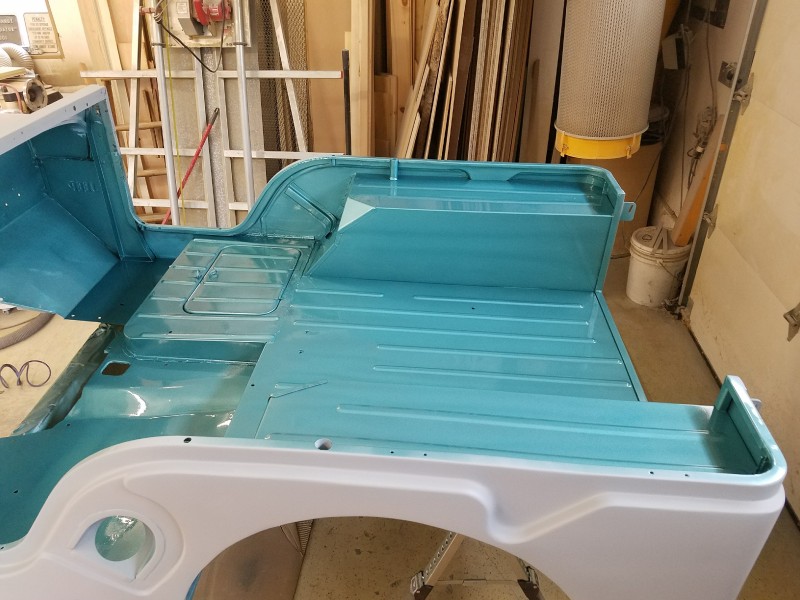
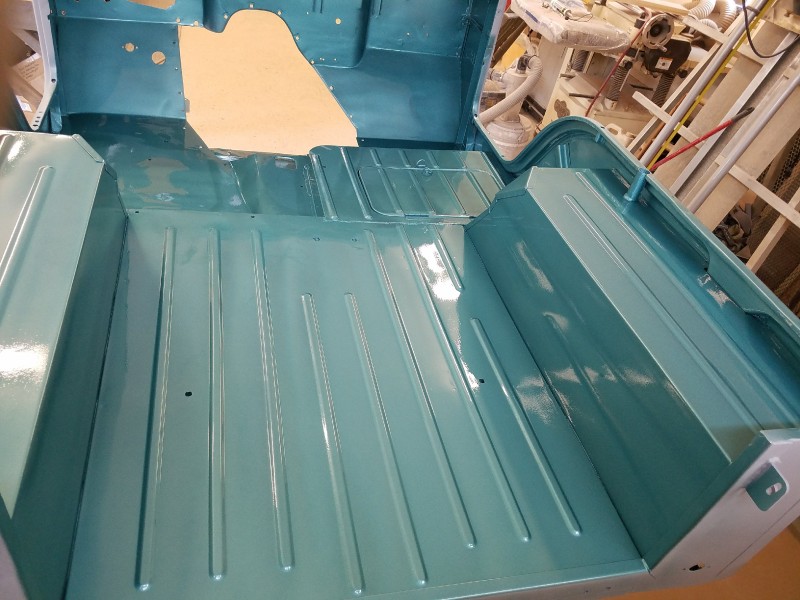
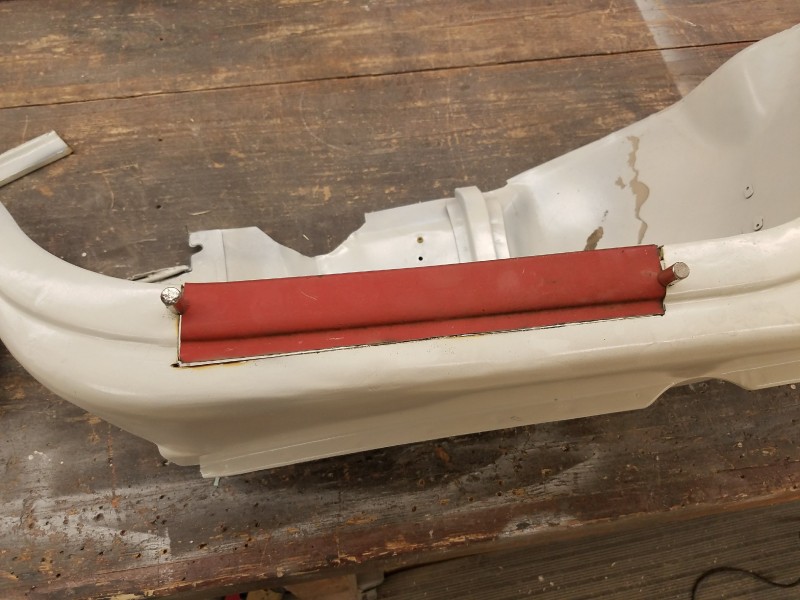
In other news today, I welded the lap belt backing plates on
I drilled the drain holes based on an original floor but when the swivel covers came from walcks they were 1/2" short so I had to fill a hole and redrill. Yes I learned my lesson.

Drilled the clutch pedal and dimmer switch holes too
I cut the old square out , sandblasted it and welded it in based on the pto center
Still some work to do,
But now I'm faced with this , the transmission cover overlaps the hole. I can't figure out the problem
In other news today, I welded the lap belt backing plates on
I drilled the drain holes based on an original floor but when the swivel covers came from walcks they were 1/2" short so I had to fill a hole and redrill. Yes I learned my lesson.
Drilled the clutch pedal and dimmer switch holes too
catscratch
Well-Known Member
Looking great!


JohnL48
Well-Known Member
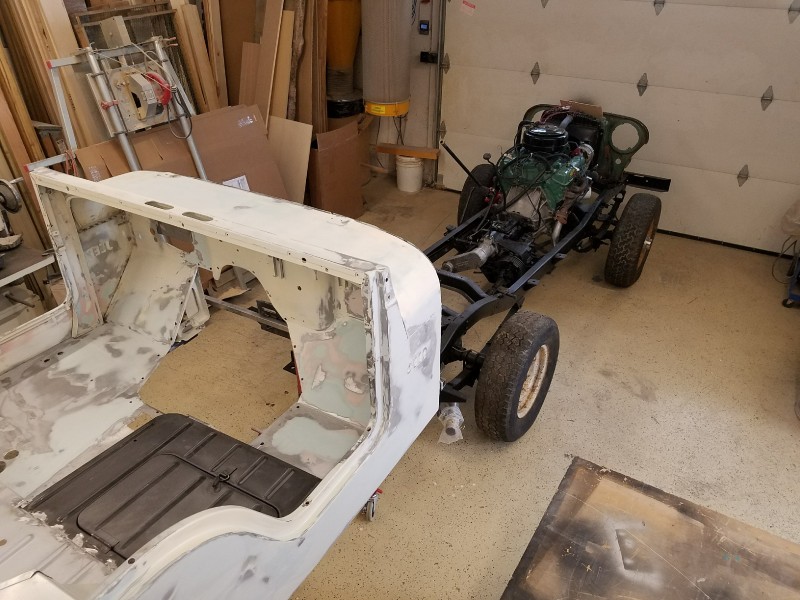
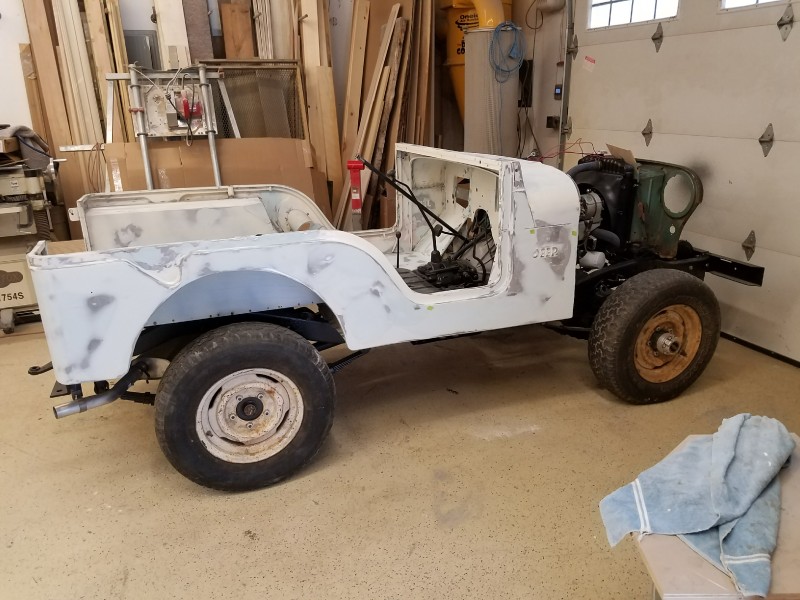
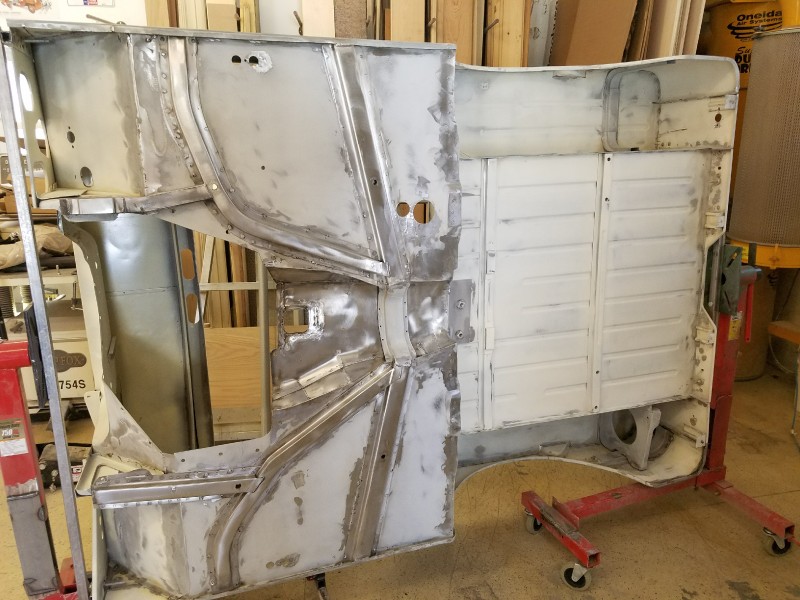
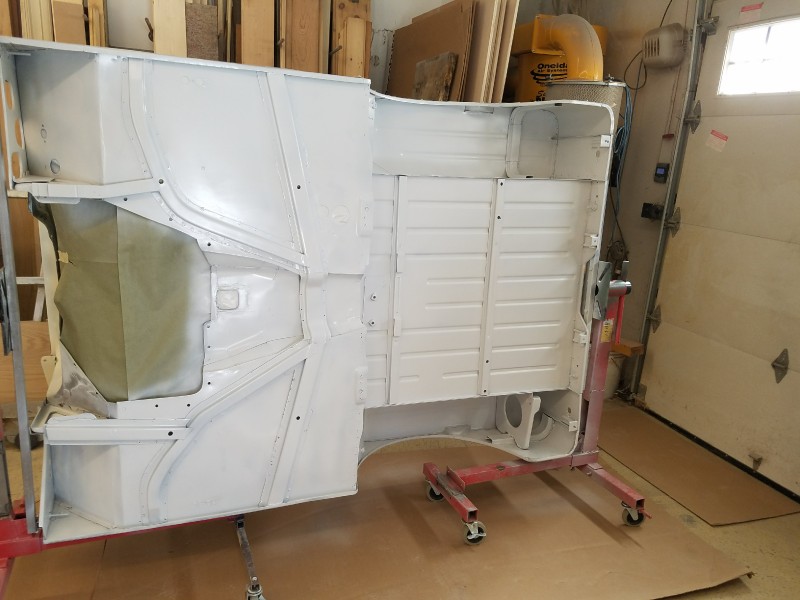
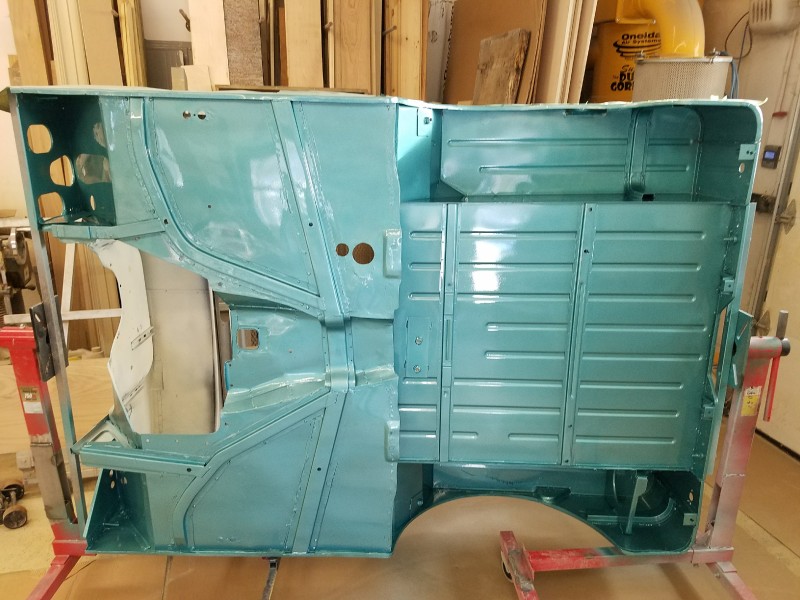
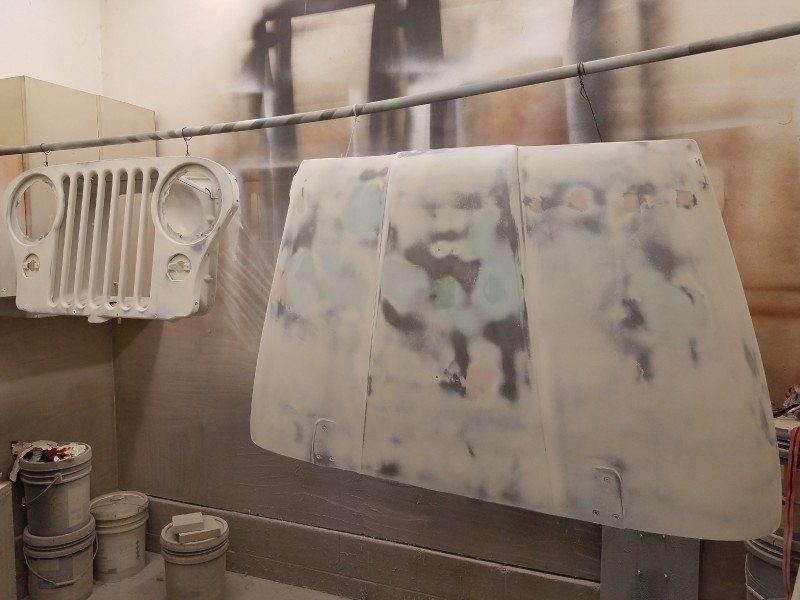
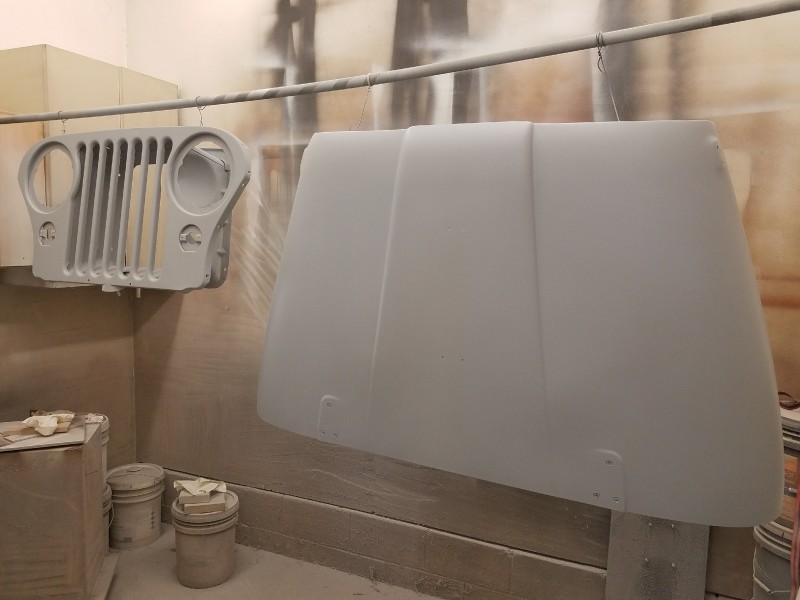
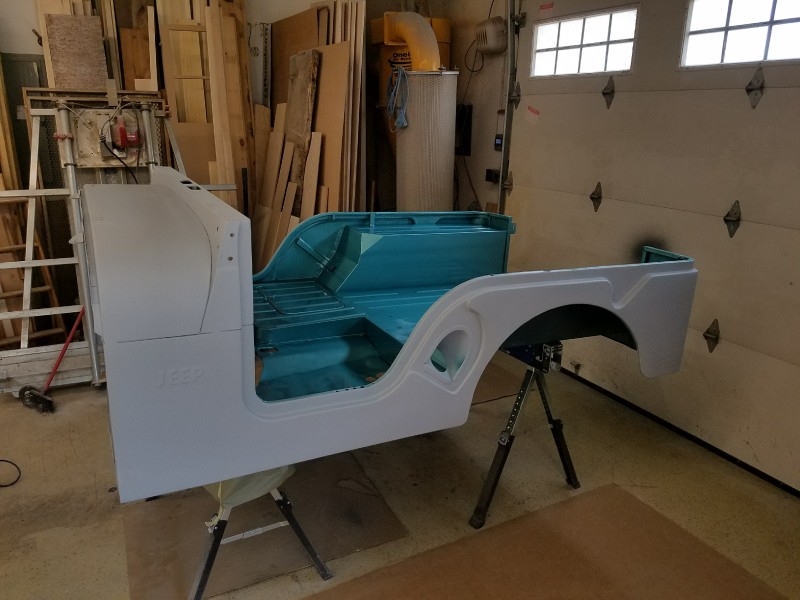
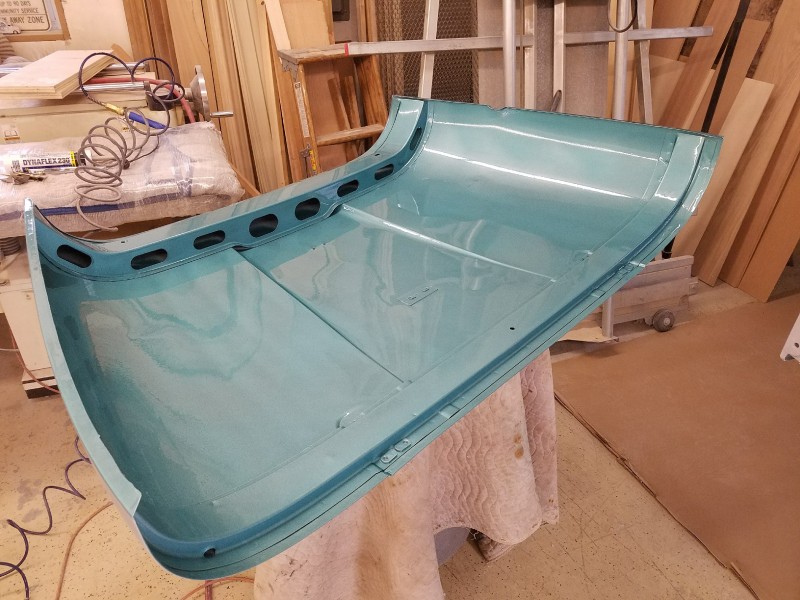
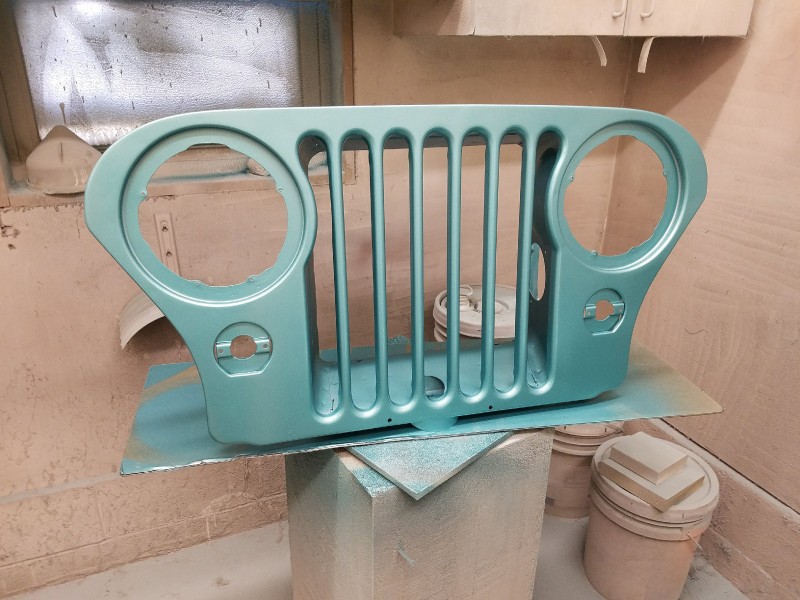
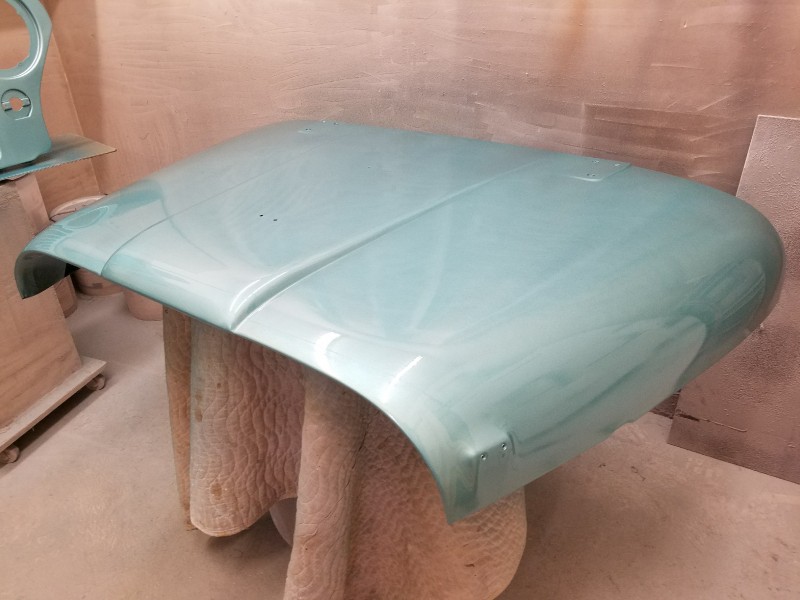
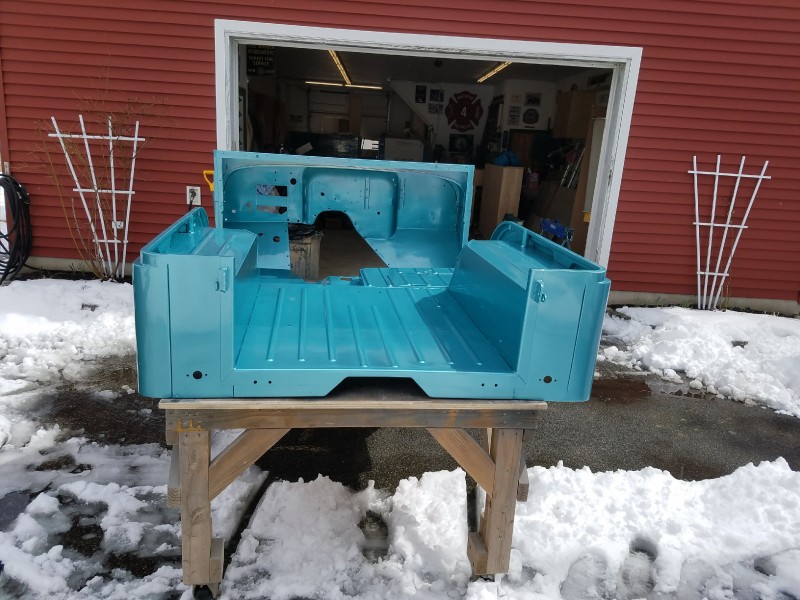
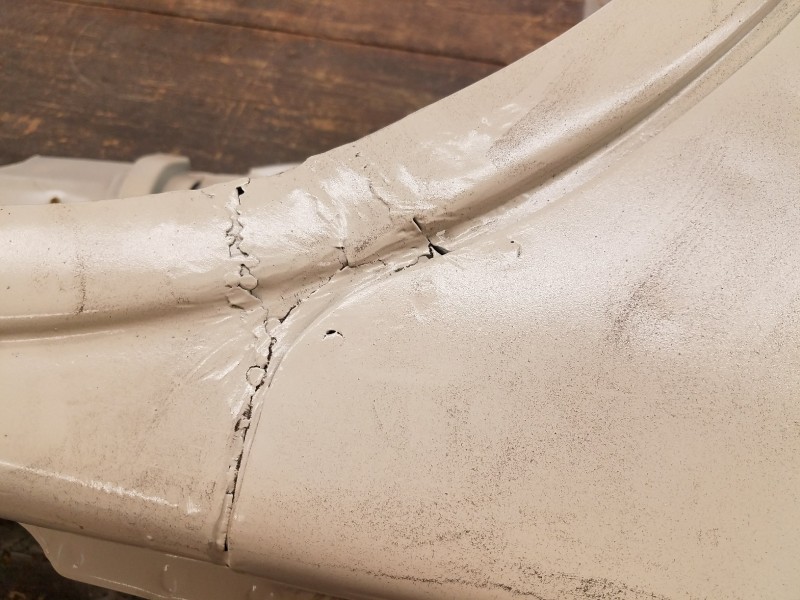
After i block sanded I Decided to spray 2 coats of 2k primer on the outside to see if I missed anything, glad I did, found a couple of areas
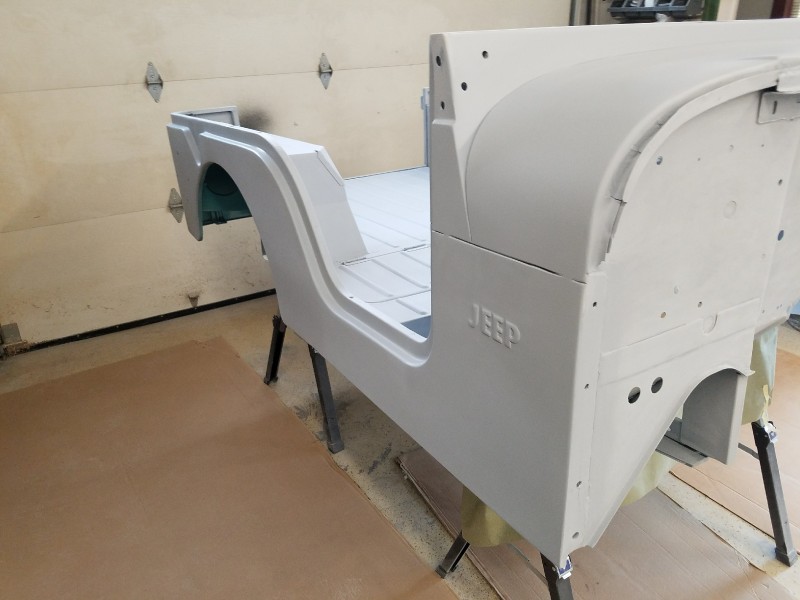
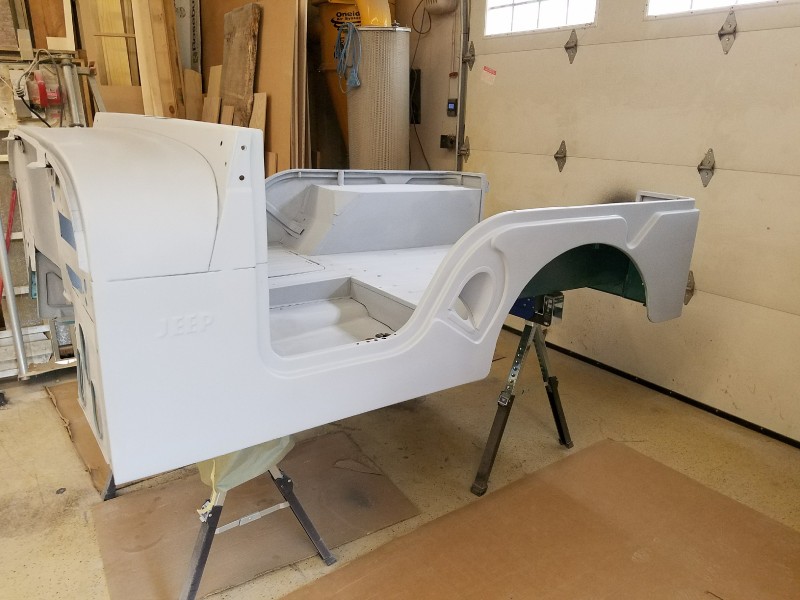

Painted the inside, tomorrow I'll mask it off, scuff the primer and get it done. I don't know where they get the drying times from ?? It says dry to handle in 1 to 1 1/2 hrs, been over 2 hrs and still tacky, same when I sprayed the bottom
Turkey Creek
Well-Known Member
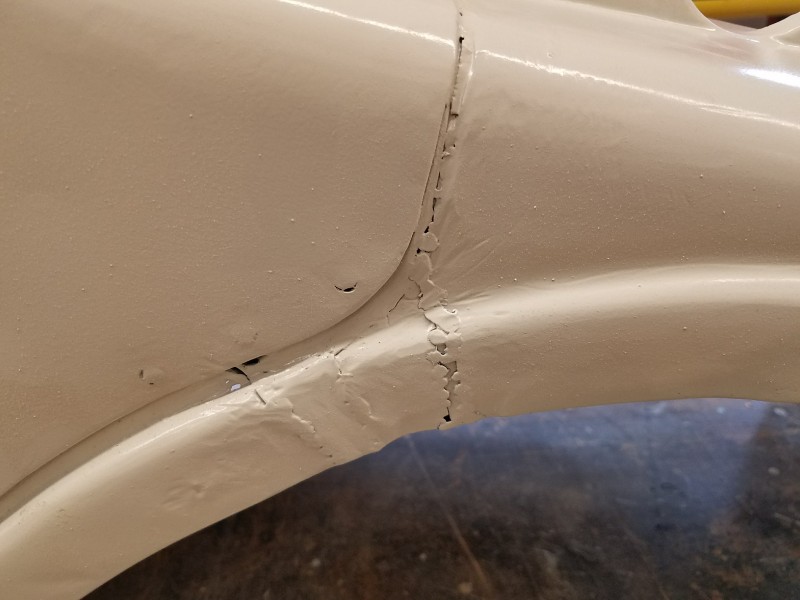
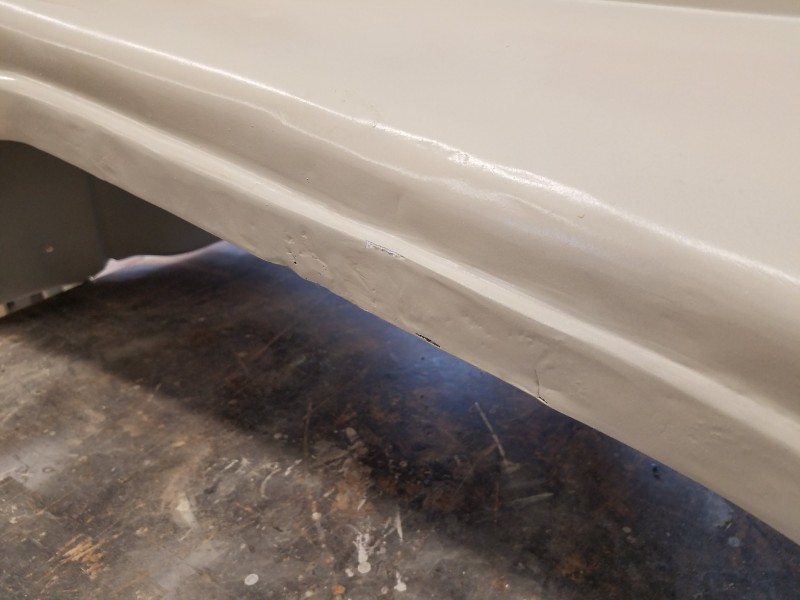
Funny how paint can make flaws like that come to life. Always think I have all my perfections taken care of when I am drywalling only to find after I put that first coat of paint of that I have missed 1 or 2!
JohnL48
Well-Known Member
I keep telling myself it's not a corvette it's a jeep. But ............Funny how paint can make flaws like that come to life. Always think I have all my perfections taken care of when I am drywalling only to find after I put that first coat of paint of that I have missed 1 or 2!
davidhelmly
Active Member
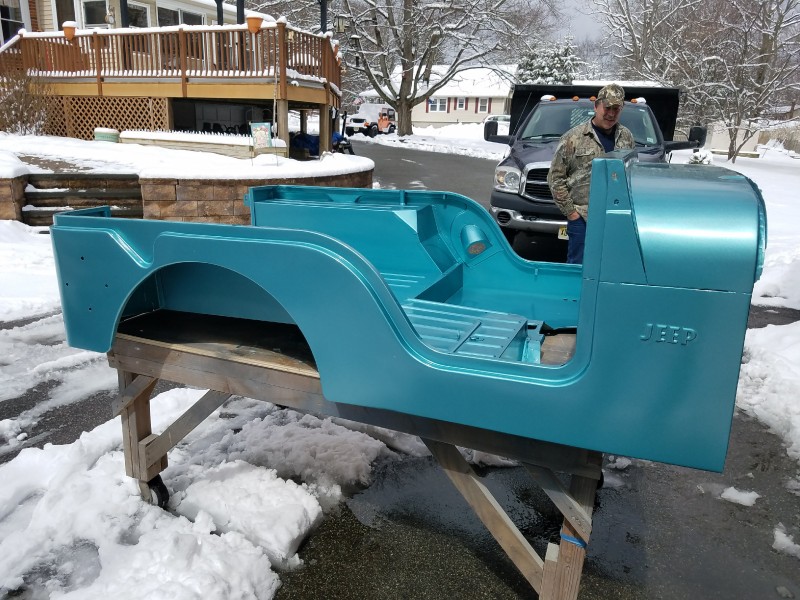
All I can say is WOW!!!

Turkey Creek
Well-Known Member
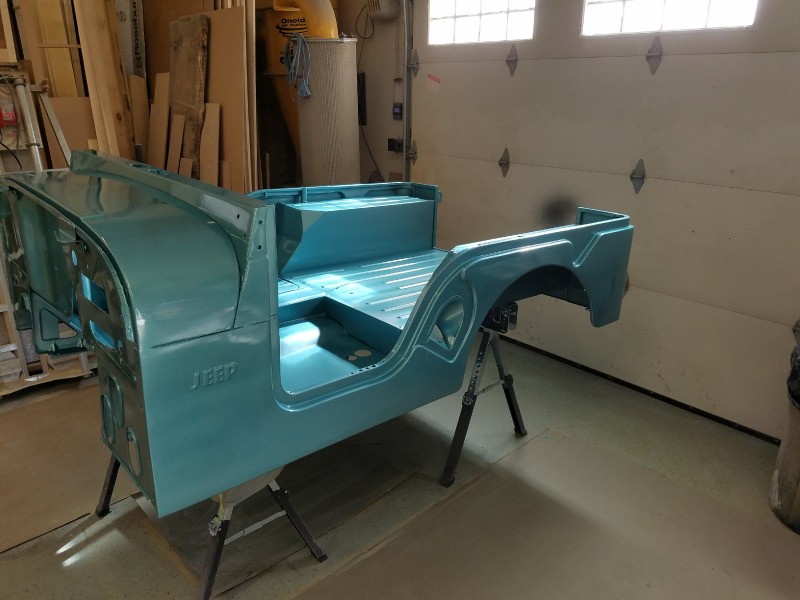
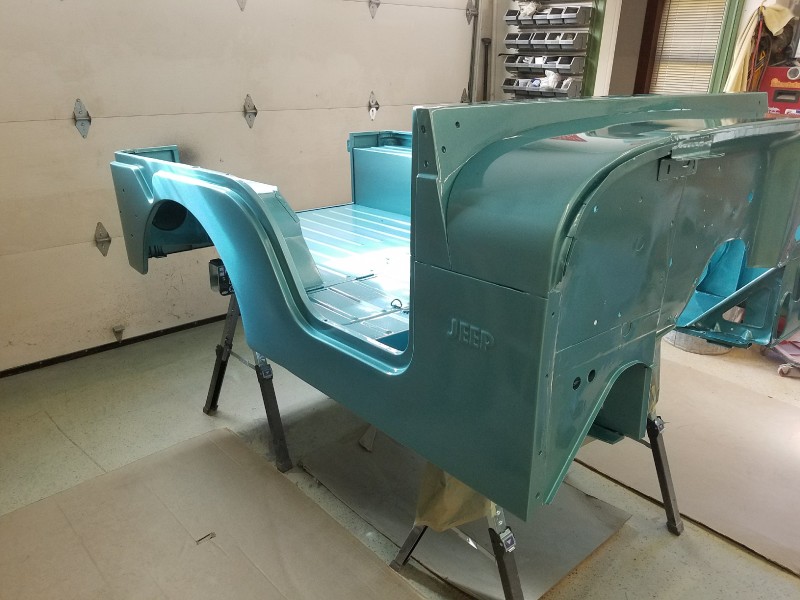
Definitely like the color better in the outside pictures.
Similar threads
- Replies
- 0
- Views
- 5K