You are using an out of date browser. It may not display this or other websites correctly.
You should upgrade or use an alternative browser.
You should upgrade or use an alternative browser.
Cross Fit Gyms My ...
- Thread starter dogghr
- Start date
dogghr
Well-Known Member
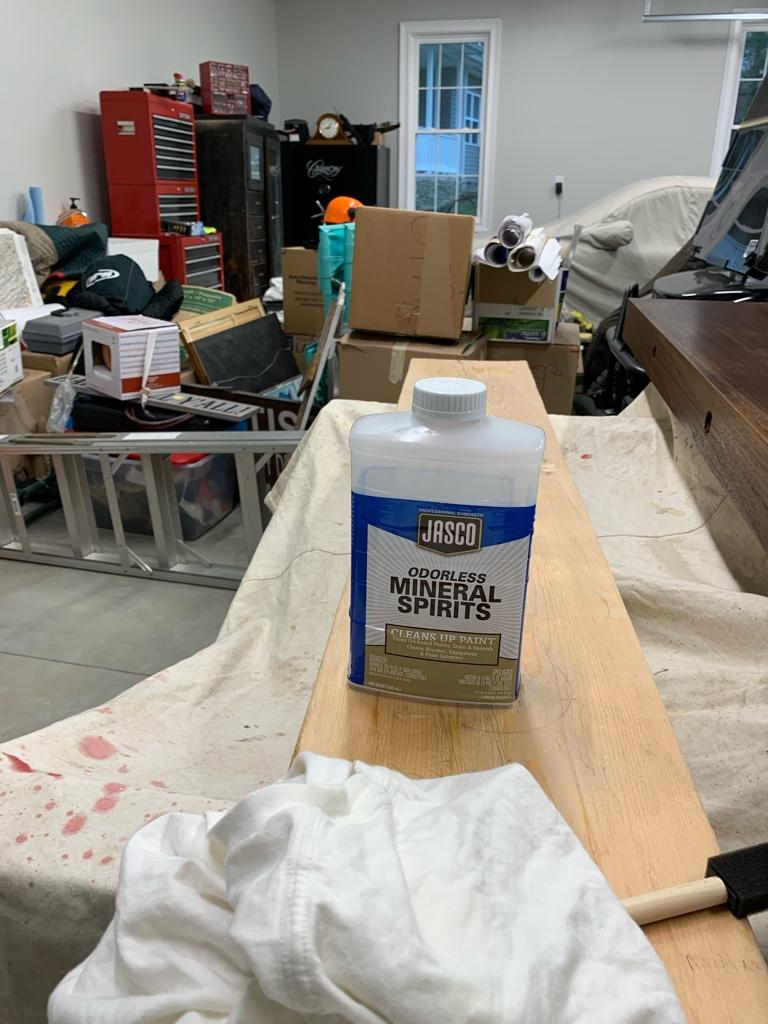
Finished placing 2 finishing satin coats 24 hr apart. Each time I nonpressured sanded w 600 grit. Use a block and not hand for paper as the latter will allow pressure points of your fingers to make for uneven sanding.
Wipe after each sanding w rag lightly wetted with Mineral spirits. Allow dry 30 min then place coat.
I do like the foam brushes for this step. No worries of loose bristle , easy control of sealer , and cost pennies compared to overpriced brushes.
Again ck for 10-20 min of any runs.
Mantle now goes into house for a wk or so of curing and acclimating. Hopefully place soon. Thanks for tuning in.
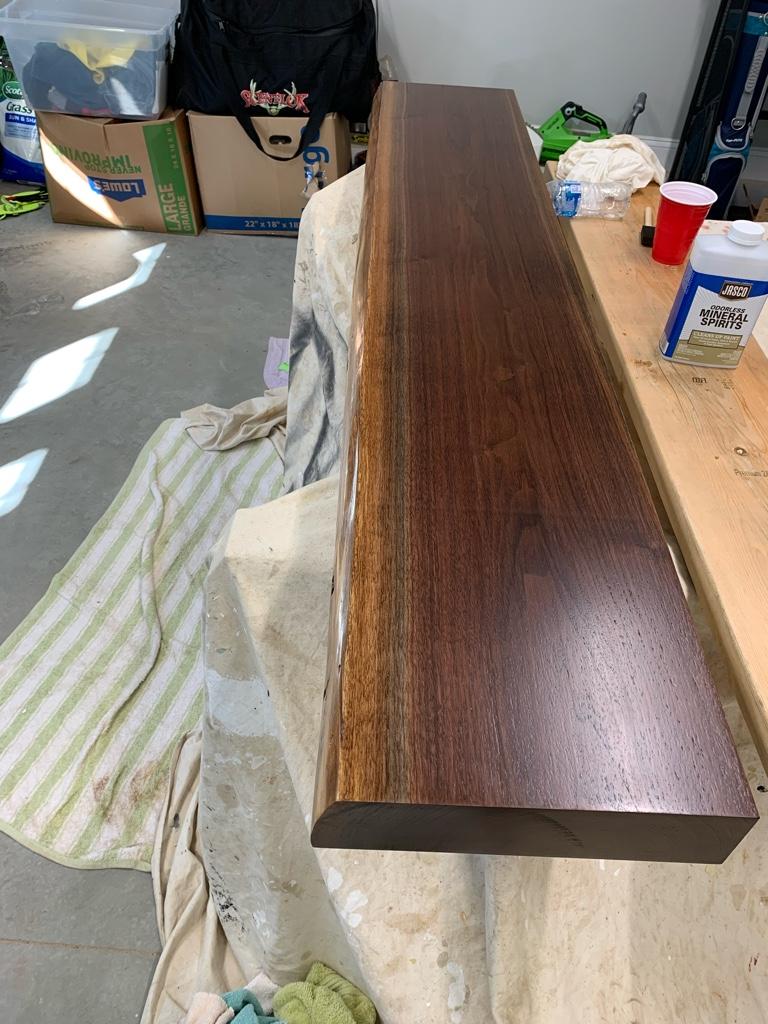
With satin finish stir before placing or you will have a gloss finish.
Finished w a final light 600 grit. Wiped down again. Moved into house to let cure. Final mounting pics soon hopefully.
Sent from my iPhone using Tapatalk
Wipe after each sanding w rag lightly wetted with Mineral spirits. Allow dry 30 min then place coat.
I do like the foam brushes for this step. No worries of loose bristle , easy control of sealer , and cost pennies compared to overpriced brushes.
Again ck for 10-20 min of any runs.
Mantle now goes into house for a wk or so of curing and acclimating. Hopefully place soon. Thanks for tuning in.
With satin finish stir before placing or you will have a gloss finish.
Finished w a final light 600 grit. Wiped down again. Moved into house to let cure. Final mounting pics soon hopefully.
Sent from my iPhone using Tapatalk
dogghr
Well-Known Member
12" x 3.25 x 66". I initially was going to go 10.5 wide but decided I could always cut more off but not as easy to add. The original slap was about 16" x 4" and after kiln drying, and planing the the thickness was reduce. I actually began with the idea of 6 " thick to make a block mantle but luckily their was a defect in the heartwood making me cut back to 4". If you look at the end you can see the slab was cut off center to the preferred heartwood to by pass that defect. I'm happy it ended that way as its still a pretty heavy piece. I still have plenty of shelving size planks that have plans in order. I have 3 dead walnut trees that I intend to cut and stack for future use before they rot.What are your mantle's finish dimensions?
G
As for the kiln, black walnut doesn't usually have to be kiln dried as it seldom has bug infestation and is pretty good for not spitting with air drying. But this piece did show some bug on one end so chose to use a kiln dry. Even after 3 years of stick stacked and covered it still moisture read at 18%. After kiln, it was 5 %. Honestly I probably would not have worried of using kiln but my wife was freaked there could be bugs crawling out in the house....so you know, kiln. It spent nearly 6 weeks in a solar kiln which for walnut is a better choice than steam kiln which can cause color change in that particular type wood.
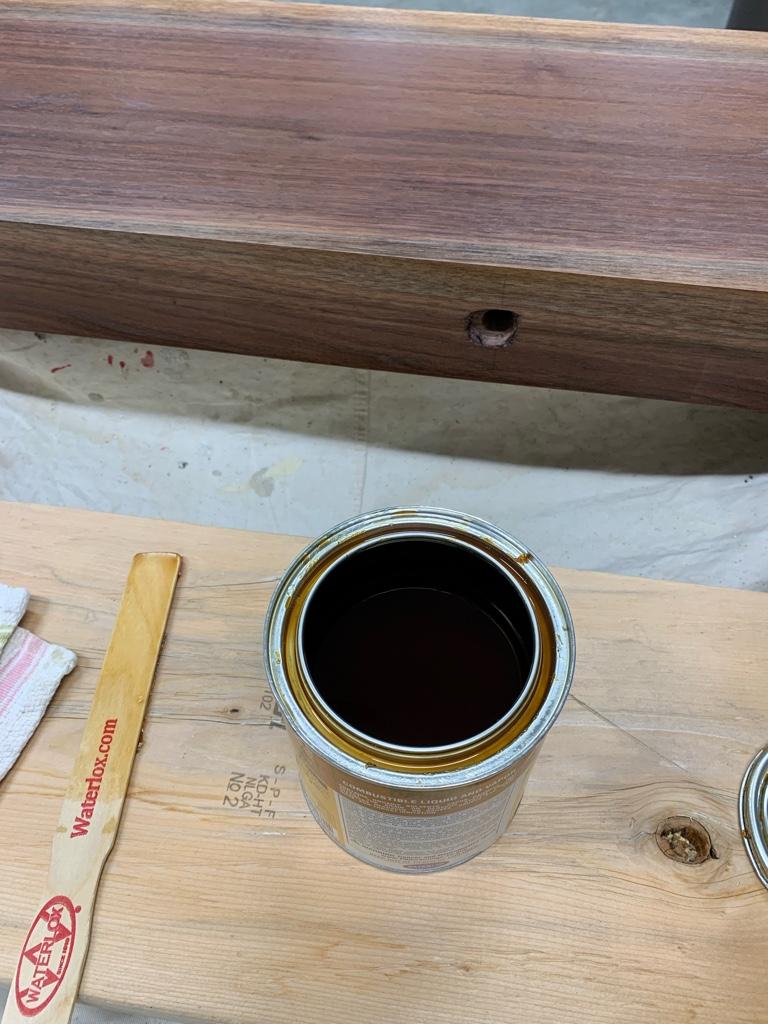
Going back to the finish coat, this is a self leveling material. Coat it on good, do finishing strokes in line with grain, and don't over work. And check for those runs for 10 min or so , they tend to sneak in there.
Its somewhat surprising that I would mess with walnut since as a child we had to collect thousands of walnuts each year from our trees to process for sale. I hate the dang things.
dogghr
Well-Known Member
Thanks Doug, I asked that question wondering if you had to cut the center off, I see now.
My heated building serves as a pretty good kiln. Takes about 3 months to dry down to 10%. Wood right now is 5-6%.
G
How are you heating it?? I have a friend who has a kiln functioning from a dehumidifier and it’s heat couple w an exhaust fan in a casket size inclosure. Works pretty well. Always making crap.
Sent from my iPhone using Tapatalk
George
Well-Known Member
How are you heating it?? I have a friend who has a kiln functioning from a dehumidifier and it’s heat couple w an exhaust fan in a casket size inclosure. Works pretty well. Always making crap.
Sent from my iPhone using Tapatalk
Wood.
G
dogghr
Well-Known Member
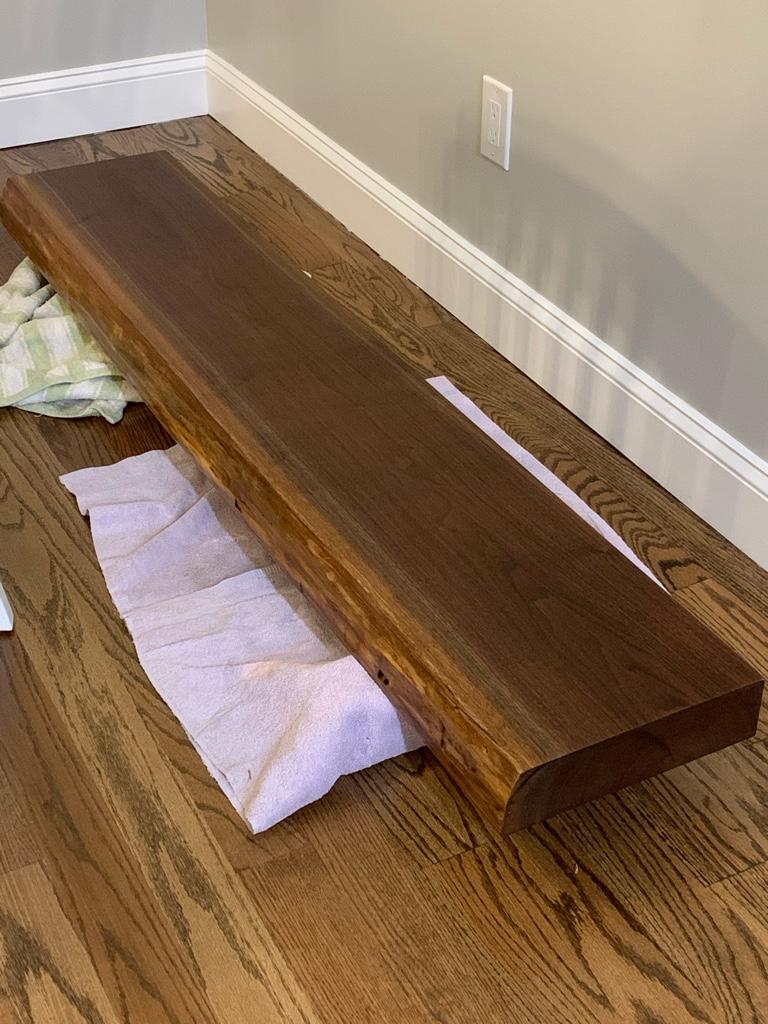
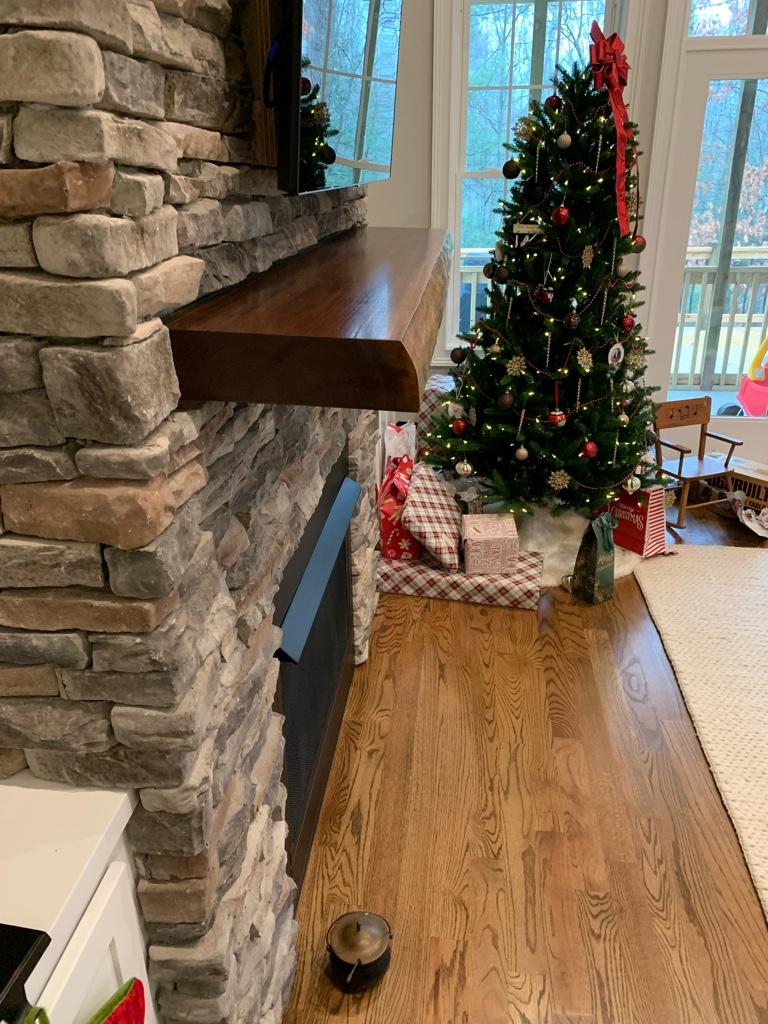
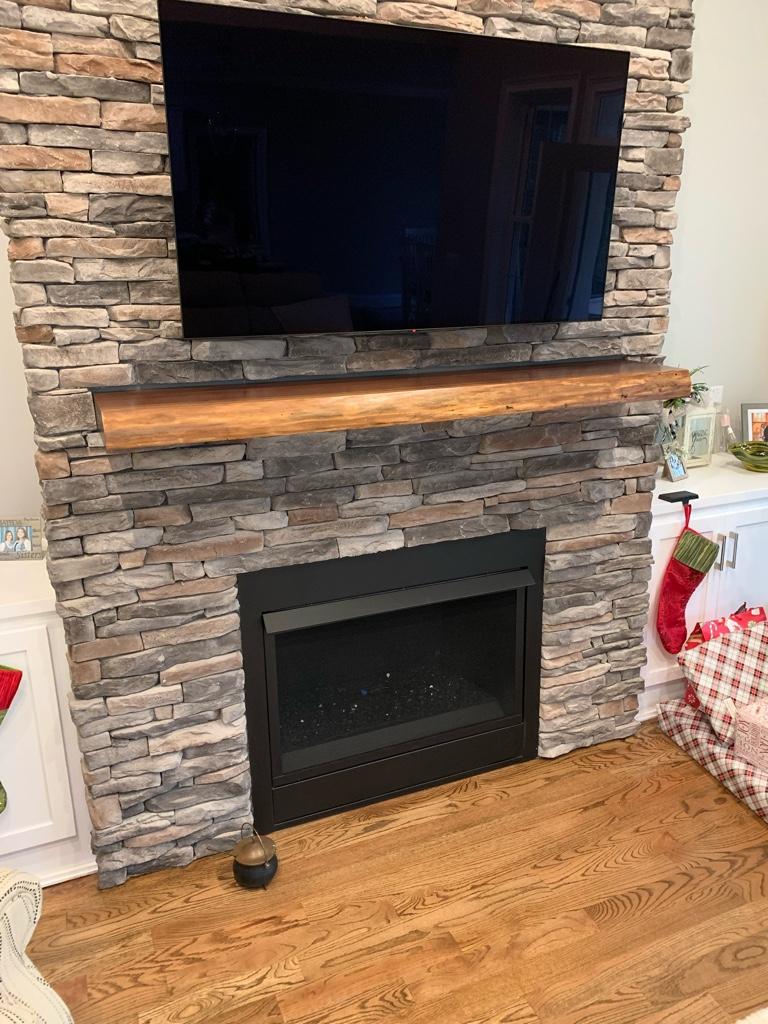
Well met the self imposed deadline this past week. Moved the mantle into the house and let cure for the week on the floor.
Then my SIL who is an over thinking engineer helped me place the mantle above the fire place. I knew he could get us absolutely dead center with his calculations despite all the variables involved.
From a tree I cut at the farm… to this. I am quite pleased. Already have plans for the remaining walnut slabs.
Merry Christmas to All!!!
Sent from my iPhone using Tapatalk
dogghr
Well-Known Member
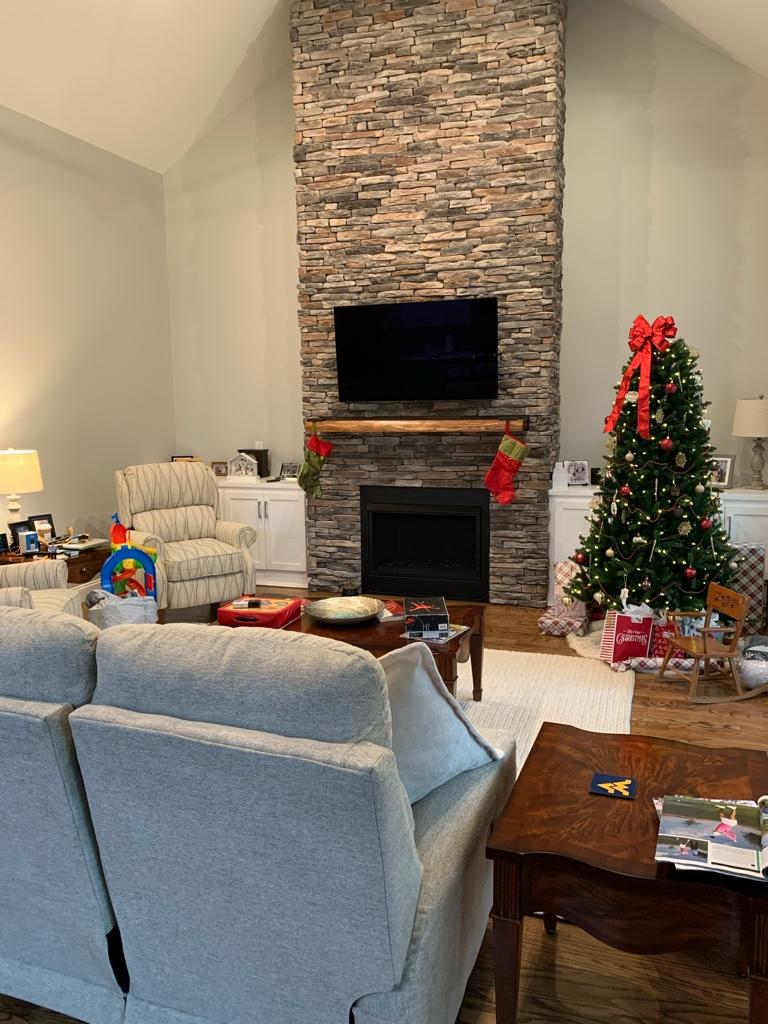
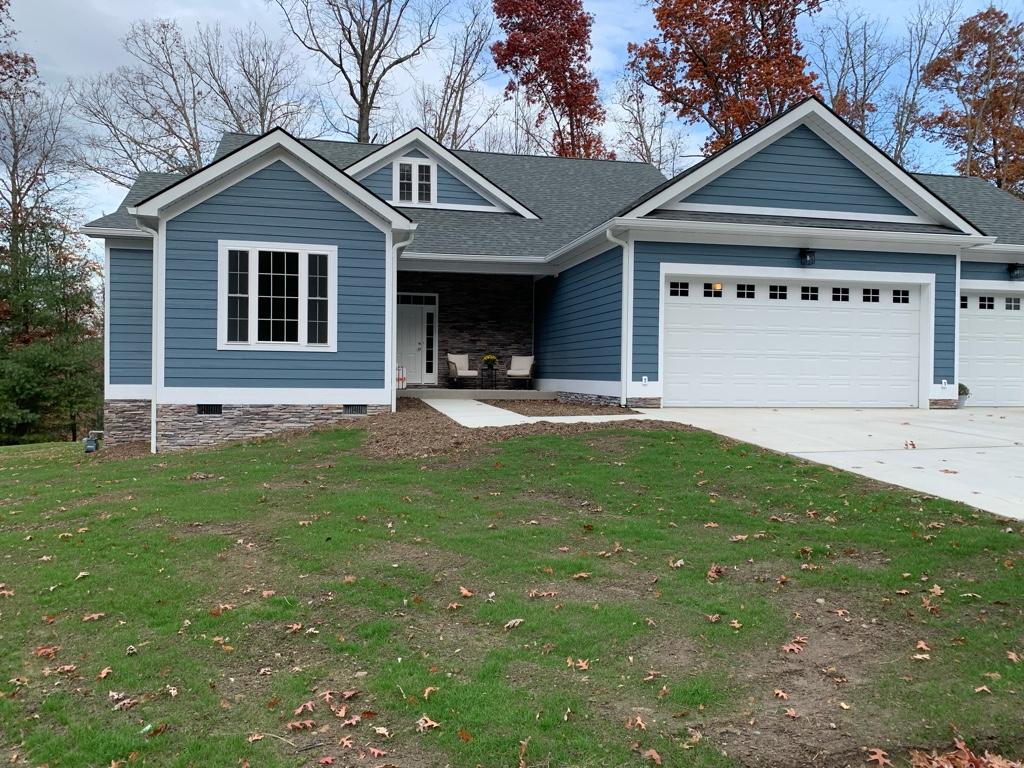
Looks great! Also the rock facing. What did you use for that and how was the install
Rock face is synthetic rock of course ,from NC , which had the least expensive prices. Used on front porch and foundation same material.
I’m expecting one of the grandpups to do rock climbing on it one day no doubt!!
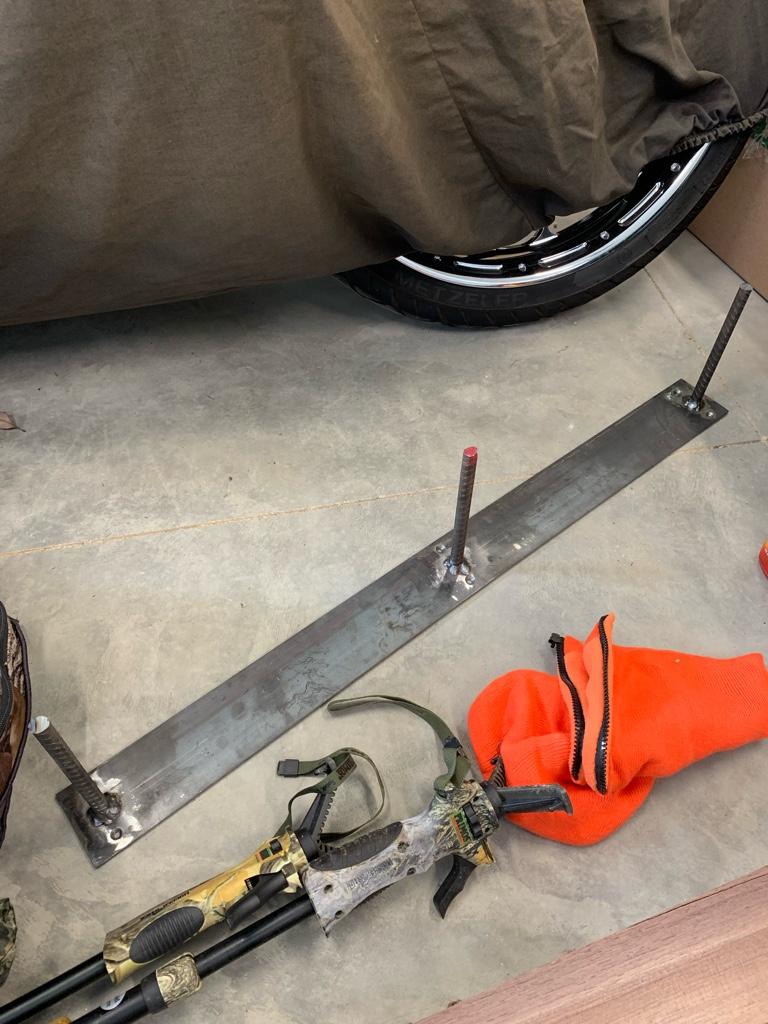
As for the mount we welded rebar on a metal plate about 3 in wide. Bars were 9” I think. Screwed to three studs in wall. Lubed rebars w Vaseline and slid mantle on to them. Snug fit but not much problem. Didn’t use any adhesive.
Couple whacks w a rubber mallet w a folded towel for padding and it seated completely. I could hang on it w no problem.
Original slab was 4 “ but kiln drying and planing had it to 3.25.
Sent from my iPhone using Tapatalk
Buckly
Well-Known Member
Thanks for the info. It all looks great. Never though of attaching a mantle in that way.If you meant install of rock ,it was a mesh w mortar mix. Rock seated into mortar for dry stack look.
Sent from my iPhone using Tapatalk
Similar threads
- Replies
- 10
- Views
- 2K
- Replies
- 227
- Views
- 29K